
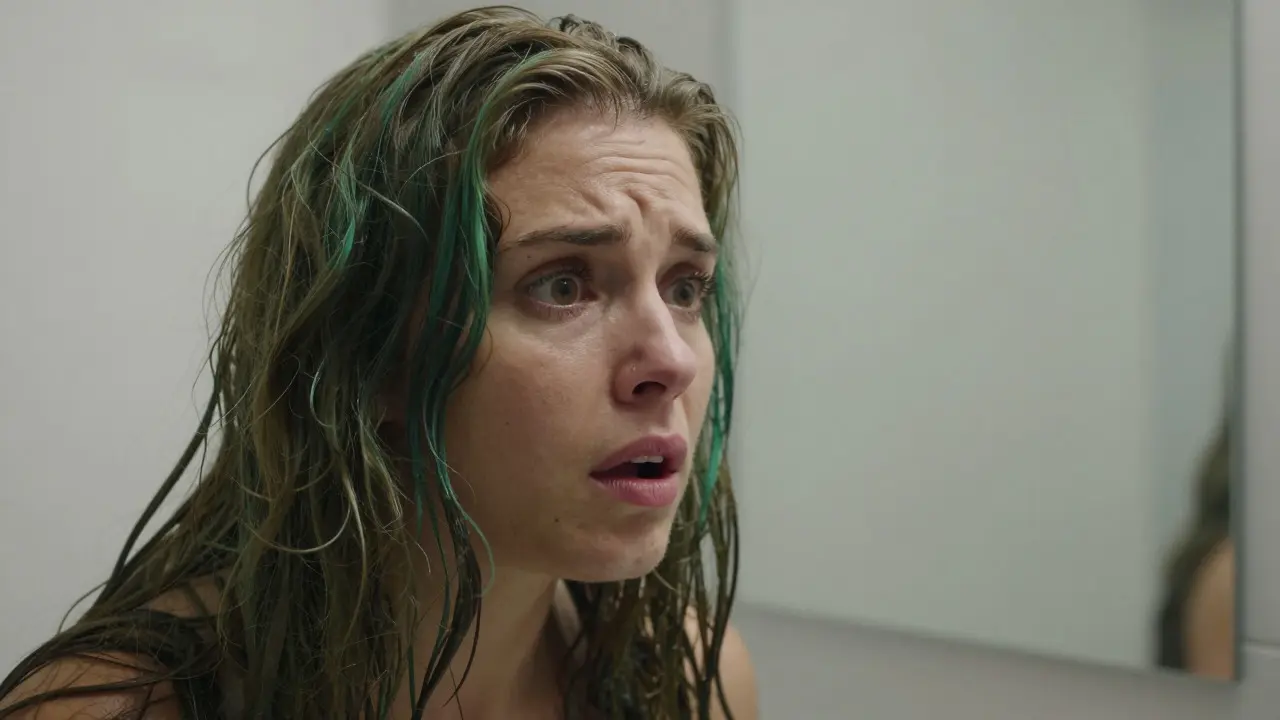
There is nothing quite as heart-stopping as peeling off the foil or rinsing out the dye box, only to stare into the mirror and see a stranger. Maybe you wanted a soft caramel brown but got a muddy forest green. Perhaps you aimed for icy blonde and landed in brassy orange territory. Or maybe the color is just patchy, uneven, and frankly, embarrassing. Panic sets in immediately. You want to scrub it all off and start over right now.
Take a deep breath. Hair color mistakes are incredibly common, even among professionals. The good news is that you don't always need to run to a salon emergency appointment (though sometimes you do). Depending on how bad the mistake is and what type of dye you used, there are several ways to fix wrong hair dye at home safely. Let’s break down exactly how to get rid of that unwanted shade without ruining your hair texture.
Assess the Damage: What Went Wrong?
Before you grab any products, you need to identify the specific problem. Not all "wrong" colors are created equal, and treating them differently is key to avoiding further damage. Generally, hair dye mishaps fall into three categories:
- Too Dark: The color is deeper than expected. This usually happens with permanent dyes or when the developer left on too long.
- Wrong Tone (Brassy/Ashy): The level (lightness/darkness) is okay, but the undertone is off. You might have yellow, orange, or grey tones where you wanted warmth or neutrality.
- Patchy or Uneven: Some parts of your hair grabbed the color while others didn’t, resulting in stripes or spots.
If your hair feels like straw, is breaking easily, or smells burnt, stop everything. That is chemical damage, not just a color issue. In that case, skip the DIY fixes and book a professional consultation. If your hair still has elasticity and strength, read on.
The First 72 Hours: Fading Fresh Dye
If you dyed your hair within the last three days, you are in the best position to fix it. Permanent hair dye molecules take about 72 hours to fully oxidize and lock into the hair shaft. Before that window closes, you can strip away a significant amount of pigment using aggressive cleansing methods.
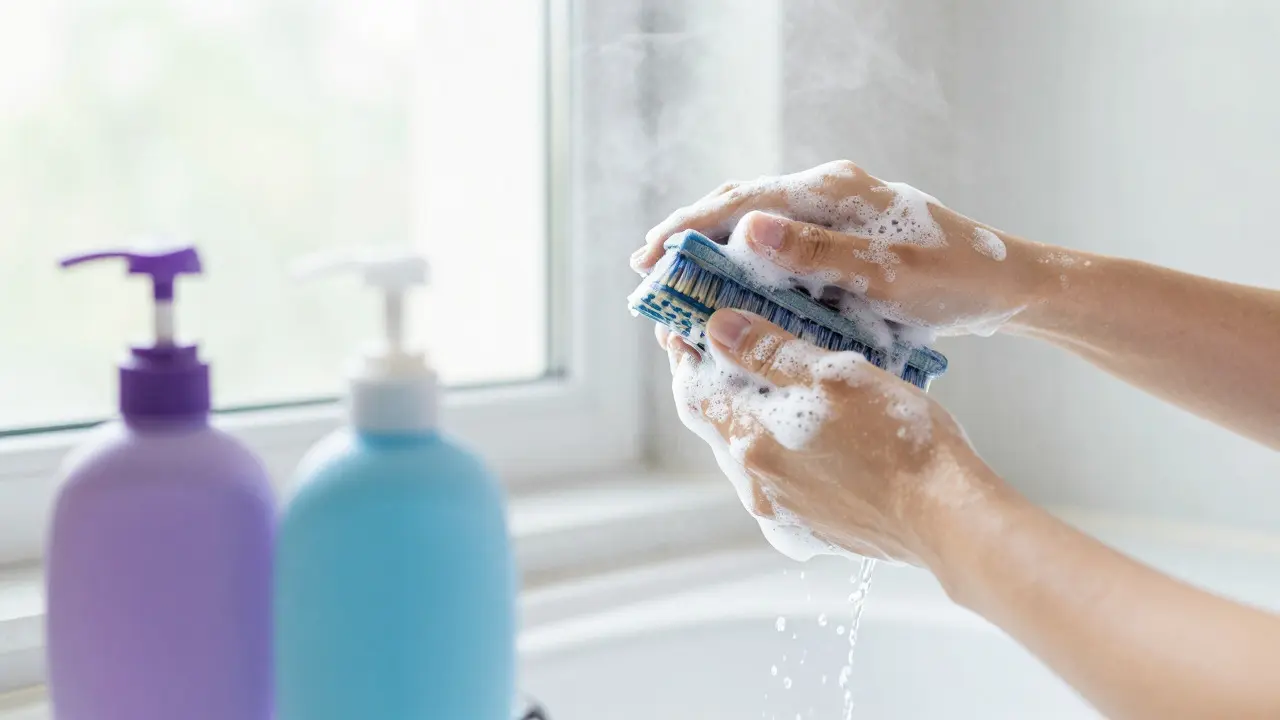
The most effective tool here is clarifying shampoo, which is a strong cleanser designed to remove buildup and artificial pigment from the hair. Regular shampoos often contain silicones and conditioners that seal the cuticle, trapping color inside. Clarifying shampoos lack these barriers, allowing them to lift color molecules out. Look for brands labeled "purifying," "detox," or "anti-residue." Head & Shoulders is frequently recommended by stylists because its active ingredients (like zinc pyrithione) help open the cuticle and wash away dye faster than standard formulas.
Here is how to use it effectively:
- Wet your hair thoroughly with warm water. Heat helps open the hair cuticle.
- Apply the clarifying shampoo directly to the darker areas. Scrub vigorously for two minutes.
- Rinse and check the color. If it’s still too dark, repeat the process. You can do this 2-3 times in one session.
- Follow immediately with a deep conditioning mask. Clarifying shampoos are drying, so you need to replenish moisture to prevent brittleness.
If you don’t have clarifying shampoo, dish soap works in a pinch. Products like Dawn or Fairy liquid are designed to cut grease, which means they strip hair color aggressively. Mix a small amount with water, apply to damp hair, let sit for 5 minutes, then rinse. Warning: this method is very drying. Do not skip the conditioner afterward.
Fighting Brassiness: Toning Your Hair
If your hair isn’t too dark but instead looks orange, yellow, or muddy, stripping the color won’t help much. Instead, you need to neutralize the unwanted tones using color theory. This is called toning.
Think of the color wheel. Opposite colors cancel each other out. Purple cancels yellow. Blue cancels orange. Red cancels green. Based on your specific mistake, choose the right product:
| Unwanted Tone | Corrective Product | Application Time |
|---|---|---|
| Yellow / Straw | Purple Shampoo or Purple Toner | 3-10 minutes |
| Orange / Brassy | Blue Shampoo or Blue Toner | 3-10 minutes |
| Green / Muddy | Red Toner or Gloss | 5-15 minutes |
| Too Ashy / Grey | Warm Toner (Gold/Copper) mixed with Conditioner | 5-10 minutes |
For mild brassiness, a purple or blue shampoo used once or twice a week is sufficient. Lather it onto damp hair, leave it on for the time specified on the bottle (usually 3-5 minutes), and rinse. If the tone is stubborn, move up to a semi-permanent toning gloss. These deposit more pigment than shampoo and last longer. Apply the gloss to dry or damp hair, wait the recommended time, and rinse until the water runs clear.
A pro tip: if your hair is too ashy or grey, you can mix a drop of warm red or gold semi-permanent dye into your regular conditioner. Apply it like a mask for 5-10 minutes. This adds back warmth without committing to a full dye job.
Fixing Patchy or Uneven Color
Patchy hair dye is frustrating because it draws attention to missed spots. This often happens when you rush the application or don’t section your hair properly. If the patches are lighter than the rest, you can darken them. If they are darker, you need to lighten them.
To fix light patches, reapply the original dye only to those sections. Be careful not to overlap too much on the already-colored hair, as this can make those areas even darker. Use an old toothbrush or a tint brush for precision. Leave it on for half the usual processing time to avoid over-processing.
If the patches are darker, try the clarifying shampoo method mentioned earlier, focusing only on the dark spots. Sometimes, simply washing the darker areas more frequently will bring them closer to the surrounding color. If the difference is extreme, a professional colorist may need to use a mild lightener bath to lift the dark patches before re-dyeing.
Removing Skin Stains
Let’s not forget the forehead, ears, and neck. Getting dye on your skin is a classic part of the disaster. Don’t scrub with harsh chemicals. Instead, use a gentle approach:
- Clarifying Shampoo: Dab a little clarifying shampoo on a wet cotton pad or towel and gently rub the stained area. It lifts the pigment without irritating the skin.
- Oil: Baby oil, coconut oil, or olive oil can dissolve dye stains. Massage the oil into the stain, let it sit for a few minutes, then wipe away with a warm cloth.
- Baking Soda Paste: Mix baking soda with a little water to form a paste. Gently buff the stain with your finger, then rinse. This acts as a mild exfoliant.
Avoid using bleach or hydrogen peroxide on your face unless absolutely necessary, as these can cause burns or irritation.
When to Call a Professional
While many mistakes can be fixed at home, some situations require expert hands. Seek professional help if:
- You applied black dye over previously lightened hair. Black dye is notoriously difficult to remove and often requires multiple sessions of color removal.
- Your hair is breaking, snapping, or feeling gummy when wet. This indicates structural damage that needs repair, not more chemicals.
- You have tried clarifying and toning with no results after a week.
- You want to go significantly lighter (more than two shades) from your current mistake. Bleaching damaged hair at home is a recipe for disaster.
Professional colorists have access to stronger color removers and bond-building treatments that protect hair during correction. They can also assess your hair’s porosity and predict how it will react to corrective measures.
Preventing Future Mistakes
Once you’ve fixed the current mess, take steps to avoid repeating it. Always do a strand test before coloring your whole head. Cut a small piece of hair from behind your ear, apply the dye, and wait the full processing time. Check the result in natural light. This simple step can save you hours of stress and expensive salon visits.
Also, invest in good tools. A tint bowl, brush, and gloves make application more precise. And never rush. Give yourself plenty of time to section your hair and apply the dye evenly. Finally, always follow up with a deep conditioning treatment to keep your hair healthy and resilient against future color changes.
How long does it take for hair dye to fade naturally?
Permanent hair dye typically fades slightly over 4-6 weeks as new growth appears and washing removes surface pigment. Semi-permanent dye lasts 4-8 weeks. Demi-permanent dye lasts about 12-24 washes. Using hot water and frequent washing accelerates fading.
Can I dye my hair again immediately after fixing a mistake?
It depends on the method used. If you only used clarifying shampoo or toner, you can usually re-dye after 24-48 hours. If you used a color remover or bleach, wait at least 2-3 weeks to allow your hair to recover and rebuild strength. Applying dye to damaged hair leads to uneven results and breakage.
Does baking soda really remove hair dye?
Yes, baking soda can help lift hair dye because its alkaline nature opens the hair cuticle, allowing pigment to escape. However, it is very drying and should be used sparingly. Mix it with clarifying shampoo, not water alone, and always follow with a deep conditioner.
What if my hair turned green?
Green hair usually results from copper in tap water reacting with blonde hair or using certain silver shampoos too frequently. To fix it, use a red toner or gloss. Red cancels out green on the color wheel. Apply a red-based semi-permanent dye mixed with conditioner for 10-15 minutes to neutralize the green tint.
Is it safe to use dish soap on my hair?
Using dish soap occasionally to strip fresh dye is generally safe, but it is not sustainable. Dish soap strips natural oils and can leave hair dry and brittle. Limit use to one or two washes maximum, and always follow with a rich, moisturizing hair mask to restore hydration.