Ever stood in front of your mirror with waist-length locks, terrified to make the first snip? You're not alone. Indian hair, known for its dense texture and incredible length potential, is a blessing but also a logistical challenge when it comes time for a trim. The sheer volume can turn a simple haircut into an hour-long ordeal if you aren't prepared. But here’s the good news: with the right technique, you don’t need a salon appointment to keep those ends healthy. Whether you are aiming for a subtle dusting or a major chop, understanding how this specific hair type behaves is key to avoiding mistakes that lead to frizz or uneven layers.
Quick Summary: Key Takeaways
- Dry vs. Wet: Always cut Indian hair dry or slightly damp, never soaking wet, to see true length and avoid shrinkage surprises.
- Tool Matters: Use professional shears; kitchen scissors cause split ends that travel up thick strands quickly.
- Sectioning is Critical: Divide hair into at least four sections to manage density and ensure an even cut.
- The Ponytail Method: Ideal for blunt cuts on very long hair, ensuring symmetry without complex layering skills.
- Post-Cut Care: Seal ends with lightweight oil immediately after trimming to prevent moisture loss.
Why Cutting Indian Hair Is Different
If you’ve ever tried to cut fine, straight European hair, you know it slides around. Indian hair, particularly from regions like Andhra Pradesh or Tamil Nadu, is different. It has a larger diameter per strand and often a tighter curl pattern or wave structure, even if it looks straight when stretched. This means it holds weight differently. When you cut it, it doesn’t just fall flat; it springs back. If you cut it while it’s soaking wet, you’re essentially cutting it longer than it will be once it dries and contracts. That “surprise” shorter length? That’s shrinkage. To avoid looking like you lost five inches instead of two, always assess the hair in its natural, dried state before making any major decisions.
Another factor is density. A single head of thick Indian hair can contain over 100,000 follicles, many of which produce robust strands. Trying to grab a handful and cut it all at once results in jagged lines because the bottom layers hide behind the top ones. You have to respect the volume. Treat it like a heavy fabric-layered and structured-rather than a thin sheet of paper. This mindset shift changes everything about how you approach the tools and the timing.
Preparation: Tools and Environment
You don’t need a full salon kit, but you do need the right basics. First, invest in sharp, professional hair-cutting shears. Kitchen scissors crush the hair shaft rather than slicing it cleanly, leading to immediate split ends that look terrible on dark, shiny hair. Look for stainless steel blades specifically designed for hair. Next, get a wide-tooth comb and a fine-tooth tail comb. The wide teeth detangle without breaking bonds; the fine teeth help you section precisely.
Lighting matters more than you think. Natural daylight is best. Artificial yellow light hides split ends and uneven lengths. Set up near a window if possible. Also, have clips ready. You cannot effectively cut long, thick hair without sectioning it off. Use strong salon clips or rubber bands wrapped in tissue paper to avoid creasing the hair. Finally, have a spray bottle with water and a leave-in conditioner mix. You want the hair manageable but not slippery.
Technique 1: The Dry Cut for Blunt Ends
For most people with long Indian hair wanting to maintain length while removing damage, the dry blunt cut is the safest bet. Start by washing your hair a day prior. Day-old hair has some natural oils that provide slip, making it easier to comb through tangles without snapping. Detangle thoroughly from bottom to top using your wide-tooth comb. Once smooth, divide your hair into four quadrants: left side, right side, back-left, and back-right. Clip three sections out of the way.
Take one small subsection from the unclipped area. Comb it down until it hangs naturally. Do not pull it tight. Let gravity do the work. Hold the hair between your index and middle fingers at the point where you want to cut. For a trim, this might be just below the split ends. For a bob, it might be chin-level. Slide your fingers down to hold the line firmly. Cut horizontally across the fingers. Check symmetry by comparing the left and right sides frequently. Because Indian hair is dense, check every few inches. If one side feels heavier, adjust. This method preserves the natural fall of the hair and prevents the "staircase" effect common in amateur home cuts.
Technique 2: The Ponytail Method for Major Chops
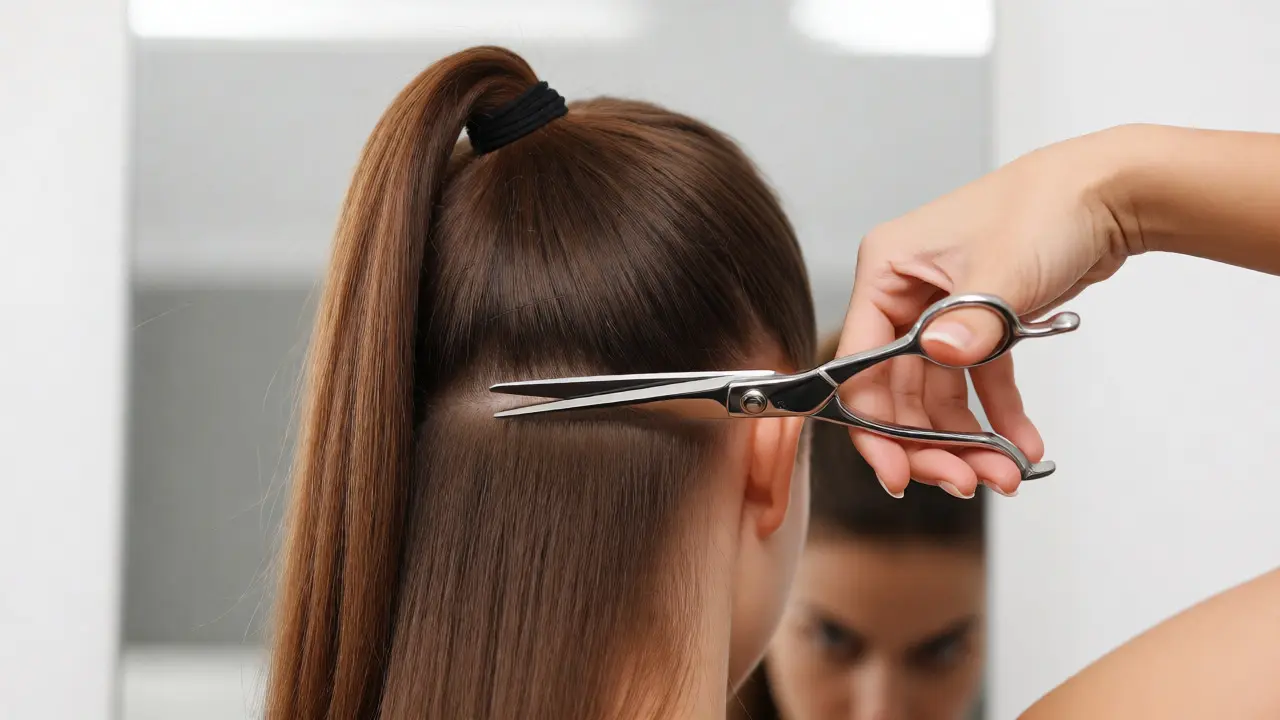
Are you thinking of going short? Maybe you want a shoulder-length look but fear losing too much length? The ponytail method is legendary among DIY cutters for a reason. It creates a soft, rounded shape that grows out well. Gather all your hair into a high ponytail at the crown of your head. Secure it tightly with a strong elastic. Ensure no loose strands escape; use bobby pins if necessary.
Now, measure from the elastic down to where you want the new length to end. Mark this spot with another elastic or a clip. Cut below this marker. As you release the ponytail, the hair will fan out, creating a natural gradient. This works exceptionally well on Indian hair because the weight pulls the ends together, hiding minor imperfections in the cut line. Just remember: the higher the ponytail, the more layers you get. A lower ponytail yields a blunter cut. Experiment with the position before cutting if you’re unsure.
| Technique | Best For | Risk Level | Result |
|---|---|---|---|
| Dry Blunt Cut | Maintenance trims, preserving length | Low | Clean, straight edges |
| Ponytail Method | Major length reduction, layered look | Medium | Soft, graduated ends |
| Slide Cutting | Removing bulk, texturizing | High | Feathered, airy texture |
Avoiding Common Pitfalls
The biggest mistake people make with long Indian hair is cutting it when it’s bone dry and tangled. Friction causes breakage, and you’ll end up cutting broken pieces instead of healthy ends. Another error is using regular hair ties for sectioning. They leave dents that won’t wash out easily, especially in coarse textures. Use spiral elastics or satin scrunchies instead.
Also, beware of over-thinning. Thinning shears can make thick hair feel lighter, but on Indian hair, they can create a fuzzy halo of frizz around the face if used incorrectly. Only use them on the interior layers, never near the perimeter. If you’re unsure, skip them. A clean, blunt edge looks healthier and more polished than a thinned-out mess. Remember, less is more. You can always cut more later, but you can’t glue it back on.
Aftercare: Protecting Your New Cut
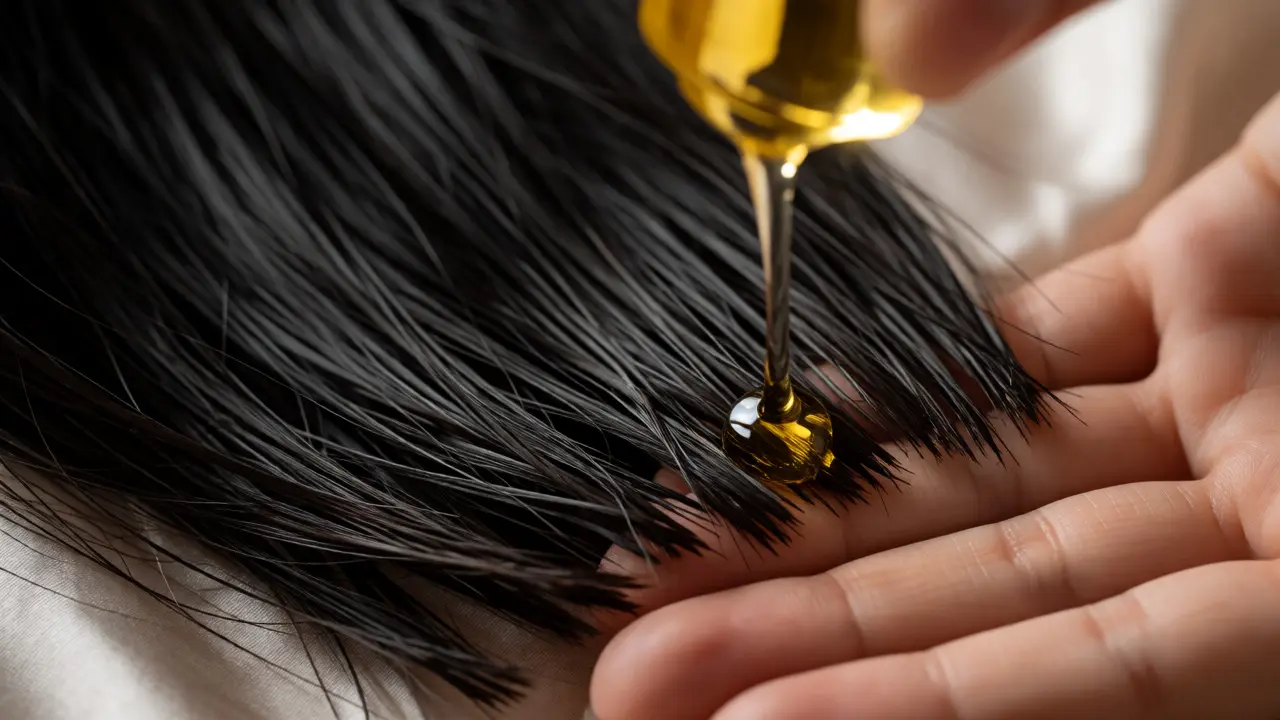
Your work isn’t done when the scissors stop. Freshly cut ends are open wounds on a microscopic level. They absorb moisture but also lose it rapidly. Apply a drop of argan or jojoba oil to your palms and lightly smooth over the ends. This seals the cuticle. Avoid heavy creams that weigh down the roots. For the first week, try to sleep on a silk pillowcase. Cotton absorbs moisture from your hair and causes friction, leading to tangles at the new ends. Keep your combs clean; dirty tools transfer bacteria and grime, which can irritate the scalp and dull the shine of your freshly trimmed locks.
Should I cut my Indian hair wet or dry?
It is generally better to cut Indian hair dry or slightly damp. Wet hair stretches, so cutting it wet often results in a shorter-than-expected length once it dries and shrinks. Dry cutting allows you to see the natural fall and true length.
How often should I trim long Indian hair?
Every 3 to 4 months is ideal for maintaining health. However, if you notice split ends traveling up the shaft, trim sooner. Regular micro-trims (dusting) can help retain length while keeping ends fresh.
Can I use kitchen scissors to cut my hair?
No. Kitchen scissors are not sharp enough and often have serrated edges that crush the hair cuticle. This leads to immediate splitting and frizz. Always use professional hair-cutting shears.
What is the best way to remove bulk from thick Indian hair?
Use slide cutting techniques on the interior layers only. Avoid thinning shears near the face as they can cause frizz. Texturizing sprays can also help manage volume without cutting.
Will cutting my hair make it grow faster?
No, cutting hair does not affect the growth rate from the root. However, it prevents breakage, allowing the hair to retain length longer, which makes it appear to grow faster.
Final Thoughts on Managing Length
Keeping long Indian hair healthy is a marathon, not a sprint. The tips above focus on minimizing damage during the cutting process, but daily habits matter just as much. Be gentle when brushing, protect your hair from sun exposure, and stay hydrated. If you attempt these cuts yourself and feel nervous, start with a tiny trim. Build confidence slowly. Your hair is resilient, but it deserves precision. With patience and the right tools, you can achieve a professional-looking result from the comfort of your bathroom.