

There is nothing quite like the smooth, clean look of freshly waxed skin. But let’s be honest-sitting in a salon chair every few weeks adds up quickly, both in time and money. If you have been eyeing that eyebrow wax kit on your nightstand, wondering if you can actually do this yourself without disaster, you are not alone. Many people start with professional treatments but eventually crave the convenience and savings of doing it at home.
The good news? You absolutely can wax your face at home. The bad news? It requires patience, precision, and the right technique. One wrong move can lead to lifted skin, broken capillaries, or worse-a shape you spend months trying to grow back. This guide will walk you through exactly how to prep, apply, and remove wax safely, ensuring you get salon-quality results without the salon price tag.
Gathering Your Tools: What You Actually Need
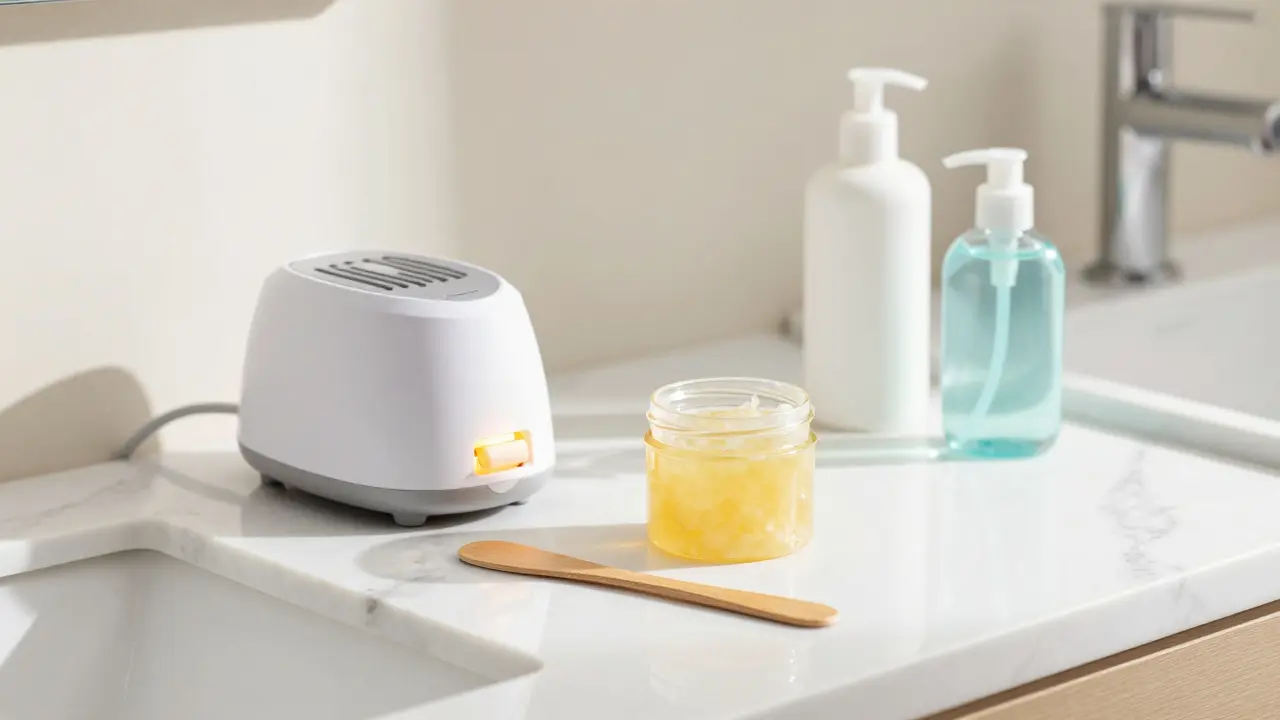
Before you even think about heating up wax, you need the right gear. Using random kitchen supplies or old strips is a recipe for irritation. Here is what goes into a proper home facial waxing setup.
- Facial Wax: Do not use body wax on your face. Facial skin is thinner and more sensitive. Look for hard wax (which grips hair without strips) or soft wax specifically formulated for delicate areas. Hard wax is generally safer for beginners because it adheres to the hair, not the skin.
- Wax Warmer: A dedicated electric warmer keeps the wax at a consistent temperature. Microwaving jars directly often leads to hot spots that burn your skin.
- Wooden Spatulas: Use single-use sticks to apply the wax. Reusing them introduces bacteria.
- Pre-Wax Oil: This acts as a barrier between the wax and your skin, reducing pain and preventing lifting. Jojoba or sweet almond oil works well.
- Post-Wax Soothing Lotion: Aloe vera gel or a product containing chamomile helps calm redness immediately after removal.
- Cleanser: You need to ensure your skin is completely free of makeup, sunscreen, and oils before starting.
Step 1: Preparation Is Everything
You might be tempted to skip straight to the waxing part, but preparation determines 80% of your success. If your skin is dirty or oily, the wax will not grip the hair properly, leading to breakage rather than removal from the root. Broken hairs grow back faster and cause ingrown hairs.
- Cleanse Thoroughly: Wash your face with a gentle cleanser to remove all traces of makeup, sweat, and natural oils. Dry your skin completely. Moisture is the enemy of adhesion.
- Check Hair Length: Your hair needs to be at least 1/4 inch long (about the length of a grain of rice). If it is shorter, the wax cannot grab it. If it is longer than half an inch, trim it first with small scissors to reduce pain.
- Apply Pre-Wax Oil: Dab a tiny amount of pre-wax oil onto the area you plan to treat. Rub it in gently. This step is crucial for protecting the top layer of your skin during the pull.
Step 2: Testing the Temperature
Burns are the most common mistake in home waxing. Never guess the temperature. Once your wax is melted and ready, perform the "wrist test." Apply a small dot of wax to the inside of your wrist. It should feel warm, not hot. If it stings, let it cool for another minute. Remember, your face is more sensitive than your arm, so when in doubt, let it cool longer.
Step 3: Application Technique
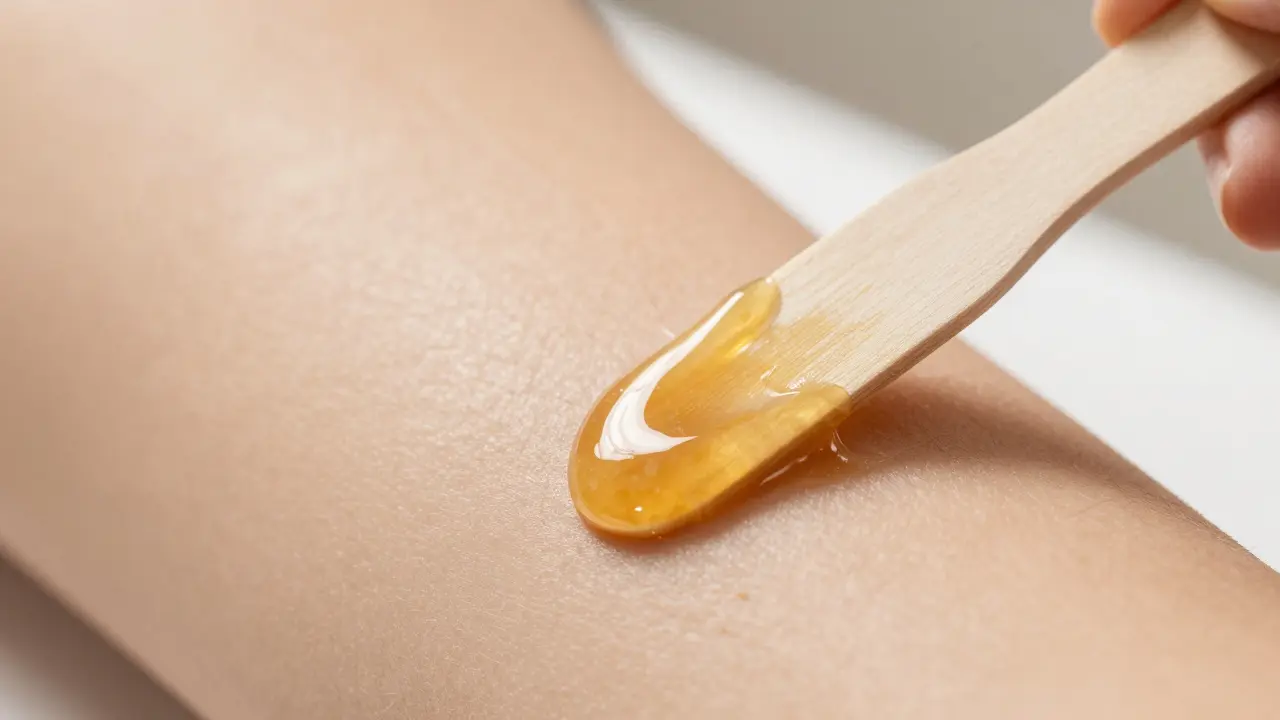
How you apply the wax changes everything. For eyebrows and upper lip, we recommend using hard wax. It shrinks as it dries, allowing you to lift it off without cloth strips.
- Work in Small Sections: Do not try to wax your entire brow or lip at once. Start with a small patch near the side of your nose or the tail of the eyebrow.
- Follow the Grain: Apply the wax in the direction of hair growth. Press it firmly into the skin using your spatula, then smooth it over twice to ensure contact with every hair.
- Let It Set: Wait until the wax turns matte and feels firm to the touch. This usually takes 30-60 seconds depending on the brand. If it is still shiny, it is too wet and will hurt more.
Step 4: The Removal Pull
This is the moment of truth. Hold your skin taut with one hand. This is non-negotiable. If you do not stretch the skin, the wax will pull the skin instead of the hair, causing bruising or tearing.
With your other hand, grab the edge of the hardened wax. Pull back quickly and firmly in the opposite direction of hair growth, keeping the strip parallel to your skin. Do not pull upward; keep it flat against your face. Speed matters here-a slow pull increases pain significantly.
Step 5: Post-Wax Care
Your skin is now raw and open. Pores are wide, and the barrier is compromised. Treat it gently.
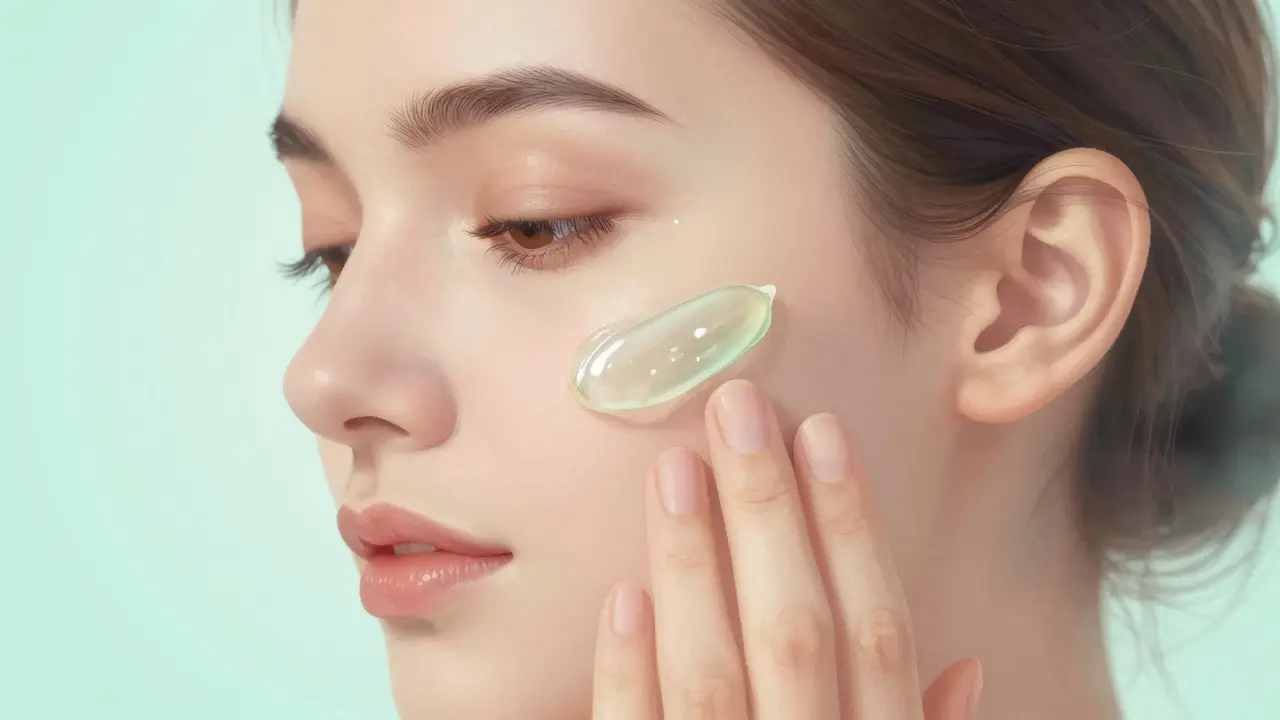
- Soothe Immediately: Apply your post-wax lotion or pure aloe vera gel. Avoid products with fragrance, alcohol, or active acids (like retinol or glycolic acid).
- Avoid Heat: Do not go into a sauna, steam room, or take a hot shower for at least 24 hours. Heat opens pores further and can cause infection.
- No Sun Exposure: Freshly waxed skin is highly susceptible to sunburn and hyperpigmentation. Wear SPF 30+ if you go outside.
- Hands Off: Resist the urge to touch or pick at the area. Bacteria on your fingers can cause breakouts.
| Feature | Hard Wax | Soft Wax |
|---|---|---|
| Adhesion | Grips hair only | Grips hair and skin |
| Removal Method | Lifted by hand (no strips) | Requires cloth/paper strips |
| Pain Level | Lower | Higher |
| Best For | Face, bikini, coarse hair | Legs, arms, large areas |
| Safety for Beginners | High | Low (risk of skin lifting) |
Common Mistakes to Avoid
Even experienced users make errors. Here are the pitfalls that turn a simple grooming session into a medical issue.
Waxing Over Active Breakouts: Never wax over pimples, cysts, or sunburned skin. You risk spreading bacteria and causing severe inflammation. Wait until the skin is clear.
Re-Waxing the Same Spot: Each area of skin should only be waxed once per session. If you missed some hairs, leave them for next time. Applying wax twice to the same spot can lift the epidermis, leading to scarring.
Ignoring Aftercare: Skipping the soothing step leaves your skin vulnerable. Exfoliation is great, but not for the first three days. Wait at least 72 hours before exfoliating to prevent ingrown hairs.
Maintaining Your Results
To keep your brows shaped and your upper lip smooth for longer, establish a maintenance routine. Regular exfoliation (starting day 3) removes dead skin cells that trap growing hairs. Hydrate your skin daily to maintain elasticity, which makes future waxing less painful. Most people find that home waxing lasts 3-4 weeks, similar to professional treatments, provided you follow the aftercare rules strictly.
Does facial waxing hurt?
Yes, there is discomfort, but it is brief. The pain is sharp but lasts only seconds. Using hard wax reduces pain compared to soft wax because it does not pull the skin. Taking an anti-inflammatory like ibuprofen 30 minutes before waxing can help manage sensitivity.
Can I wax my face if I use Retin-A or Accutane?
No. Medications like isotretinoin (Accutane) and topical retinoids thin the skin and increase fragility. Waxing can cause severe tearing and scarring. Wait at least six months after stopping oral medication and two weeks after stopping topical retinoids before attempting any waxing.
How often should I wax my eyebrows?
Every 3 to 4 weeks is ideal. This allows the hair to reach the necessary length for effective removal while maintaining your shape. Waxing too frequently can damage the follicle and irritate the skin.
What should I do if I get red bumps after waxing?
Redness is normal for 24-48 hours. Apply cold compresses and soothing aloe vera. If bumps persist beyond two days or look infected (pus, extreme heat), consult a dermatologist. Do not pick at them, as this leads to scarring.
Is it safe to wax around the eyes?
You must be extremely cautious. Keep wax at least 1/4 inch away from the lash line and eyelids. The skin here is incredibly thin. If you are unsure, stick to tweezing individual hairs near the eyes and reserve waxing for the main brow body.


Patrick Dorion
July 15, 2026 AT 08:44I have been doing this for years and the pre-wax oil is genuinely the most underrated step in the entire process. Most people skip it because they think it makes the wax slide off but it actually protects the epidermis from being ripped up with the hair follicles. It sounds counterintuitive if you are new to home care but trust me on this one. The difference in redness the next day is night and day when you use a barrier like jojoba oil. I also cannot stress enough how important the temperature test is because facial skin is significantly thinner than your legs or arms. A burn on your upper lip heals slower and looks worse than anywhere else so take that extra minute to let it cool down. Hard wax is definitely the way to go for beginners since it does not adhere to the skin itself which reduces the trauma substantially.
Marissa Haque
July 15, 2026 AT 18:16OMG! This guide is literally a lifesaver!! I was so scared to try waxing my brows at home because I ruined them once with tweezers!! But reading about the hard wax vs soft wax table made so much sense!! I never realized soft wax grips the skin too!! That explains why my face always felt raw afterwards!! Thank you so much for sharing this!! I am definitely buying a warmer now!!
Keith Barker
July 17, 2026 AT 10:43the philosophy of pain is interesting here we accept temporary suffering for aesthetic conformity but the method matters more than the intent if you rush you suffer more patience is key not just for results but for mental state during the pull
Lisa Puster
July 19, 2026 AT 00:39please stop telling people to do medical procedures at home this is dangerous advice especially for those with sensitive skin types that are common in our region you should only trust licensed professionals who know anatomy properly amateurs ruin their own faces constantly and then blame the product instead of their lack of skill it is pathetic really
Joe Walters
July 20, 2026 AT 00:13i tried this last week and totally messed up because i didnt read the part about hair length lol my hairs were too short and nothing came out just pain for no reason so yeah follow the instructions guys dont be lazy like me also the wax got everywhere on my counter what a mess
Robert Barakat
July 20, 2026 AT 16:56one must consider the ethical implications of altering one's natural state for societal approval yet the practical benefits of cost savings are undeniable if done correctly the technique requires discipline and respect for the biological processes involved in hair growth cycles
Michael Richards
July 21, 2026 AT 17:59You are all missing the point about retinoids. If you are on Accutane or even topical tretinoin, you absolutely cannot wax. Your skin is chemically thinned and fragile. Do not listen to influencers who say otherwise. You will tear your face open. Wait six months after oral meds and two weeks after topicals. This is non-negotiable safety information that could prevent permanent scarring for many of you.
Laura Davis
July 22, 2026 AT 11:03Hey everyone please remember to be kind to yourselves while learning this new skill! It takes practice and mistakes happen! But please respect your body's limits and do not push through severe pain! If it hurts too much stop and reassess your technique! We are all here to support each other in our self-care journeys! Stay safe out there!
Lisa Nally
July 24, 2026 AT 09:09From a dermatological perspective, the distinction between hard and soft wax adhesion mechanics is critical for minimizing transepidermal water loss and subsequent inflammation. Many consumers fail to understand that soft wax creates a mechanical bond with the stratum corneum which leads to micro-tears. Hard wax polymerizes around the hair shaft allowing for selective removal without compromising the dermal integrity. This is basic cosmetic science that should be universally understood before attempting any depilation procedure.
Edward Gilbreath
July 24, 2026 AT 22:27big pharma wants you to buy expensive creams so they tell you waxing is bad but its just about control keep your money and stay independent do it yourself and ignore the fear mongering from corporate beauty standards
kimberly de Bruin
July 26, 2026 AT 00:47the act of removing hair is a ritual of purification in many cultures but we treat it as a chore perhaps we should approach it with more mindfulness and less urgency the result is the same but the experience changes entirely
Edward Nigma
July 26, 2026 AT 12:09Actually hard wax is worse because it leaves residue that clogs pores over time causing breakouts later soft wax removes everything cleanly including dead skin cells which is why professionals prefer it despite the pain you are being misled by marketing companies selling hard wax kits to amateurs who dont know better
om gman
July 28, 2026 AT 03:51oh look another american trying to teach us how to live our lives with their inferior wax products we have been waxing since ancient times without your fancy electric warmers you people are so dramatic about pain it is hilarious really just suck it up and deal with it like real humans do
Jeanne Abrahams
July 29, 2026 AT 12:38In South Africa we often use sugar wax which is a natural alternative that is much gentler on the skin than these chemical waxes you are describing. It is easy to make at home with just sugar lemon and water. Perhaps you should explore traditional methods rather than relying solely on commercial products that strip the skin of its natural oils. It is worth a try if you want something less harsh.
Bineesh Mathew
July 30, 2026 AT 01:07The moral decay of society is evident in our obsession with flawless skin we sacrifice comfort for vanity ignoring the sacred imperfections that define our humanity yet if one must engage in this ritual let it be done with reverence and precision honoring the vessel that carries our spirit through this fleeting existence