

There is nothing quite as disorienting as looking in the mirror and realizing your eyebrows look like they’ve been attacked by a lawnmower. You didn’t mean to shave off half your arch; you just wanted to tidy up the stray hairs below the tail. But if you have ever tried to shape eyebrows at home without a plan, you know the risk of over-plucking or creating an asymmetrical mess is real.
The good news? You don’t need to be a professional esthetician to get a clean, natural-looking result. With the right tools-specifically a quality eyebrow wax kit is a set of pre-made wax strips, applicators, and soothing balm designed for at-home hair removal-and a simple mapping technique, you can achieve salon-quality results in under ten minutes. This guide breaks down exactly how to do it, from measuring your perfect shape to avoiding the most common beginner mistakes.
Why Mapping Matters More Than Plucking
Before you touch a single hair, you need to know where those hairs should go. Most people skip this step because it feels tedious, but it is the difference between a balanced face and one that looks tired or confused. Think of mapping as drawing the blueprint before you build the house. Without it, you are just guessing where the walls go.
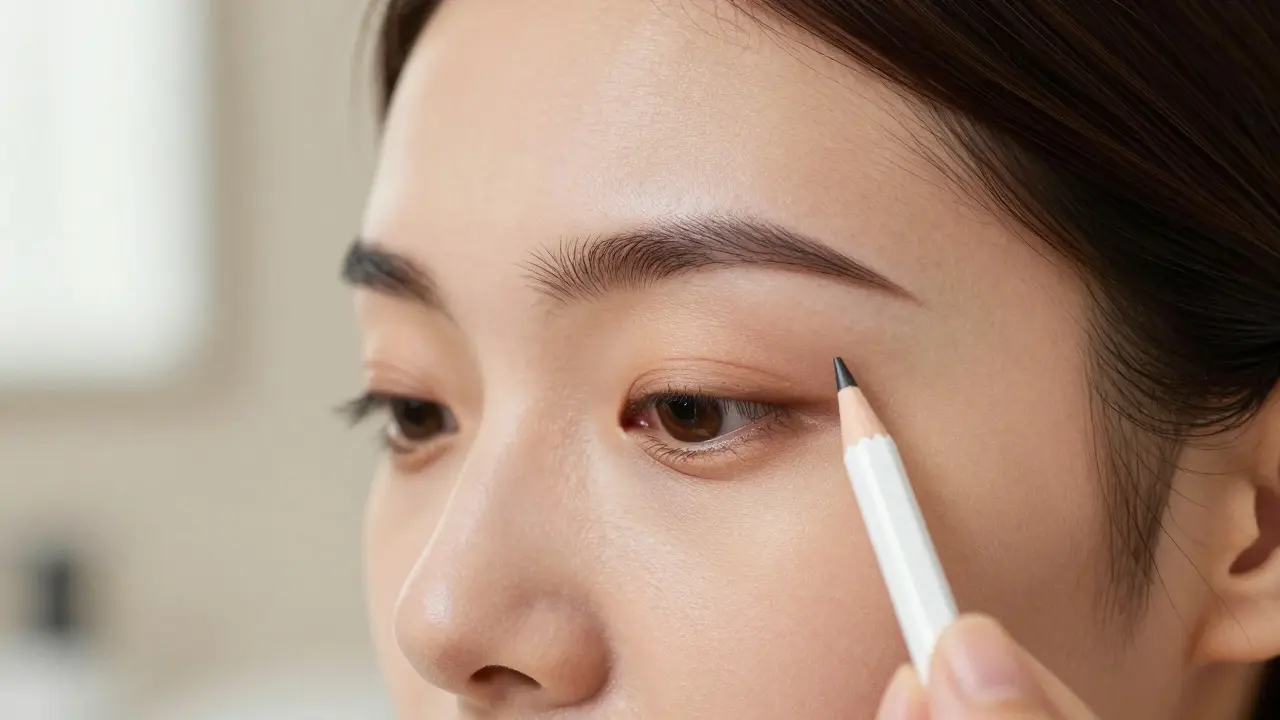
To map your brows, use a thin, white makeup pencil or a clean spoolie brush. Hold the tool vertically against the side of your nose, aligning it with the inner corner of your eye. The point where the tool meets your skin marks where your brow should start. Next, angle the tool toward the outer edge of your iris (the colored part of your eye). That intersection indicates where your arch peaks. Finally, extend the line from the nose through the outer corner of your eye to find where your brow should end.
Mark these three points lightly. Now you have a clear boundary. Any hair outside these lines is a candidate for removal. Any hair inside them stays, no matter how thick or messy it looks. This rule alone prevents 90% of the "over-plucked" disasters we see on social media.
Gathering Your Tools: What You Actually Need
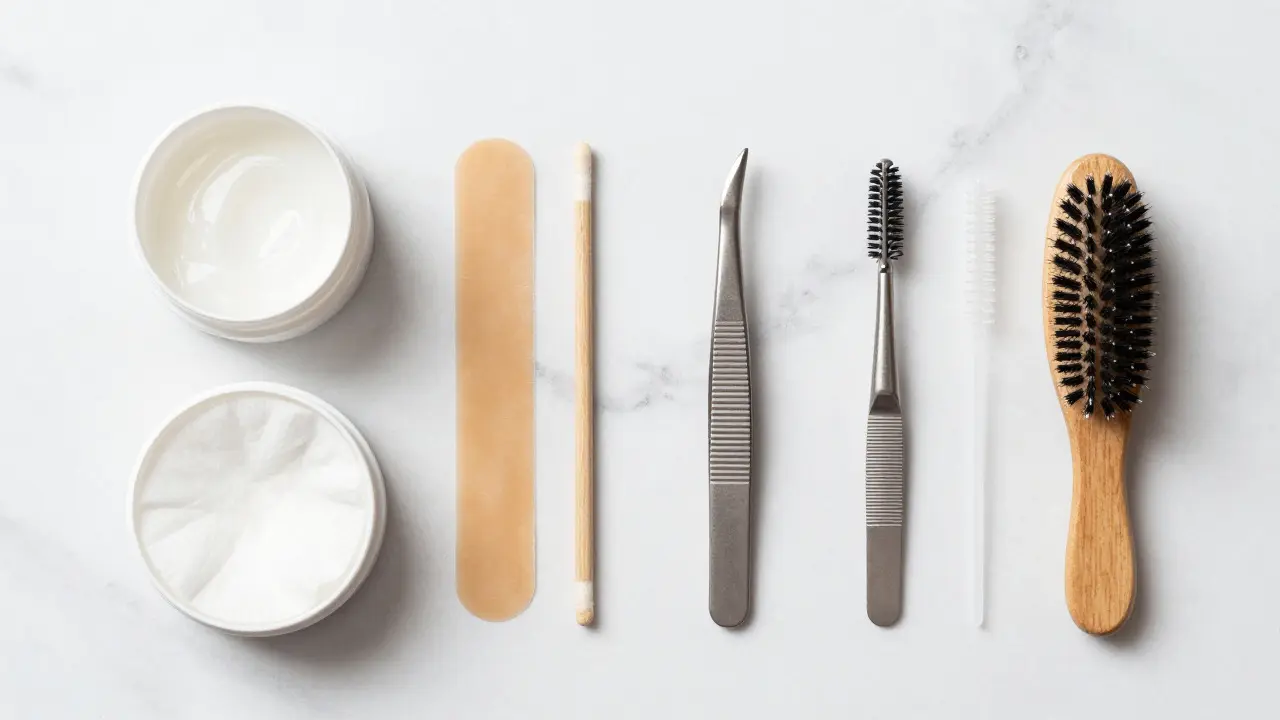
You might think you need a whole drawer of gadgets, but the reality is much simpler. For effective brow grooming is the process of trimming, plucking, and waxing facial hair to create a defined shape, you only need four specific items:
- An eyebrow wax kit: Look for kits that include pre-warmed wax beads or strips, a wooden applicator stick, and a post-care balm. Pre-made strips are safer for beginners than hot pot wax because they reduce the risk of burns and allow for more precise application.
- A pair of fine-tip tweezers: Wax removes hair from the root, but it often misses the very last few strays. Tweezers handle those final details. Choose slanted tips for better grip on short hairs.
- A spoolie brush: This small mascara-like wand helps you comb hairs into place so you can see exactly which ones are out of line.
- Cleansing wipes or micellar water: You need to remove any oil or moisturizer from your brow area before waxing. If your skin is oily, the wax won’t adhere properly, leading to broken hairs and pain.
Do not skip the cleansing step. It is the most common reason why home waxing fails. Clean, dry skin ensures the wax grips the hair, not the skin, resulting in less pain and cleaner removal.
The Step-by-Step Waxing Process
Now that your brows are mapped and your tools are ready, let’s walk through the actual waxing process. We will focus on using a strip-based wax kit, as this is the most accessible method for home users.
- Prep the area: Gently wipe your eyebrows with a cotton pad soaked in micellar water. Ensure the area is completely dry. Apply a thin layer of talc-free powder if your skin tends to sweat, as moisture weakens the wax bond.
- Apply the wax: Using the wooden applicator, take a small amount of wax. Start at the inner corner of your brow (where you marked) and apply the wax in the direction of hair growth. Keep the layer thin-a thick layer causes unnecessary pain and pulls on surrounding skin.
- Press and hold: Immediately press a wax strip onto the wet wax. Rub it firmly with your fingers to ensure it bonds with every hair. Hold it for five seconds.
- Pull with confidence: Grab the edge of the strip closest to your face. Pull quickly and sharply in the opposite direction of hair growth, keeping your hand flat against your skin to minimize pulling. Do not hesitate. Slow pulls cause more pain and breakage.
- Repeat for the lower brow: Work in small sections, moving from the inner corner to the tail. Focus primarily on the area below the mapped line. Be conservative here; it is easier to remove more later than to regrow what you lost.
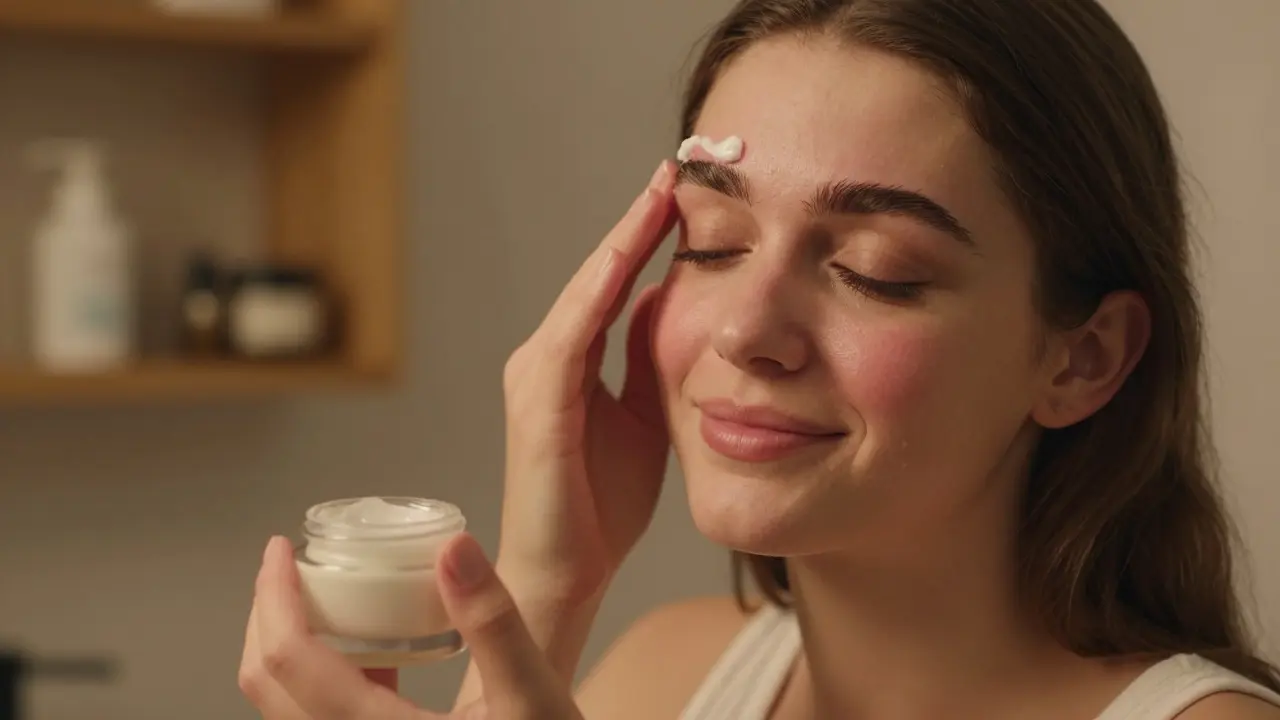
- Soothe the skin: Once you are done, immediately apply the post-wax balm from your kit. This cools the skin, reduces redness, and closes the pores. Avoid touching the area for at least two hours.
Notice that we did not mention waxing the entire brow. You are only targeting the stray hairs that fall outside your mapped shape. The body of the brow remains untouched. This preserves your natural fullness while adding definition.
Tweezing for Precision and Detail
Wax handles the bulk of the work, but it rarely gets everything. After the waxing step, pick up your tweezers for the finishing touches. This is where you refine the arch and remove any remaining strays that the wax missed.
Hold the tweezers with a firm but relaxed grip. Pinch the hair close to the root and pull in the direction of hair growth. Unlike waxing, which requires a sharp snap, tweezing works best with a steady, controlled motion. This gives you more control over exactly which hairs you remove.
Focus on three areas:
- The arch peak: Remove a few hairs just below the highest point of your arch to sharpen the curve.
- The tail: Tidy up the ends to ensure they taper naturally rather than ending abruptly.
- The space between brows: Clear out any stray hairs in the glabella (the area between your eyebrows) to create a clean, open forehead.
Work slowly. Check your progress in a mirror after every few plucks. It is easy to lose track of time and accidentally pluck too many hairs when you are focused on one spot.
Common Mistakes to Avoid
Even with the best tools, beginners make predictable errors. Knowing these pitfalls in advance can save you weeks of waiting for hair to grow back.
Mistake 1: Waxing against the grain. Always apply wax in the direction of hair growth and pull against it. Doing the reverse causes ingrown hairs and excessive irritation.
Mistake 2: Skipping the arch. Many people try to pluck the top of the arch to make it sharper. Resist this urge. The top of the brow should remain soft and natural. Only define the bottom edge of the arch.
Mistake 3: Ignoring symmetry. It is nearly impossible to have perfectly symmetrical brows. Aim for balance, not identity. Compare both brows in a front-facing mirror, but remember that slight differences are normal and even desirable.
Mistake 4: Not moisturizing afterward. Post-wax care is non-negotiable. Dry, irritated skin is prone to flaking and bumpiness. Use a fragrance-free balm or aloe vera gel to keep the area hydrated.
Comparing Home Kits vs. Professional Services
Should you really be doing this yourself? Let’s look at the trade-offs between using a home eyebrow wax kit and visiting a professional salon.
| Feature | Home Wax Kit | Professional Salon |
|---|---|---|
| Cost per session | $15-$30 (one-time purchase) | $30-$60 per visit |
| Time required | 10-15 minutes | 30-45 minutes (including booking) |
| Risk of error | Higher (requires self-discipline) | Lower (expert assessment) |
| Convenience | Anytime, anywhere | Requires appointment |
| Long-term savings | High (reusable supplies) | Low (ongoing expense) |
If you are confident in your ability to follow instructions and have steady hands, a home kit offers incredible value. One good kit can last for months if you store it properly. However, if you have sensitive skin, a history of keloids, or are completely new to hair removal, consider starting with a professional. They can teach you your unique bone structure and show you exactly where your personal limits are.
Maintenance and Long-Term Care
Shaping your brows is not a one-time event; it is a maintenance routine. How often you need to repeat the process depends on your hair growth cycle. On average, brow hairs take about six to eight weeks to fully grow back after being removed from the root.
For most people, touch-ups every two to three weeks are sufficient. During this time, use tweezers for minor corrections rather than full waxing sessions. Reserve waxing for when you notice significant regrowth along the lower border.
To extend the life of your shape, avoid rubbing your eyes vigorously or sleeping on your face, as friction can irritate the recently waxed area. Also, be cautious with exfoliating products around the brow region for the first 24 hours after waxing, as this can increase the risk of ingrown hairs.
Frequently Asked Questions
Is eyebrow waxing painful?
It can be uncomfortable, but most people describe it as a quick pinch rather than sharp pain. The sensation is significantly reduced when you pull the strip quickly and keep your skin taut. Sensitive individuals may experience more discomfort, so applying a numbing cream 15 minutes before waxing can help.
How long does eyebrow wax last?
Results typically last between three to four weeks. Since the hair is removed from the root, regrowth is slower than shaving. You may notice tiny stubble appearing within a week, but it usually takes several weeks for the hair to become visible enough to require another shaping session.
Can I wax my eyebrows if I have sensitive skin?
Yes, but choose a gentle formula. Look for wax kits labeled "for sensitive skin" that contain natural ingredients like honey or aloe and lack strong fragrances. Always patch test on a small area of your arm before applying to your face to check for allergic reactions.
What is the best way to fix uneven eyebrows?
Start by mapping both brows independently to identify the ideal shape for each side. Then, compare them in a mirror. If one brow appears shorter or thinner, be conservative with removal on that side. Over time, consistent mapping will help train your eye to recognize your natural symmetry, making future adjustments easier.
Should I trim my eyebrows before or after waxing?
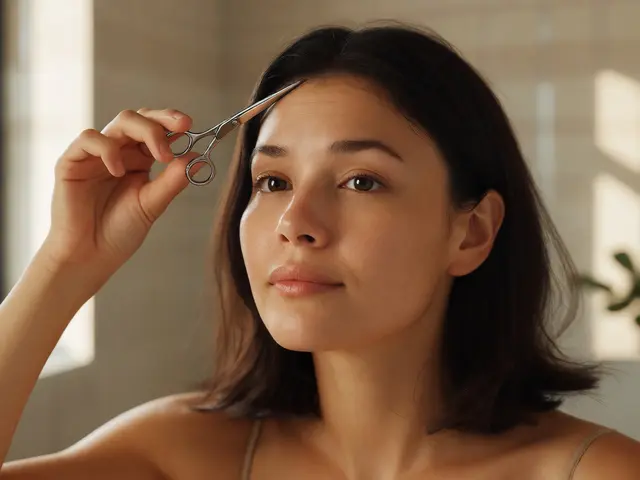
Trim before waxing. If your brow hairs are long, they can tangle during the waxing process, causing extra pain and breaking the hair shaft instead of pulling it from the root. Use small scissors to snip any hairs that extend beyond the desired length, holding the hair straight with your tweezers as you cut.

Jacob Baby Official
August 21, 2026 AT 06:58Oh, look at that. Another one of those 'expert' guides that tells you to use a white makeup pencil to map your brows because apparently, geometry is too hard for the average person. You know what else is too hard? Admitting that most people just pluck randomly and it works out fine in the end. But no, we need a whole 'blueprint' like we are building a skyscraper on our face. It’s all so much drama for something that takes ten seconds if you have decent eyesight.
john randall
August 22, 2026 AT 15:34I actually tried this last weekend. The mapping part was surprisingly useful though. I used an eyebrow spoolie instead of a pencil since I didn't have a white one handy, but the angle trick for the arch really helped me stop over-plucking the top. Took about 15 mins total. Not bad.
Jeff Falcon
August 24, 2026 AT 10:31Yeah, exactly! And I think the biggest thing people miss, honestly, is the cleansing step. Like, who knew that oil from your moisturizer could mess up the wax adhesion? I skipped it the first time and half my hairs just snapped off instead of pulling out, which was super annoying and left these little stubble bumps that took days to go away. So yeah, wipe it down, let it dry completely, maybe even use a tiny bit of powder if you're prone to sweating, and then you’re good to go. It really makes a difference in how clean the result looks afterwards.
Alyson Karson
August 24, 2026 AT 18:52FINALLY someone gets it!! i always thought i had weird bone structure but its just been bad technique. im gonna try the strip method this week instead of just tweezing everything into oblivion. feels like my brows were never supposed to be this thin anyway lol
Chris Neal
August 25, 2026 AT 12:23Actually, if you are going to wax, make sure you pull in the direction opposite to hair growth, not just 'quickly'. The article says it, but people ignore physics. Also, don't use hot pot wax unless you know what you're doing. Strips are safer for beginners. Trust the process.
Vishnu Vardhan Reddy M S
August 27, 2026 AT 07:09Haha, 'opposite to hair growth'. Sure. In India, we’ve been doing this with wax strips since forever. My mom used to do it with warm wax beads she made herself. No fancy kits, no $30 price tag. Just patience and a steady hand. Maybe try looking at traditional methods before buying another gadget?
Kyle Ware
August 29, 2026 AT 03:50good point. traditional methods work well if you have the right consistency. the key is keeping the skin prepped and post-care simple. i find that aloe vera gel after helps more than expensive balms sometimes. less is often more here.
Iva Grekova
August 29, 2026 AT 23:36I’m a huge fan of the 'balance, not identity' tip. I used to stress so much about making them perfectly symmetrical that I’d end up with one brow higher than the other. Now I just check in a front-facing mirror and accept that my left side is naturally a bit thicker. It looks way more natural when you stop fighting your own face.
Onyinyechi Nwosu
August 30, 2026 AT 04:12the maintenance part is real. i live in a very humid place and sweat a lot so the wax doesn’t stick as well if i don’t prep properly. also sleeping on your face is a nightmare for new wax jobs. i wear a loose cap at night for the first two days to avoid friction. small things but they help.
michelle veluz
August 31, 2026 AT 19:57OH MY GOD!!! Did you all see the table?!?! $30-$60 per visit at a salon??? That is ROBBERY!!! Why would anyone pay that when a kit lasts months?? Unless... unless the salons are in on some big conspiracy to keep us dependent on their services while charging us premium prices for basic grooming!! I mean, think about it! They want us to feel insecure enough to keep coming back! It’s all about the money, folks! Don’t let them fool you! Buy the kit, save the cash, and stay vigilant!