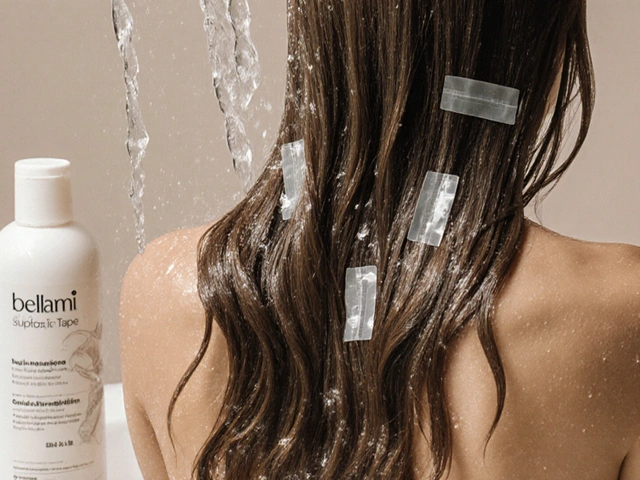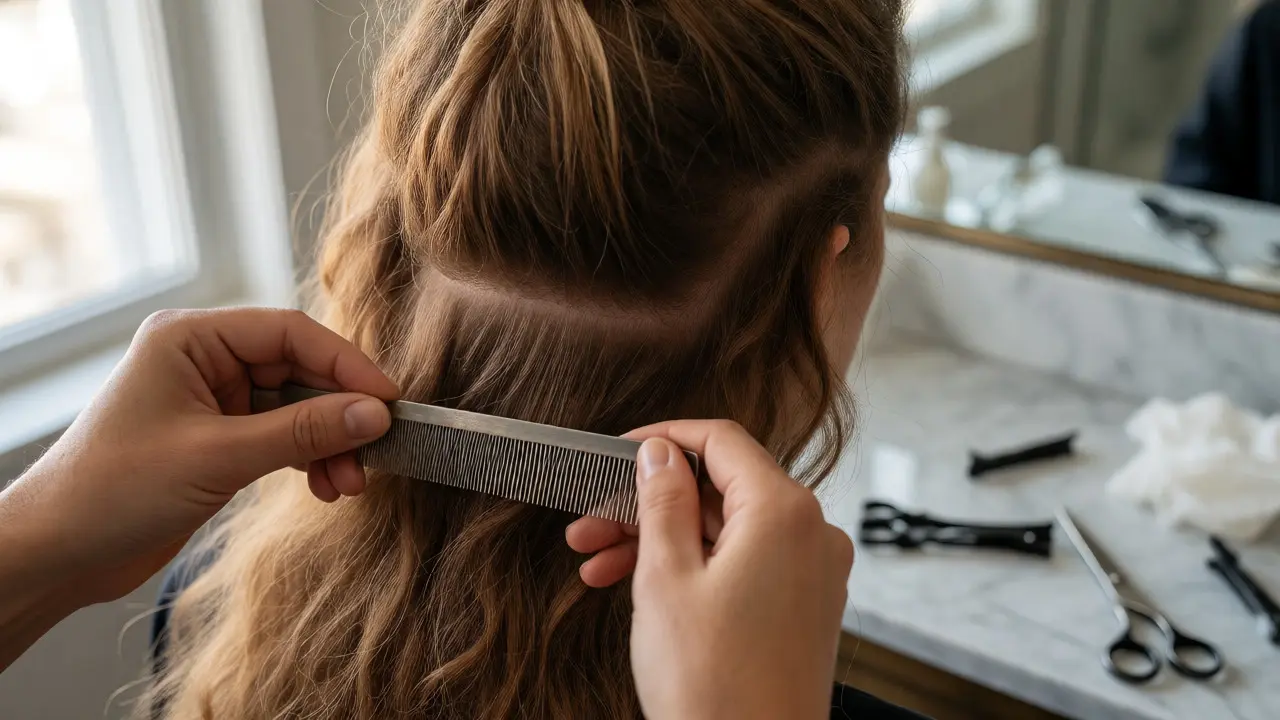
You just bought a pack of gorgeous body wave hair extensions with pre-applied adhesive tabs, and now you're staring at them in the mirror wondering if you're actually going to pull this off. It’s a common panic moment. But here is the truth: installing tape-in hair extensions is one of the most beginner-friendly methods available. You don't need heat tools, glue guns, or a professional stylist's chair. With steady hands and the right technique, you can have seamless, natural-looking volume in under an hour.
The key isn't just slapping them on; it's about placement and tension. If you mess up the first row, every subsequent row will look crooked. This guide walks you through exactly how to prep your hair, section it correctly, and sandwich those tapes so they last for weeks without slipping or showing tracks.
What You Actually Need Before Starting
Before you even touch the wefts, gather your toolkit. Most people forget half of this stuff and end up improvising with kitchen scissors, which leads to frayed ends later. Here is your non-negotiable checklist:
- Tape-in extensions: Ideally 10-20 pieces depending on your head size and desired volume. For body wave texture, ensure the color matches your roots perfectly.
- Rat-tail comb: Essential for creating clean, straight partings.
- Hair clips: At least 4-6 strong clips to hold sections out of the way.
- Scissors: Sharp fabric or hair shears for trimming excess length if needed (do this *after* installation).
- Alcohol wipes or pre-bond shampoo: To remove oils from your natural hair before application.
- Mirror setup: One wall mirror and one handheld mirror are crucial for checking the back of your head.
If you have very fine hair, consider grabbing some volumizing powder to add grip to the roots. Oily hair is the enemy of tape adhesives. If your hair is freshly washed and conditioned with heavy silicone products, the tapes won't stick. Wash your hair 24-48 hours prior, skipping conditioner near the roots.
Prepping Your Natural Hair
This step determines whether your extensions slip off in two days or stay put for six weeks. Start by brushing your hair thoroughly to remove any tangles. Tangled hair creates uneven layers, which makes the tapes visible and uncomfortable.
Next, apply a small amount of alcohol-based cleanser or dry shampoo to the areas where the tapes will sit. This strips away sebum and product buildup. Let it dry completely. If you skip this, the adhesive bonds to oil instead of hair keratin, and gravity wins.
| Task | Why It Matters | Time Estimate |
|---|---|---|
| Wash & Dry | Removes dirt; ensures clean bond surface | 30 mins (previous day) |
| Detangle | Prevents lumps under the tape | 5 mins |
| De-grease Roots | Maximizes adhesive strength | 5 mins |
| Sectioning | Ensures symmetrical placement | 10 mins |
The Sandwich Method: Step-by-Step Installation
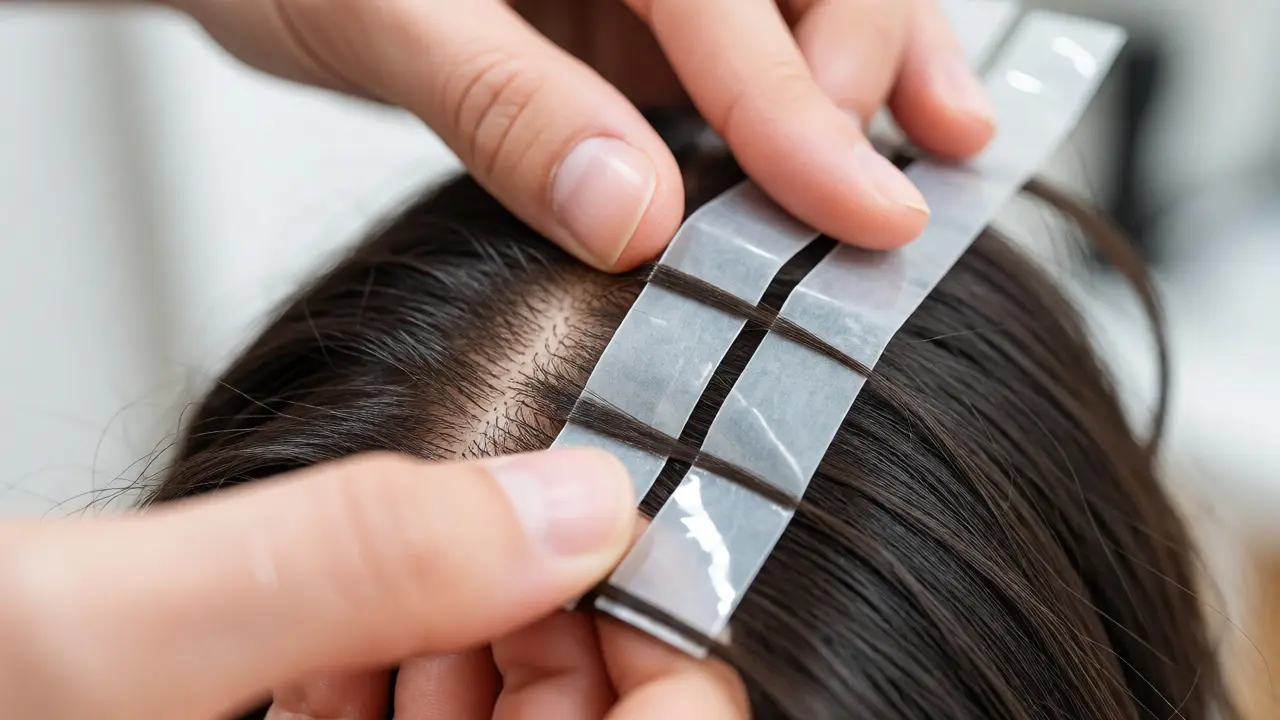
Tape-ins work using a "sandwich" technique. You place one piece of extension underneath a thin slice of your natural hair, then press another extension piece on top of that same slice. The two tapes adhere to each other, trapping your hair in the middle. No glue, no sewing.
Step 1: Create Your Partings
Start at the nape of your neck. Use the rat-tail comb to make a horizontal parting about 1/4 inch thick. Clip everything above this line out of the way. This bottom row is your foundation. If it's crooked, everything else will be too.
Step 2: Apply the Bottom Piece
Take one tape-in weft. Peel the protective backing off one side of the adhesive tab. Place this sticky side down against the underside of your sectioned hair slice, as close to the scalp as possible (about 1/8 inch away). Do not touch the other sticky side yet.
Step 3: Apply the Top Piece
Take a second matching weft. Peel its backing. Place it on top of the same hair slice, aligning it directly over the bottom piece. The hair slice is now sandwiched between two tapes.
Step 4: Secure the Bond
Press firmly. Run your fingers along the tape from the root to the tip. Then, use the flat edge of your rat-tail comb to slide along the tape edges. This ensures full contact between the two adhesive sides. Hold for 10-15 seconds. You should feel resistance when you gently tug the hair-the tape is holding.
Step 5: Repeat Upwards
Move up to the next section. Leave about 1/2 inch of space between rows vertically. This prevents bulkiness and allows your natural hair to breathe. Work symmetrically: do the left side, then match the right side immediately to keep balance.
Placement Tips for Body Wave Texture
Body wave hair has a loose, S-shaped curl pattern. Unlike straight hair, you can't hide mistakes easily because the texture draws attention. Here is how to blend it seamlessly:
- Face-Framing Pieces: When you reach the front, angle the tapes slightly forward. This mimics the natural growth direction of your hairline.
- Crown Area: Avoid placing tapes directly on the crown if you plan to wear high ponytails. Instead, place them slightly behind the crown point to avoid visibility.
- Layering: Body wave extensions often come in uniform lengths. After installation, ask a stylist to trim them into layers that match your cut. Unlayered body waves can look like a helmet if not blended.
Pro tip: If you have very short hair (under 4 inches), tape-ins might show. In this case, try micro-tape extensions with narrower tabs designed specifically for shorter lengths.

Mistakes That Ruin Tape-Ins
I've seen countless DIY jobs fail because of these three errors:
- Too Much Hair in One Section: If you grab a thick chunk of hair, the tapes won't close fully. The result? Gaps where the white tape shows through. Keep slices thin-no thicker than the width of the tape itself.
- Touching the Adhesive: Fingerprints contain oils. If you touch the sticky side before applying it, the bond weakens. Handle the wefts by the hair strands, not the tape.
- Skipping the Cool Down: Freshly applied tapes are pliable. Don't style them immediately. Wait at least 24 hours before washing or heat styling. This lets the adhesive cure fully.
Maintenance and Removal
Tape-ins typically last 6-8 weeks. As your hair grows, the tapes move down from the scalp. You'll notice a gap appearing. This is normal. To maintain them:
- Brush daily with a loop brush, starting from the ends and working up.
- Use sulfate-free shampoo. Sulfates strip the adhesive.
- Avoid conditioner on the tape area. Apply it only to the mid-lengths and ends.
- Sleep with your hair in a loose braid or silk bonnet to prevent tangling.
To remove them, use a dedicated tape-in remover solution or pure acetone-free nail polish remover. Saturate the tape, wait 5 minutes, then gently slide the two wefts apart. Never rip them out. Pulling causes breakage.
Can I install tape-in extensions myself?
Yes, absolutely. Tape-ins are designed for DIY application. The main challenge is reaching the back of your head. Using two mirrors helps significantly. If you struggle with visibility, ask a friend to help with the back rows while you handle the front and sides.
How many packs do I need for body wave hair?
For average density and shoulder-length hair, 10-15 pieces (5-7 pairs) are usually sufficient. If you want significant volume or have very long hair, you may need 20+ pieces. Always buy extra pieces to account for mistakes during the first installation.
Will tape-ins damage my natural hair?
Not if installed and removed correctly. Damage occurs when tapes are left in too long (causing matting) or ripped out forcefully. Proper maintenance and timely removal preserve hair health.
Can I swim with tape-in extensions?
Yes, but chlorine and saltwater can degrade the adhesive faster. Rinse your hair with fresh water immediately after swimming and apply a leave-in conditioner to protect the bonds. Avoid rubbing the tape areas vigorously.
How do I hide the tape lines?
Ensure you place the tapes close to the scalp but not touching it. Blending is also key: use a small amount of concealer or dry shampoo on the tape line if it shows. Styling the hair in loose waves (which body wave already provides) helps mask any slight irregularities.