You’ve probably seen the trend on TikTok or Instagram: the "unibrow" is back, but maybe not in the way you want it. Or perhaps you just hate the look of stray hairs connecting your brows and you’re terrified that one wrong snip with those cheap drugstore scissors will leave you looking like a permanent gap-toothed smile on your face. You’re not alone. Many people avoid plucking or trimming because they have sensitive skin, thin brows that can’t handle more hair removal, or simply a fear of over-grooming.
Here’s the good news: you don’t need to pick up tweezers or reach for the eyebrow wax kit to make your brows look separated and polished. You can hide the connection entirely using makeup and grooming tricks that take less than five minutes. This guide walks you through exactly how to camouflage the center of your brows so they appear distinct, lifted, and clean-without removing a single hair.
Why Avoid Cutting or Plucking?
Before we get into the "how," let’s talk about why you might be resisting the standard advice. Most beauty gurus say, "Just pluck it." But for some, this isn’t feasible. If you have extremely fine hairs, plucking can cause ingrown hairs or redness that lasts for days. If your natural brow shape is very straight and close-set, cutting the center might create an unnatural gap that looks worse than the unibrow itself.
Also, consider the maintenance factor. If you cut the middle every week, you’ll see stubble growing back within two days. It gets prickly, it gets visible, and it defeats the purpose of hiding it. By using concealment techniques, you maintain full control. You can decide daily whether you want a bold, connected look (which is actually quite fashionable right now) or a separated, arched look. It’s reversible. Mistakes? Just wipe it off.
The Power of Concealer: Your First Line of Defense
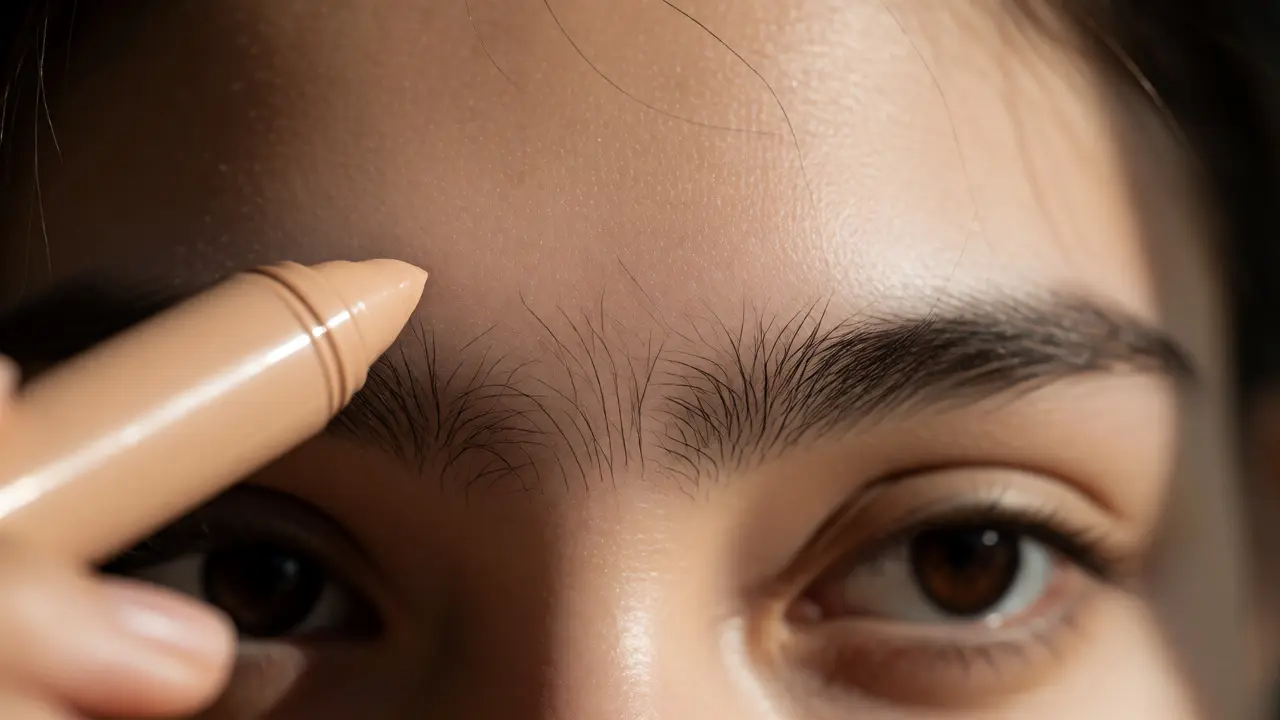
The most effective tool in your arsenal isn’t a razor; it’s a high-coverage concealer. The goal here isn’t to paint your whole forehead beige-it’s to neutralize the dark pigment of the hair in the center of your brows.
Start by choosing the right formula. Liquid concealers are usually too sheer for thick hair. You need a creamy, matte stick concealer or a pot concealer. These formulas have higher pigment concentration. Pick a shade that matches your foundation perfectly. If you go lighter, you’ll draw attention to the area; if you go darker, it’ll look muddy.
- Prep the area: Ensure the skin between your brows is clean and dry. Any oil will break down the concealer.
- Apply directly to the hair: Don’t just dab it on the skin. Use a small, flat brush or your fingertip to press the concealer *onto* the hairs themselves. You want to coat them, not just cover the skin beneath.
- Build coverage: One layer often isn’t enough for dark hair. Let the first layer set for 30 seconds, then apply a second thin layer only where the hair shows through.
- Set it: This is crucial. Loose translucent powder locks the concealer in place and prevents it from creasing or sliding onto your eyelids as the day goes on.
Brow Gel: The Sculptor’s Secret
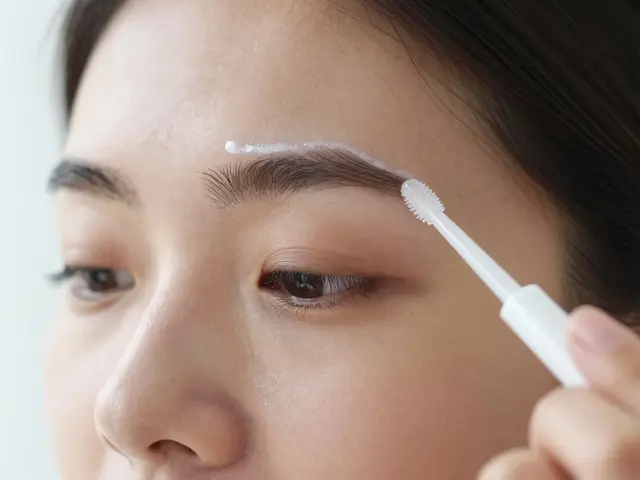
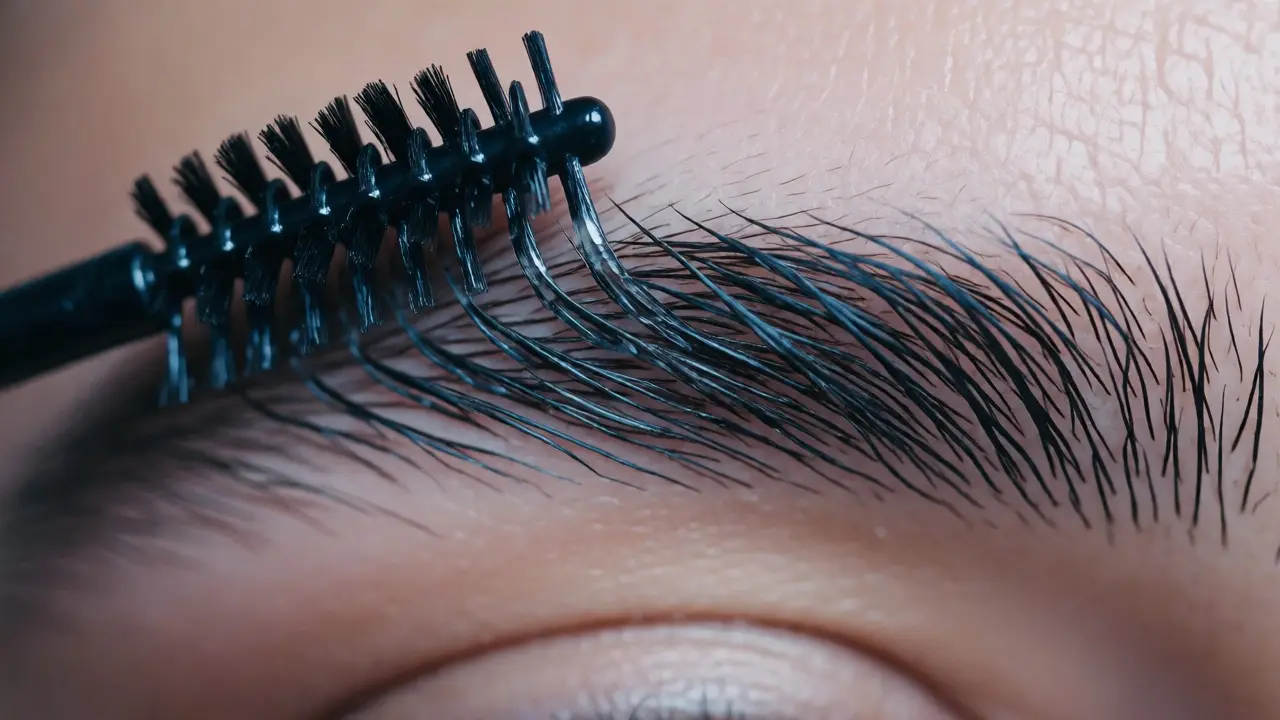
If you have slightly longer hairs that tend to drift toward the center, a clear or tinted brow gel can physically move them out of the way. Think of it as styling clay for your face.
Use a spoolie brush (the little wand that comes with most mascaras or brow gels). Dip it into the gel and comb your brows upward and outward, away from the nose. For the center section, try brushing the hairs diagonally toward the temples rather than letting them lie flat across the bridge of your nose. This creates visual separation even if the hairs are still technically there.
| Gel Type | Best For | Hold Strength | Visibility |
|---|---|---|---|
| Clear Tinted Gel | Natural look, light hair | Medium | Invisible |
| Tinted Fiber Gel | Filling gaps while separating | Strong | Adds color/volume |
| Soap Brows (Bar Soap) | Thick, unruly hairs | Very Strong | Slightly shiny finish |
Pro tip: If you have very stubborn hairs, try the "soap brow" technique. Take a bar of glycerin soap, wet your spoolie, and swirl it on the soap. Comb the hairs upward and outward. Once dry, they stay put all day. This works better than many commercial gels for thick, coarse hair.
Strategic Pencil Work: Creating Illusion
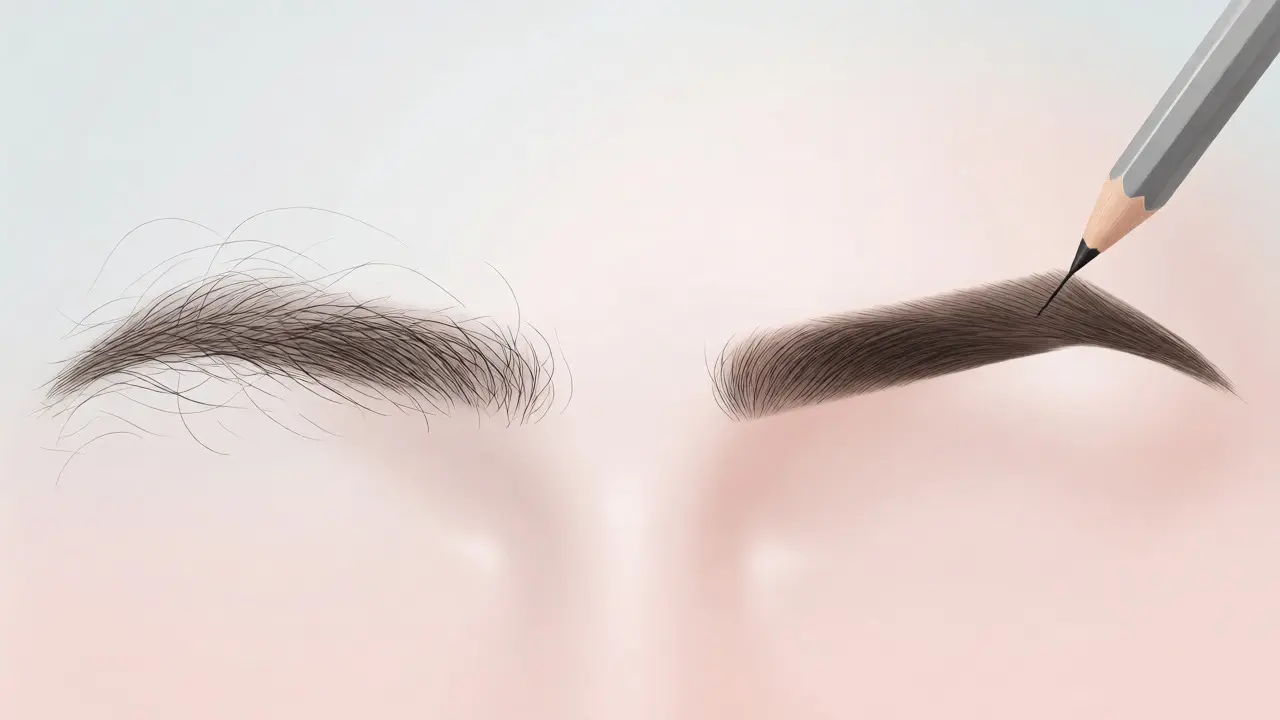
Sometimes, hiding the unibrow isn’t about covering the middle-it’s about emphasizing the start of the actual brow. By defining the inner corners clearly, you trick the eye into seeing a sharp line where the brow begins, making the stray hairs behind it seem like background noise rather than part of the structure.
Use a fine-tipped eyebrow pencil that matches your hair color. Draw short, feathery strokes at the very beginning of your brow arches. Do not fill in the space between these starting points. Leave the center completely bare or concealed. This contrast draws the viewer’s eye to the defined heads of your brows, ignoring the fuzzy bridge.
Lighting and Angle Matters
You might notice that your unibrow disappears in certain lights. Harsh overhead lighting casts shadows that make stray hairs look darker and thicker. Soft, frontal lighting (like facing a window) flattens the features and makes the hair less noticeable.
When applying your concealment, check your work in natural daylight if possible. Bathroom mirrors with yellow bulbs can lie to you. Step outside or stand near a window. If you can’t see the stray hairs from arm’s length, you’ve done your job. Remember, nobody else sees your face from six inches away-they see it from three feet away.
What About Waxing Kits? A Middle Ground
You mentioned searching for an eyebrow wax kit. While you said you don’t want to cut, waxing is technically different from cutting-it removes the hair from the root. However, if you’re afraid of pain or irritation, stick to the makeup methods above. But if you want a semi-permanent solution without scissors, consider a hard wax strip designed specifically for brows.
Hard wax grips the hair, not the skin, which reduces irritation. You can apply a tiny amount just to the central strays, wait for it to harden, and pull it off. This gives you a cleaner canvas for makeup. It’s less damaging than shaving and lasts longer than trimming. Just do a patch test first! Skin on the glabella (the area between your brows) is sensitive.
Common Mistakes to Avoid
Even with the best intentions, it’s easy to mess up the illusion. Here are the top pitfalls:
- Using too much product: Caking on concealer makes the area look gray or ashy. Less is more. Build coverage gradually.
- Ignoring the undertone: If your concealer is too pink, it will clash with your brown or black hair. Match the undertone of your foundation.
- Forgetting to blend: Blend the edges of the concealer into your forehead skin so there’s no obvious "patch" of lighter color.
- Over-defining the arch: If you draw a super sharp arch but leave the center messy, the disconnect looks odd. Keep the overall shape soft.
Quick Routine Summary
Here is your 3-minute morning routine to hide a unibrow without cutting:
- Cleanse and moisturize the brow area. Let it dry completely.
- Apply a matte, full-coverage concealer stick directly onto the stray hairs in the center. Pat gently with a finger or sponge.
- Set the concealer with a small puff of translucent powder.
- Brush your existing brow hairs upward and outward with a strong-hold brow gel or soap.
- Define the inner corners of your brows with a pencil to anchor the look.
- Check in natural light. Add a second thin layer of concealer if needed.
Can I use foundation instead of concealer?
Foundation is usually too sheer to cover dark eyebrow hairs effectively. You would need to apply several layers, which can look cakey and settle into lines. A high-pigment concealer is much more efficient and requires less product to achieve opacity.
Will this method work for blonde or grey hairs?
Yes, but it’s easier. Lighter hairs reflect less contrast against the skin. Often, a simple sweep of brow gel to push them out of the center is enough. If you do use concealer, ensure it matches your skin tone perfectly, as mismatches are more visible on lighter skin tones.
Does this damage my skin?
No, unlike waxing or threading, makeup application doesn’t traumatize the hair follicle or remove skin cells. However, always remove your makeup thoroughly at night with a gentle cleanser to prevent clogged pores or milia around the brow bone.
How long does the concealment last?
With proper setting using powder, a good quality matte concealer should last 8-10 hours. If you have oily skin, you may need to blot lightly and reapply a tiny bit of powder midday. Avoid touching the area frequently.
Is there a specific brand of concealer recommended?
Look for products labeled "full coverage," "matte," and "long-wear." Drugstore options like Maybelline Fit Me or L’Oréal Infallible are highly rated for their pigmentation. High-end options like NARS Radiant Creamy Concealer (in the matte version) or Tarte Shape Tape also work well. Test a sample first to ensure it doesn’t oxidize (turn orange) on your skin.