
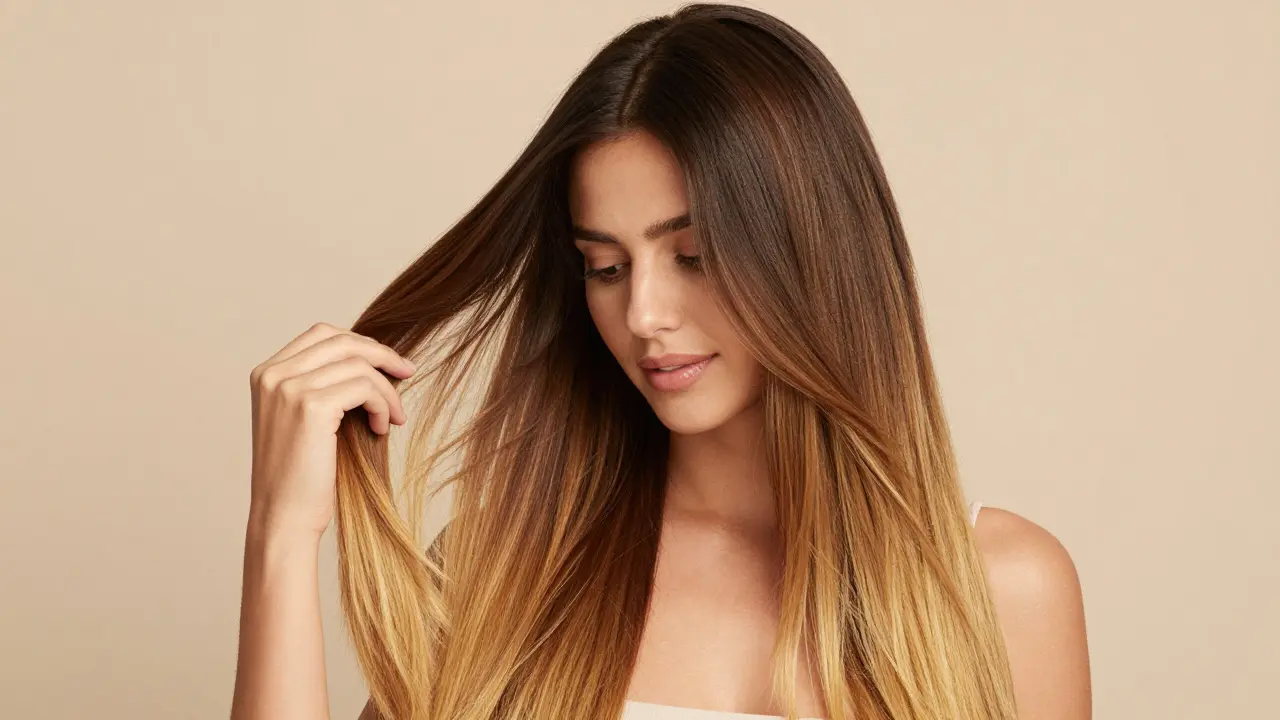
There is nothing quite like the confidence boost of walking out with freshly colored hair. But if you have ever stared at a box of dye and wondered how to achieve that smooth, dark-to-light transition without looking like you dipped your head in paint, you are not alone. Ombre hair is a popular two-toned color style featuring darker roots that gradually blend into lighter ends. It is one of the most forgiving styles for beginners because it grows out naturally, meaning you do not need to rush back to the salon every four weeks.
The secret to a professional-looking result lies in preparation, precise sectioning, and mastering the art of blending. Whether you are working with dark brunette hair or lightening up blonde locks, these practical tips will help you avoid harsh lines and uneven patches. Let’s break down exactly how to get that seamless gradient yourself.
Preparation: The Foundation of Good Color
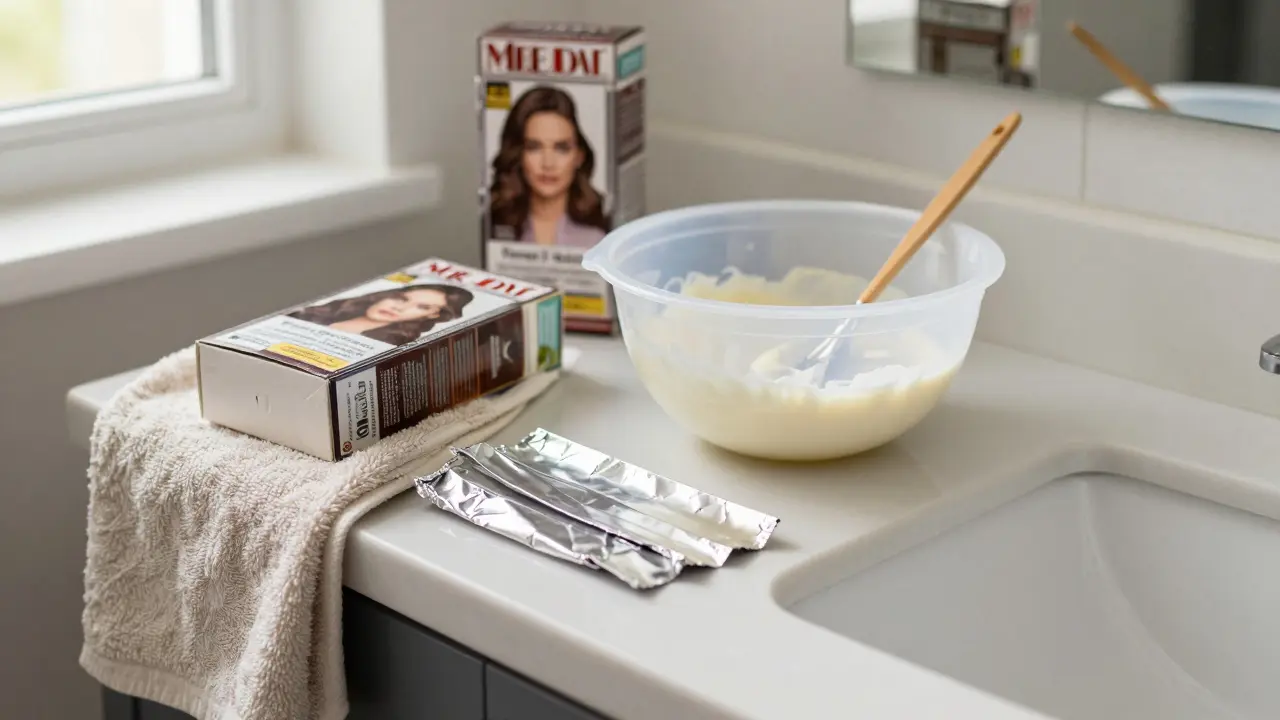
Before you even open a foil or mix a bowl, you need to set the stage. Many people make the mistake of washing their hair right before dyeing, but this strips away natural oils that protect your scalp from irritation. Instead, wash and condition your hair the day before. This leaves just enough natural sebum on your scalp to act as a barrier against chemicals, while ensuring your hair is free of heavy styling products like gels or sprays that could block the dye.
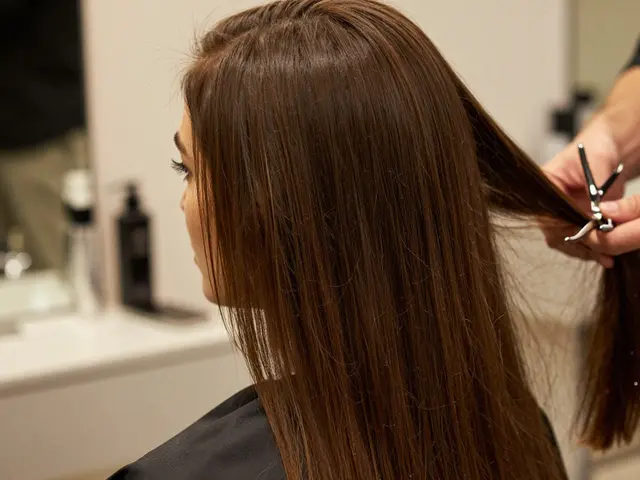
If you have split ends, cut them off now. Coloring damaged hair only highlights the breakage. Trimming 1-3 cm of dead ends ensures the gradient falls on healthy strands. Also, prepare your space. Lay down old towels or plastic sheets on the bathroom floor and counter. Wear an old T-shirt you do not mind staining, and put on the gloves provided in your kit. These small steps prevent stress later so you can focus entirely on the application.
Choosing Your Shade and Products
Understanding where your hair starts helps you decide where it needs to go. If you have dark hair (levels 3-5 brown), you will need to lighten the ends. For this, a bleach kit or a high-lift blonde dye is necessary. If you have blonde hair (levels 8-10), achieving ombre usually means darkening the top section by several shades while leaving the ends light.
For a traditional look, choose a dye that is about 2-4 levels lighter than your natural base. For example, going from level 5 brown to level 7 or 9 creates a visible contrast without being jarring. Brands like L’Oréal Paris and John Frieda offer specific ombre kits that include developer, color, and tools for around $20. These kits are designed for home use and provide enough product for shoulder-length to mid-back hair. Remember, standard permanent dye cannot lift previously dyed hair significantly. If your ends are already dark from box dye, you will need bleach to reach a lighter shade.
| Starting Hair Color | Action Required | Product Type | Target Result |
|---|---|---|---|
| Dark Brown/Black (Level 1-4) | Lighten Ends | Bleach + Developer or High-Lift Blonde | Caramel, Honey, or Platinum Ends |
| Medium Brown (Level 5-6) | Lighten Ends | Permanent Dye (2-3 shades lighter) | Golden Brown or Light Ash Ends |
| Blonde (Level 8-10) | Darken Roots/Mids | Semi-Permanent or Permanent Dye (Darker) | Shadow Root Effect with Light Ends |
Sectioning and Backcombing: Avoiding the "Dip-Dye" Look
The biggest mistake beginners make is applying dye in a straight horizontal line. This creates a harsh "dip-dye" effect rather than a soft gradient. To fix this, you must master sectioning and backcombing (teasing).
Start by parting your hair down the middle from forehead to nape. Then, part from ear to ear, creating four quadrants. Clip three sections away and work on the bottom back section first. Divide this quadrant into smaller vertical subsections, about 1 inch wide. Use duck-bill clips to hold each piece securely.
Here is the pro tip: gently backcomb the hair just above where you want the color to start. If you want the ombre to begin at the mid-shaft, tease the hair 2-3 cm above that point. This creates a cushion of tangled hair that diffuses the color as it is applied, resulting in a blended transition zone of about 3-5 cm instead of a sharp line.
Mixing and Application Techniques
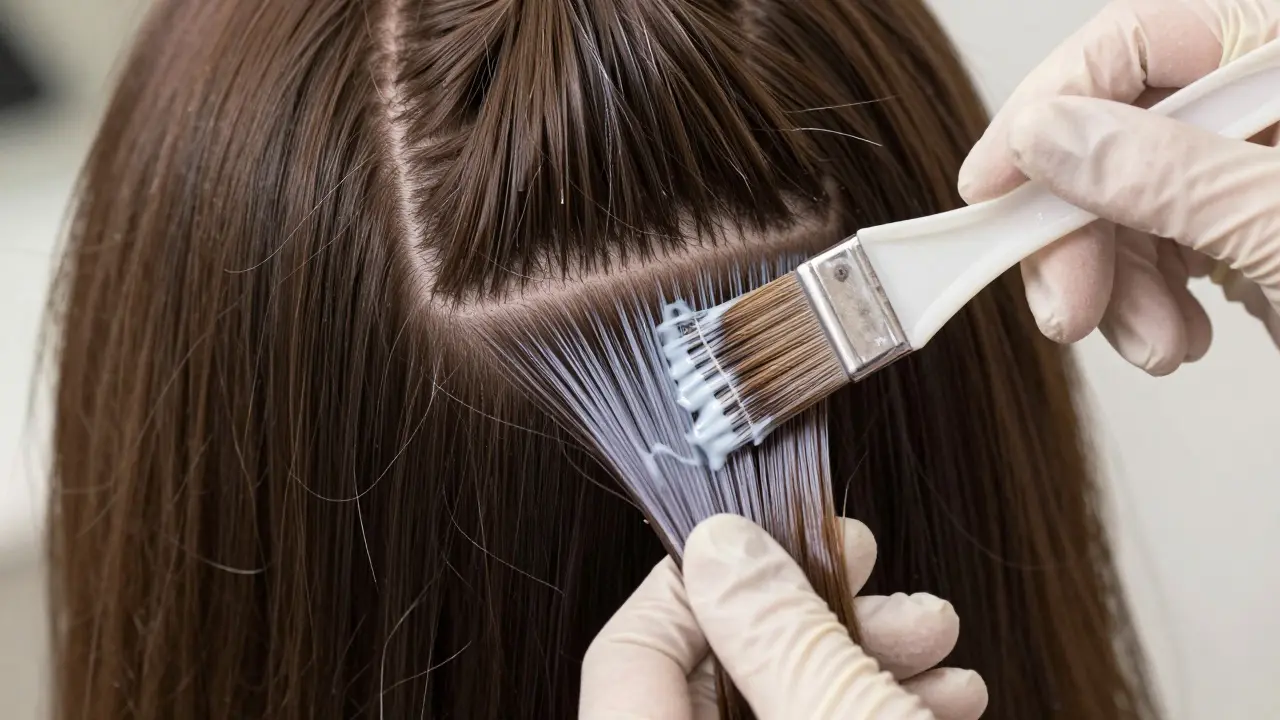
Follow the manufacturer’s instructions for mixing ratios. Typically, you combine the color cream with the developer. For bleach, a common ratio is one packet of powder to two ounces of developer. Mix until smooth. Apply the mixture starting from the very ends of your hair. Saturation is key-ensure every strand is coated. Unbleached patches will show up as dark spots later.
Use the brush included in your kit. For a softer look, use vertical strokes, painting the color upward toward the backcombed area. For a more dramatic, solid block of color, angle the brush horizontally. Work quickly but carefully. Once a section is saturated, wrap it in aluminum foil. This keeps the heat in, helping the chemical process work faster and more evenly. Repeat this process for all four quadrants.
Timing and Monitoring the Process
Time is critical. Most home kits recommend processing times between 25 and 45 minutes. Do not guess. Set a timer. However, do not just walk away. Check your progress every 10 minutes after the 25-minute mark. Remove one foil, wipe off a small amount of product with a gloved finger, and check the color.
If the ends are not light enough, rewrap and wait another 5-10 minutes. If they are close to your target shade, stop immediately. Over-processing can turn hair orange or cause breakage, especially on the fragile ends. If you are using bleach, monitor closely as it can lift hair rapidly in the final stages.
Rinsing and Aftercare
Once you are happy with the color, remove all foils. Rinse your hair with lukewarm water until the water runs clear. Do not shampoo yet. Apply a rich conditioner, focusing heavily on the bottom 10-15 cm where the lightener was concentrated. Leave it on for 3-5 minutes. This restores moisture and seals the cuticle.
After rinsing the conditioner, you can shampoo if desired, though many stylists recommend waiting 48 hours before washing to let the color set. In the following weeks, use sulfate-free shampoos and deep conditioning masks once a week to maintain the health and vibrancy of your ombre ends.
Ombre vs. Balayage: Which Is Right for You?
You might hear these terms used interchangeably, but they are different. Balayage is a freehand painting technique that creates soft, sun-kissed highlights scattered throughout the hair. It focuses on vertical placement and looks more natural and grown-out. Ombre, on the other hand, is defined by the dramatic contrast between the root and the ends. It is more graphic and bold. If you want a subtle, multi-dimensional look, choose balayage. If you want a striking two-tone effect, stick with ombre.
Can I do ombre hair if my hair is already dyed?
Yes, but you must be careful. Standard hair dye cannot lift existing color significantly. If your current color is dark and you want lighter ends, you will need to use bleach. Always perform a strand test first to see how your chemically treated hair reacts, as previously dyed hair may process faster or become brittle.
How long does ombre hair last?
Because ombre grows out naturally, it can last 3-6 months before needing a touch-up. The ends may fade over time, especially if you use bleach, so regular conditioning and occasional gloss treatments can help maintain the tone.
What causes a harsh line in ombre hair?
A harsh line is usually caused by applying dye in a straight horizontal band without blending. To avoid this, use the backcombing technique to create a buffer zone and use vertical brush strokes to feather the color upward into the natural hair.
Do I need foils for ombre hair?
Foils are highly recommended for home applications. They keep the sections separated, prevent the dye from touching untreated hair, and trap heat to ensure even processing. While you can do it without foils, it increases the risk of messy results and uneven color.
Is ombre damaging to hair?
Any lightening process involves some damage, particularly to the porous ends. However, because ombre avoids the scalp and concentrates on the lengths, it is generally less damaging than full-head bleaching. Proper aftercare with hydrating masks and protein treatments is essential to maintain hair strength.