

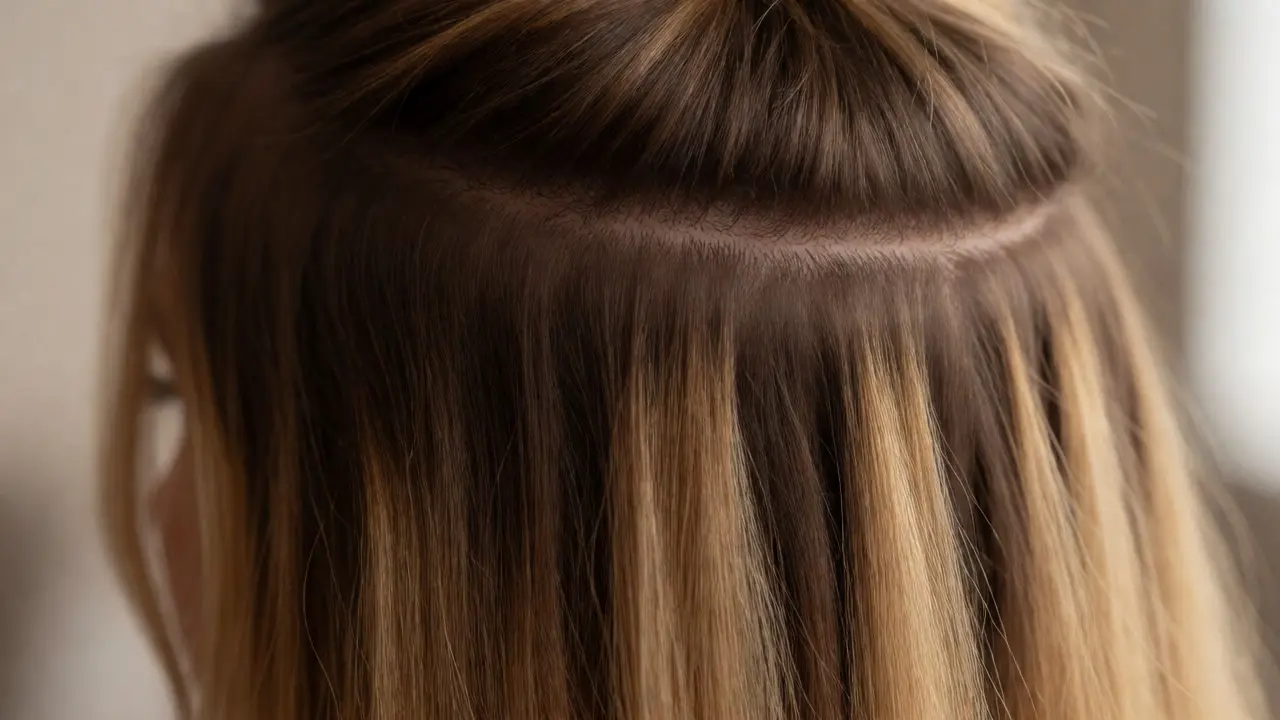
Nothing kills the vibe of a fresh set of hair extensions faster than seeing them. You know the look: your natural roots are one shade, and the weft is another, creating that dreaded "line" or "shelf." It’s frustrating because you spent good money on quality Remy human hair, but it just doesn’t sit right. The secret isn’t always in buying more expensive hair; it’s in how you prep, cut, and style what you already have.
Blending is an art form that combines color theory with cutting precision. Whether you’re rocking clip-ins for a night out or permanent tape-ins, the goal is the same: make it look like you grew the extra length yourself. Here is how to achieve that seamless transition without needing a salon appointment every time.
Why Your Extensions Don’t Match (Yet)
Before you pick up the scissors, understand why the mismatch happens. Most people buy extensions based on the mid-lengths or ends of their natural hair. But here’s the catch: your natural hair is usually darker at the root and lighter at the ends due to sun exposure and previous coloring. If you match your extensions to your ends, they will look too light against your roots. Conversely, if you match to the roots, the ends might look too dark compared to your sun-kissed tips.
This gradient issue is called dimensional blending. Human hair isn’t a flat color block; it has depth. When you install extensions, you’re introducing a new color variable into this existing ecosystem. If the extensions are solid-colored while your hair is multi-tonal, the eye catches the difference immediately. The fix? You don’t necessarily need to dye the extensions. Often, you just need to adjust how your natural hair interacts with them through cutting and styling.
The Cut: Trimming for Seamless Layers
A blunt cut is the enemy of blended extensions. If both your natural hair and your extensions are cut straight across, they create a hard line where they meet. To fix this, you need layers. But not just any layers-you need internal layers that remove weight from the bottom section of your natural hair.
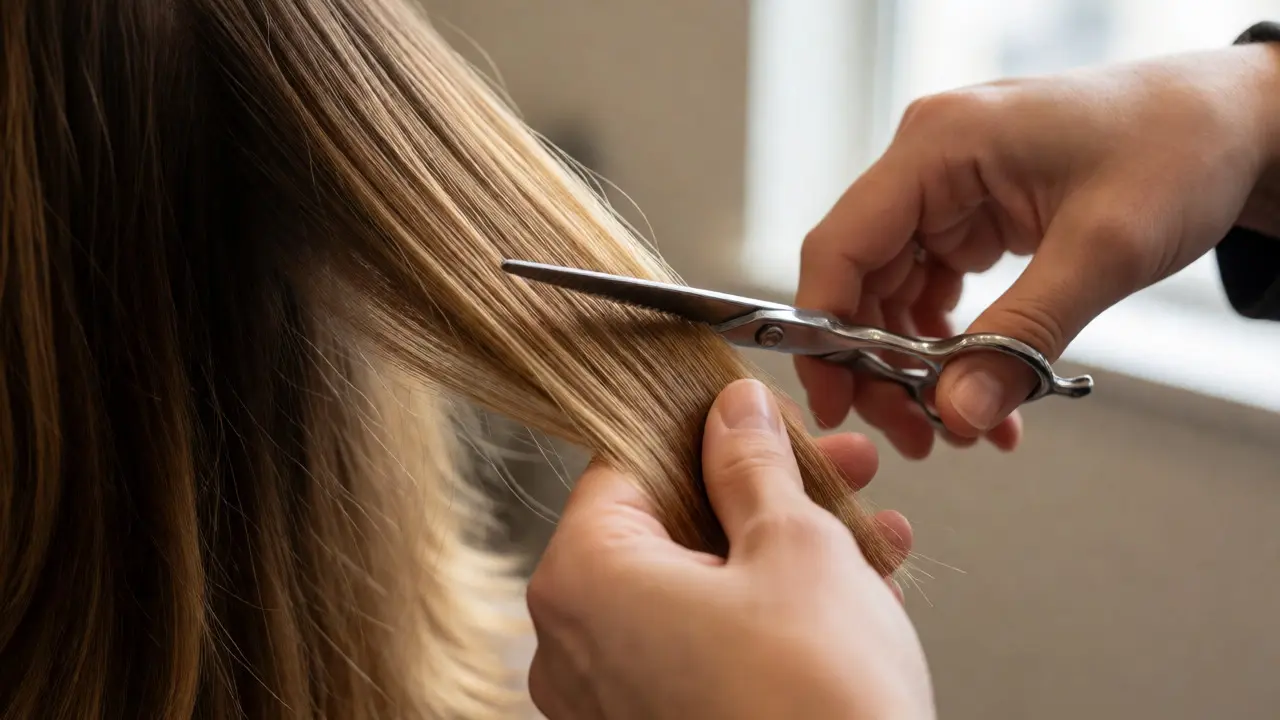
Here is a simple rule of thumb: Point-cutting is your best friend. Instead of cutting straight down with scissors, hold the section vertically and snip into the ends at an angle. This softens the edge so when the extension piece sits on top, there’s no visible step-down.
- For Clip-Ins: Take small sections of your natural hair near the parting. Point-cut these slightly shorter than the surrounding hair. This creates a "cushion" that hides the clips and allows the extension to lay flat.
- For Tape-Ins: Ask your stylist to undercut the area where the tapes go. By removing bulk from underneath, the tape lies closer to the scalp, reducing the gap between your natural texture and the added volume.
- Face-Framing Pieces: Never skip cutting face-framing layers. These should be tapered heavily. They bridge the gap between your facial features and the longer lengths, drawing the eye away from the actual attachment points.
Color Correction Without Damage
If cutting alone doesn’t solve the color clash, you might need to tweak the tone. But please, do not bleach your expensive Remy hair unless you know exactly what you’re doing. Permanent dyes can strip the cuticle, leading to tangling and dryness.
Instead, try temporary solutions first:
| Method | Best For | Durability | Risk Level |
|---|---|---|---|
| Tinted Dry Shampoo | Root shadow adjustment | 1 Wash | Low |
| Semi-Permanent Gloss | Adjusting overall tone | 4-6 Washes | Medium |
| Temporary Spray Color | Event-specific matching | 1 Day | Very Low |
| Professional Balayage | Permanent structural change | Months | High |
Tinted dry shampoo is underrated. If your extensions are slightly too light, a bronze or brown tinted powder at the roots adds immediate depth. It mimics the natural shadow effect and helps the lighter pieces sink into your darker base. It washes out easily, so if it looks weird, you haven’t ruined anything.
Styling Techniques to Hide the Line
Texture is the great equalizer. Straight, sleek styles often reveal the most flaws because there’s nowhere to hide. Curly or wavy textures naturally obscure the transition point between natural and added hair.
Try the "backcombing" trick. Before clipping in a weft, gently backcomb the section of your natural hair where the clip will sit. This creates a rough surface that grips the silicone-lined teeth of the clip better, preventing slippage. More importantly, it adds volume underneath, pushing the extension up so it doesn’t hang lower than your natural layer.
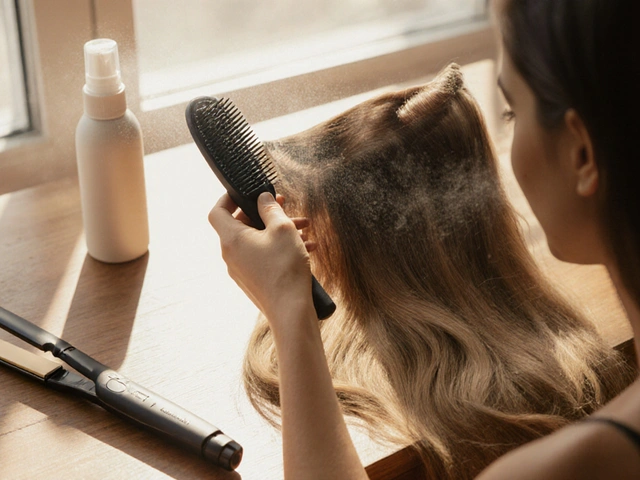
Another pro tip: Use a curling iron on your natural hair *after* installation. Curl your own hair tightly, then run your fingers through it to break up the curls. Do the same with the extensions. Mixing the textures makes it impossible to tell which strand came from which source. If you leave your natural hair straight and only curl the extensions, the contrast screams "fake."

Maintenance Matters for Blending
Extensions tangle faster than natural hair because they lack the natural oils produced by your scalp. When extensions get matted or frizzy, they lose their shine and stand out against your healthy, glossy natural strands. Keeping them smooth keeps them invisible.
- Detangle Daily: Use a loop brush specifically designed for extensions. Start from the ends and work your way up to the roots. Never rip through knots.
- Sleep Smart: Braid your hair loosely before bed. This prevents friction between the pillow and the attachment points, keeping the blend tight.
- Heat Protection: Always use a heat protectant spray. Heat damage causes porosity differences. If your natural hair is healthy and the extensions are fried, they will reflect light differently, making the seam visible.
Remember, blending isn’t a one-time fix. As your natural hair grows, the distance between the root and the attachment point changes. For tape-ins, this means moving them up every 6-8 weeks. For clip-ins, it means adjusting placement to ensure the new growth doesn’t create a shelf above the weft.
Frequently Asked Questions
Can I cut my own hair extensions?
Yes, but proceed with caution. Only trim the ends or add subtle layers using point-cutting techniques. Avoid cutting bangs or major layers on extensions yourself, as mistakes are irreversible on pre-colored hair. If you’re unsure, take them to a professional who specializes in extensions.
Why do my extensions feel heavier than my natural hair?
This is often due to density mismatch. If your natural hair is fine but the extensions are thick, they will pull and feel heavy. Opt for thinner wefts or fewer pieces. Alternatively, thinning shears can be used sparingly on the underside of extension wefts to reduce bulk without shortening the length.
Do I need to dye my natural hair to match the extensions?
Not always. Dyeing natural hair is easier and less risky than dyeing extensions. However, frequent coloring damages natural hair. Try toners or glosses first, which deposit color without lifting the cuticle aggressively. This adjusts the tone temporarily while preserving hair health.
How many packs of clip-ins do I need for a full head?
Typically, 5-7 packs are needed for full coverage on average density hair. Fine hair may need 4-5, while thick, coarse hair might require 7-8. Buying too few results in patchiness; too many creates bulk that requires excessive thinning.
What is the best way to store extensions to prevent tangling?
Store them flat in a satin bag or on a velvet hanger. Ensure they are completely dry and detangled before storage. Humidity and friction cause matting, so avoid tossing them loosely into a drawer. Proper storage extends their lifespan and maintains their blendability.


Mark Harvey
September 8, 2026 AT 13:43great guide really helpful for beginners like me who are scared to touch their hair
Art HND
September 9, 2026 AT 12:00this is basic stuff that every stylist knows but you wrote a whole article about it
Quintin Franzese
September 10, 2026 AT 03:56oh wow another person telling women they look bad if they don't blend their extensions perfectly. the pressure is real i guess
Elizabeth Brooks
September 10, 2026 AT 06:06hey mark totally agree with u! its all about practice at first i was terrified of point cutting my own bangs but once u get the hang of it its super easy. just remember to take tiny sections and go slow. dont rush or u might end up with uneven layers which is harder to fix than just having them too long initially. also make sure ur scissors are sharp because dull blades can cause split ends on both natural hair and extensions which ruins the blend even more. good luck with ur next set!
Jacob Baby Official
September 11, 2026 AT 04:48Let's be honest here, this entire premise is flawed from the start. You are trying to force two different biological materials to behave as one, which is physically impossible without constant maintenance. The 'point-cutting' advice is generic filler content designed to pad word count. Real blending happens in the salon chair by someone who understands density mapping, not by some amateur holding scissors vertically. If your extensions stick out, it's because you bought cheap synthetic blends disguised as Remy hair, not because you didn't cut them right.
john randall
September 13, 2026 AT 02:19i think most people overthink the color matching part. usually texture match matters way more than exact shade. if the curl pattern matches nobody notices the slight tonal difference
Deb Kortyna, MBA
September 14, 2026 AT 14:28I must respectfully disagree with the notion that temporary solutions are sufficient for long-term wear. While tinted dry shampoo offers a quick fix, it lacks the structural integrity required for professional-grade results. One ought to consider the cumulative effect of product buildup on the weft attachment points. Furthermore, the suggestion to undercut tape-in areas assumes a level of technical proficiency that many laypersons simply do not possess. It is advisable to seek certified expertise rather than relying on anecdotal home remedies.
alex kobri
September 16, 2026 AT 11:34its interesting how we try to hide our true selves behind layers and colors maybe the line isn't a flaw but a boundary we need to respect between who we were and who we want to be
Anthony Miller
September 17, 2026 AT 14:13You speak of 'art forms' and 'seamless transitions' as if this were high philosophy. It is merely vanity dressed up in technical jargon. I have seen countless individuals ruin their natural hairline attempting these so-called 'pro techniques' only to end up with patchy disasters. Why do you insist on promoting DIY methods that inevitably lead to damage? It is selfish to prioritize saving money over the health of one's follicles. This article serves no purpose other than to feed the delusion that mediocrity can be mistaken for excellence.
Tamara Miller
September 18, 2026 AT 14:29This is absolutely ridiculous!!! Who decided that blending is an art form?? It’s just hair!! And why are we spending hours on point cutting when we could be doing something productive?? Also, the table formatting is terrible, very hard to read on mobile devices, please fix this immediately!! The advice about backcombing is outdated and causes unnecessary breakage, stop spreading misinformation!!!
Zach Loescher
September 19, 2026 AT 07:08i wonder if the dimensional blending issue applies to synthetic fibers too or just human hair. seems like synthetic would hold color better but melt easier with heat styling
michelle veluz
September 20, 2026 AT 00:42THEY ARE HIDING THE TRUTH ABOUT CHEMICALS IN EXTENSIONS!!! Did you know that most 'Remy' hair is processed with harsh acids to remove the cuticle?? That is why it tangles!!! The salons don't tell you this because they profit from replacement sales!!! We are being poisoned slowly!!! Wake up sheeple!!!
Susan Cole
September 20, 2026 AT 01:02i tried the tinted dry shampoo tip last week and it actually worked surprisingly well for a date night. saved me from buying new clips
Brandon Olvera
September 21, 2026 AT 19:11if you cant afford a pro stylist you shouldnt be wearing extensions. simple as that. american standards demand perfection and shortcuts always fail.
Savara Gunn
September 22, 2026 AT 06:36thanks for the tips on sleeping with braids. i always wake up with knots and this helps a lot.