

There is nothing quite as frustrating as spending an hour in front of the mirror, only to walk out the door and feel like your hair has betrayed you. You leave the salon with a perfect blowout that looks sleek, shiny, and expensive, but by mid-afternoon, humidity hits, and it turns frizzy, flat, or just plain weird. Or maybe you tried doing it at home, got impatient with the heat, and now your strands feel like straw. This "blow out" moment-where your style literally blows apart-is something every person with hair deals with eventually.
We often think of a blowout as a one-time event, a service we buy from a stylist. But if you want results that last beyond the first shower, you need to treat it as a maintenance routine. The secret isn't just in the tools you use; it's in how you prep, dry, and seal your hair. Let’s look at why your styles fail and how to fix them without burning out your follicles.
Why Your Blowout Fails So Fast
Before we talk about fixing things, let’s figure out why they break. Most people blame the weather. And sure, Houston humidity (or any high-moisture environment) is a killer for straight styles. But usually, the problem starts before you even touch the dryer.
The biggest culprit is skipping the prep work. If your hair is tangled or coated in product buildup, no amount of heat will make it smooth. It just cooks the mess into place. Another common mistake is using too much heat for too long. We’ve all been there: rushing to get ready, cranking the iron to 450 degrees, and running it over the same section five times because it didn’t look right the first time. That doesn’t create shine; it creates micro-tears in the cuticle.
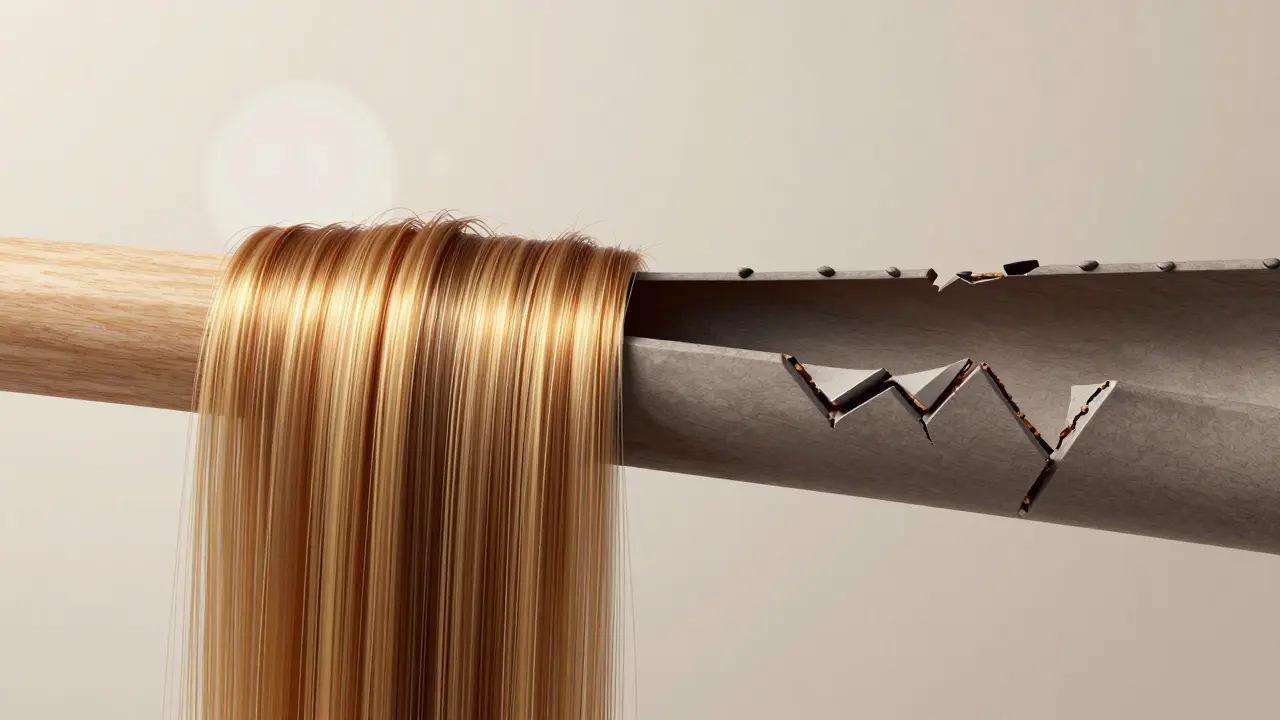
Heat damage is cumulative. You might not see split ends immediately, but the protein structure inside the hair shaft weakens. Over time, this leads to breakage, dullness, and that porous texture that refuses to hold a style. Understanding this helps you realize that prevention is cheaper and easier than repair.
The Prep Game: What Happens Before the Heat
If you want a blowout that lasts, half the battle is won in the shower. Start with a clarifying shampoo once a week to remove silicone buildup from serums and sprays. Regular shampoos often leave a film that weighs hair down, making it look greasy faster. After washing, condition only from the mid-lengths to the ends. Putting conditioner on your scalp can clog pores and flatten volume.
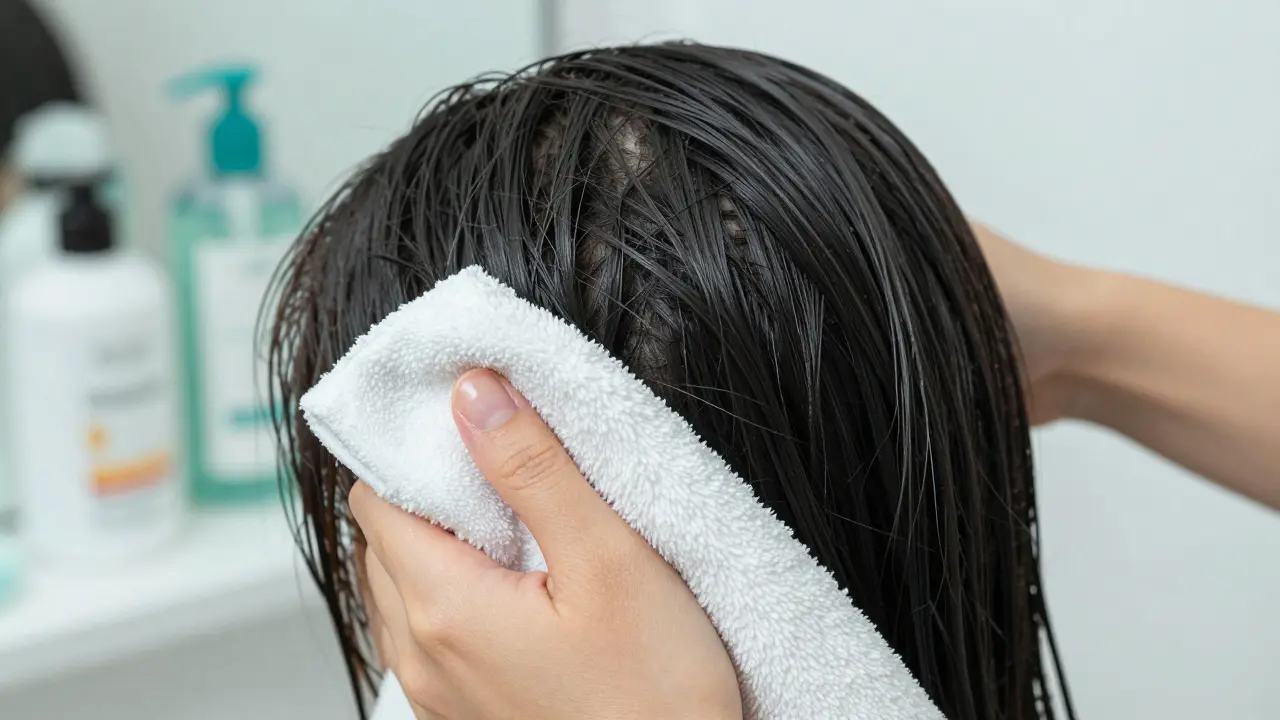
Here is where most people slip up: towel drying. Grabbing a rough terrycloth towel and rubbing your head vigorously causes friction. Friction lifts the cuticle, which means more frizz later. Instead, squeeze out excess water gently with a microfiber towel or an old cotton t-shirt. These materials are smoother and absorb water without disrupting the hair’s natural alignment.
Next comes the non-negotiable step: heat protectant. Don’t skip this. Think of it as sunscreen for your hair. Look for products containing dimethicone or cyclomethicone, which coat the strand and reflect heat away from the cortex. Apply it evenly while your hair is damp. If you have fine hair, use a lightweight spray. For thick or coarse hair, a cream-based protectant works better to add weight and control.
Tools of the Trade: Choosing the Right Gear
You don’t need the most expensive dryer in the store, but you do need one that gives you control. A basic bathroom dryer with one speed setting is a recipe for disaster. You want a tool with adjustable heat and airflow settings. Ionic technology is also helpful because it breaks down water molecules faster, reducing the time your hair is exposed to heat.
The nozzle matters more than you think. Always attach the concentrator nozzle. Without it, air scatters everywhere, creating chaos instead of direction. The nozzle focuses the stream, allowing you to direct airflow down the hair shaft. This action smooths the cuticle flat, which is what creates that glossy finish.
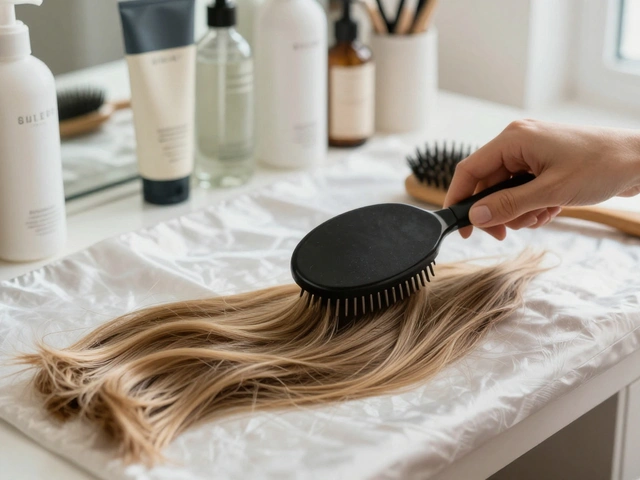
For brushes, a round brush is essential for adding volume and curl, while a paddle brush is better for straightening large sections. Choose bristles based on your hair type. Boar bristle brushes distribute natural oils from your scalp down the length of the hair, adding shine. Synthetic bristles are gentler on wet hair and less likely to snag. If you have very thick hair, a combination brush with both boar and nylon pins offers the best grip.
| Hair Type | Best Brush Style | Why It Works |
|---|---|---|
| Fine / Thin | Small Round Brush | Adds volume and lift at the roots without weighing hair down |
| Thick / Coarse | Large Paddle or Vent Brush | Detangles quickly and dries large sections efficiently |
| Curly / Wavy | Medium Round Brush | Encourages bounce and defines waves without frizz |
| Damaged / Dry | Boar Bristle Brush | Distributes natural oils for shine and reduces static |
Technique Matters: How to Actually Do It
Now for the execution. Sectioning is key. Trying to dry all your hair at once results in uneven drying and missed spots. Clip the top half of your hair up and start with the bottom layers. Work in sections about two inches thick. Thicker sections mean the heat doesn’t penetrate to the core, leaving the inside damp and the outside burnt.
Use the "follow-through" method. Place the brush under the section of hair, then bring the dryer down along with the brush. Keep the dryer moving constantly. Never hold it in one spot for more than two seconds. As you reach the ends, flip the brush inward or outward depending on the curl you want. Hold the tension for three seconds after the section is dry, then let go. This cools the hair in its new shape, helping the style set.
Pay attention to your roots. To add volume, direct the airflow upside down at the root area for a few seconds, then flip your head forward. This lifts the hair away from the scalp. Once the roots are dry and lifted, smooth the lengths down. If you’re going for pin-straight hair, use a flat iron on low heat (around 350°F) as a finishing step, not a drying step. Your hair should be 95% dry before touching it with an iron.
Saving a Bad Blowout: Emergency Fixes
So, you did everything right, but life happened. Rain, sweat, or just bad luck messed up your style. Here is how to salvage it without starting from scratch.
If your hair is frizzy but still mostly straight, grab some dry shampoo. Spray it at the roots to absorb oil, then massage it through the lengths. The starch in the shampoo adds grip and reduces flyaways. Follow up with a tiny amount of argan oil rubbed between your palms and smoothed over the surface. This re-seals the cuticle and restores shine.
If your hair has gone flat, try the "root lift" trick. Flip your head upside down and blast the roots with cool air for 30 seconds. Then, use a small round brush to lift sections at the crown and apply hot air for five seconds, followed by cold air to set. This resets the volume without re-wetting the hair.
For severe frizz, don’t fight it with more heat. Use a leave-in conditioner spray designed for humidity protection. Mist it lightly over the affected areas and smooth with your hands. Adding more heat to already stressed hair will only increase damage.
Maintenance: Making It Last Longer
A good blowout shouldn’t die after four hours. With the right aftercare, you can stretch it to two or three days. The night before, sleep on a silk or satin pillowcase. Cotton absorbs moisture and creates friction, leading to bedhead and frizz. Silk allows your hair to glide, preserving the style.
In the morning, avoid brushing your hair aggressively. Use a wide-tooth comb or your fingers to gently detangle. If you need to refresh the style, use a steamer or a damp cloth wrapped around a brush to steam specific sections. This relaxes the hair slightly so you can reshape it with minimal heat.
Protect your hair from environmental factors. Wear a hat when it’s windy or humid. If you’re swimming, wet your hair with fresh water and apply conditioner before getting in the pool or ocean. Chlorine and salt suck moisture out of your hair, undoing all your hard work.
Repairing the Damage
If your hair feels brittle or snaps easily, you have heat damage. At this point, styling techniques won’t help. You need to restore the protein and moisture balance. Look for deep conditioning masks containing keratin, hydrolyzed wheat protein, or shea butter. Use these once a week for a month.
Trimming is also necessary. Split ends don’t heal; they travel up the shaft. Cutting off the damaged ends prevents further breakage. Aim for a trim every eight to twelve weeks to keep the integrity of your hair strong.
Consider taking a break from heat tools. Give your hair a few weeks of air-drying or braiding styles. This allows the cuticle to recover and the natural oils to redistribute. Healthy hair holds a style better than damaged hair, regardless of how skilled you are with a dryer.
How long should a blowout last?
A professional blowout typically lasts 2 to 3 days if maintained properly. Home blowouts may last 1 to 2 days. Factors like humidity, hair porosity, and product usage affect longevity. Using dry shampoo and sleeping on silk can extend the life of the style.
Can I blow dry my hair every day?
Daily blow drying can lead to heat damage over time. It is safer to air dry occasionally or use low-heat settings. Always use a heat protectant, and consider alternating with protective styles like braids or buns to give your hair a rest.
What temperature should I set my blow dryer?
Fine or damaged hair should be dried at low to medium heat (below 300°F). Thick or coarse hair can handle medium to high heat (up to 400°F). Always finish with a blast of cool air to seal the cuticle and lock in shine.
Why does my hair get frizzy after a blowout?
Frizz occurs when the hair cuticle lifts due to humidity or lack of moisture. Using a heat protectant, ensuring hair is completely dry before styling, and sealing with a serum can prevent this. Humidity-resistant products also help block moisture from entering the hair shaft.
Is it better to blow dry wet or damp hair?
Always blow dry damp, not soaking wet, hair. Squeeze out excess water with a microfiber towel first. Wet hair is more fragile and prone to breakage. Damp hair dries faster and requires less heat exposure, reducing the risk of damage.