

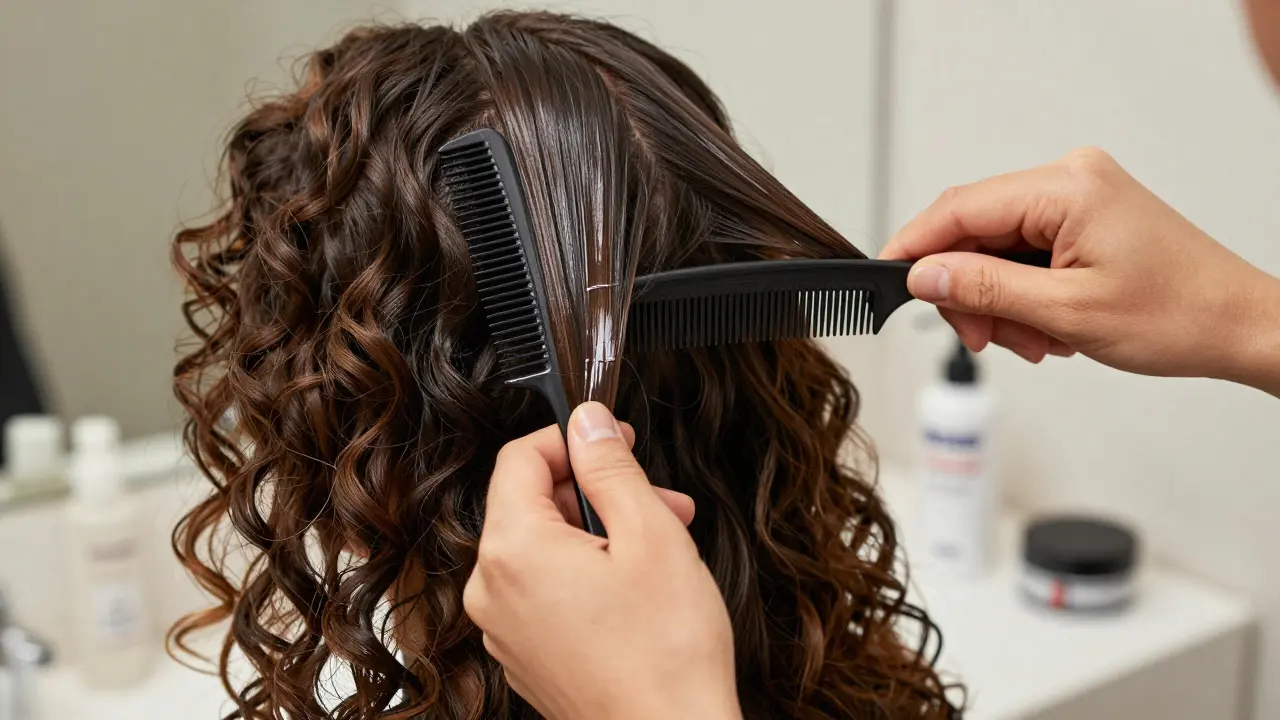
Have you ever tried to slick back your long curly hair only to end up with a frizzy, uneven mess that looks like it fought a wind tunnel? You are not alone. Curly hair has a natural tendency to resist being flattened against the scalp because of its unique structure and volume. But here is the good news: you can absolutely achieve a sleek, polished look without losing your curls' health or spending hours in front of the mirror.
The secret isn't just about using strong gel; it is about preparation, tension, and the right tools. Whether you want a classic wet look, a matte finish, or something in between, mastering this style requires understanding how your hair behaves when it is stretched and smoothed. In this guide, we will walk through exactly how to get that smooth, sophisticated slick-back style that stays put all day.
Understanding Your Curl Pattern
Before you even touch a product, you need to know what you are working with. Curly hair is hair that grows in a spiral or wave pattern due to an asymmetrical follicle shape. This shape causes the hair shaft to bend, creating volume and texture. When you try to slick it back, you are essentially fighting against this natural springiness.
If you have loose waves (Type 2), you might find it easier to flatten them compared to tight coils (Type 4). However, both types require moisture and slip to lay flat. Dry, brittle curls will snap under tension, while overly moisturized curls might lack the hold needed to stay back. Finding the balance between hydration and control is key. Think of your hair like a rubber band: if it is too dry, it breaks; if it is too wet, it stretches but doesn't snap back into place neatly.
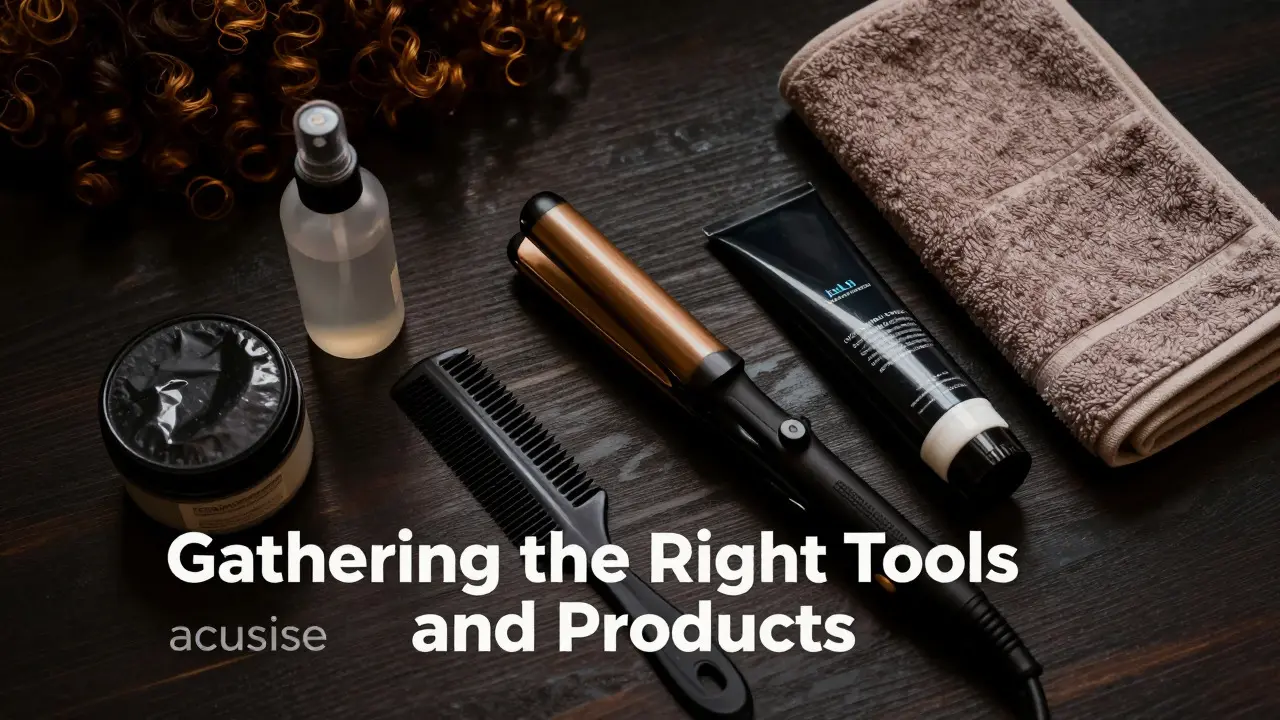
Gathering the Right Tools and Products
You cannot slick back curly hair with just water and hope. You need specific tools and products designed to provide hold, shine, and friction reduction. Here is what you should have on hand:
- A wide-tooth comb: For detangling without breaking strands.
- A fine-tooth rat-tail comb: For creating sharp lines and smoothing the surface.
- A blow dryer with a concentrator nozzle: To direct airflow and stretch the curls.
- A curling iron or flat iron: As mentioned in our context, a curling iron is a heated styling tool used to create curls or straighten hair by applying heat and pressure. While traditionally used for adding curls, a flat iron variant is often better for slick-back styles to ensure maximum flatness.
- Leave-in conditioner: To keep hair hydrated.
- Hair oil or serum: For shine and frizz control.
- Strong-hold pomade, gel, or wax: Depending on your desired finish (wet vs. matte).
| Product Type | Hold Level | Finish | Best For |
|---|---|---|---|
| Pomade | Medium to High | Shiny to Matte | Classic, re-stylable looks |
| Gel | High | Wet/Shiny | Tight curls, extreme hold |
| Wax | Low to Medium | Natural/Matte | Loose waves, textured look |
| Serum | None | High Shine | Frizz control, finishing touch |
Step-by-Step Styling Process
Now let's get into the actual technique. This process works best on damp hair, so start by washing your hair with a gentle shampoo and conditioner. Do not towel dry aggressively; instead, squeeze out excess water with a microfiber towel. Your hair should be damp, not dripping.
- Apply Leave-In Conditioner: Work a generous amount of leave-in conditioner through your hair. This provides the "slip" needed to comb through tangles easily. Focus on the mid-lengths and ends, where curls are oldest and driest.
- Detangle Thoroughly: Use a wide-tooth comb to remove all knots. Start from the ends and work your way up to the roots. If you skip this step, you will pull and break your hair later, leading to uneven patches.
- Section Your Hair: Divide your hair into four quadrants: two in the front and two in the back. Clip the top sections out of the way. Working in small sections ensures every strand gets smoothed down properly.
- Blow Dry with Tension: Take a small section from the bottom back. Hold the hair taut with your comb or fingers and use your blow dryer with the concentrator nozzle pointed downward along the hair shaft. Move slowly from root to tip. The heat helps relax the curl pattern temporarily, while the tension forces it flat.
- Use Heat Protectant: Before using any hot tools, apply a heat protectant spray. This prevents damage from the blow dryer and iron.
- Iron for Precision: If your curls are still resisting, use a flat iron or a large-barrel curling iron set to a medium temperature (around 350°F). Clamp the hair near the root and glide down slowly. Do not rush; one slow pass is better than three quick ones.
- Apply Styling Product: Once your hair is dry and straightened, take a dime-sized amount of pomade or gel. Rub it between your palms to warm it up. Apply evenly throughout the hair, focusing on the roots and sides.
- Comb Back: Use a fine-tooth comb to push all hair backward. Create a part if desired, or go for a center-parted look. Smooth down any flyaways with the tail of the comb.
- Set with Hairspray: Finish with a light mist of hairspray to lock everything in place. Avoid spraying too close, as this can cause white residue.
Troubleshooting Common Issues
Even with the right technique, things can go wrong. Here is how to fix common problems:
Flyaways at the Crown: This usually happens because the hair at the crown has more lift. To fix this, apply a tiny bit of edge control gel to a toothbrush and gently brush those baby hairs down. Alternatively, increase the tension during blow-drying at the roots.
Greasy Appearance: If your hair looks oily rather than shiny, you likely used too much product. Start with less and build up gradually. Also, ensure your hair is completely dry before applying pomade, as damp hair absorbs product differently and can look clumpy.
Lack of Hold: If your hair keeps falling forward, your product may not be strong enough for your hair type. Switch to a higher-hold gel or add a second layer of product after the first has dried slightly.
Maintaining the Style Throughout the Day
Slick-back styles can suffer from humidity, especially if you live in a place like Asheville, where weather changes quickly. Humidity adds moisture to the air, which can cause curls to revert to their natural state. To combat this, choose alcohol-free products that seal the hair cuticle. Alcohol evaporates quickly and can dry out hair, making it more prone to frizz.
If you notice your style slipping after a few hours, do not just add more product on top. Instead, dampen your hands slightly and smooth over the affected areas. This redistributes the existing product without weighing hair down further. Carry a travel-sized comb and a small container of your styling product for quick touch-ups.
When to Avoid Slicking Back
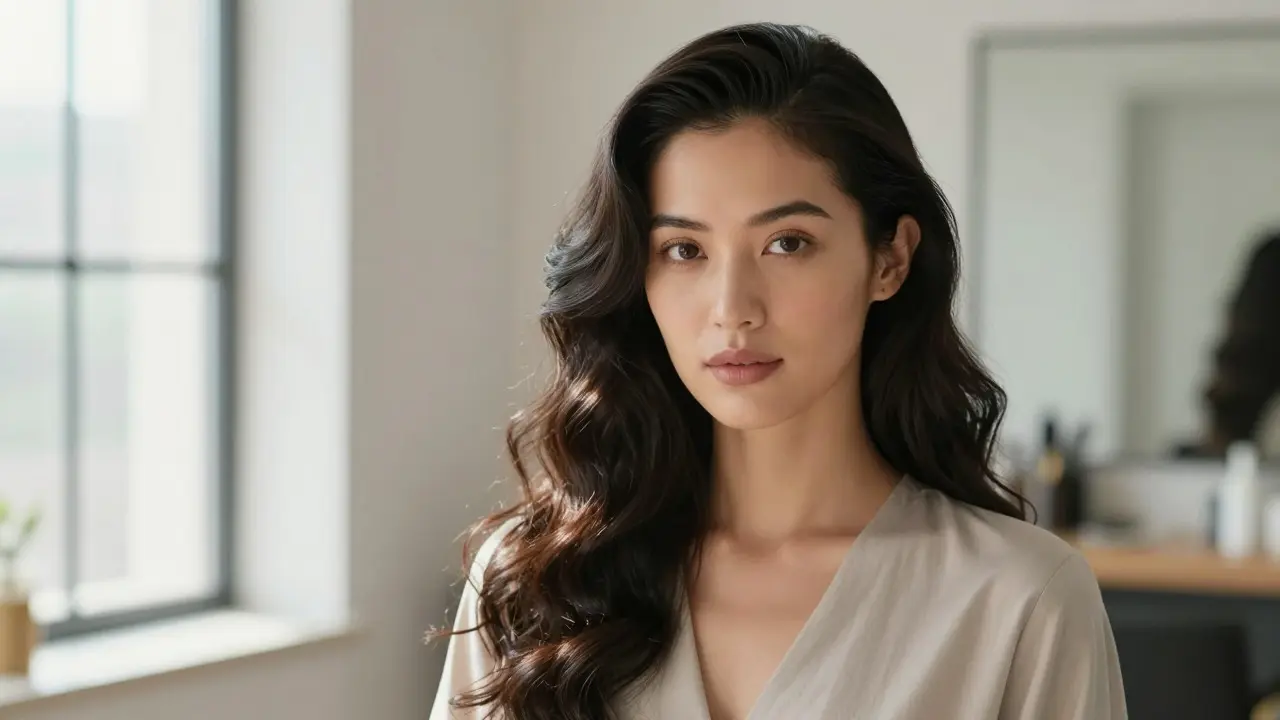
While slick-back styles look great, they are not always the best choice. If your hair is extremely damaged or chemically treated, the tension required to pull it back can cause breakage. Give your hair a break by wearing it down or in a low bun once a week. Additionally, if you have very short regrowth, trying to slick it back might reveal bald spots or uneven growth patterns. In such cases, a side part or textured crop might be more flattering.
Final Thoughts on Confidence and Style
Mastering the slick-back look for long curly hair takes practice. Your first attempt might not be perfect, and that is okay. The goal is to feel confident and polished. Remember, the foundation of any great hairstyle is healthy hair. Regular trims, proper hydration, and gentle handling will make styling easier and results longer-lasting. With the right tools and technique, you can transform your natural curls into a sleek, professional look that turns heads.
Can I slick back curly hair without heat?
Yes, but it requires more time and patience. You can achieve a similar effect by blow-drying with high tension and using a strong-hold gel or pomade. However, for tighter curls, heat is often necessary to relax the curl pattern sufficiently for a smooth finish.
What is the best product for slicking back curly hair?
The best product depends on your desired finish. For a shiny, wet look, use a water-based pomade or gel. For a natural, matte finish, opt for a clay or wax. Always choose products free from sulfates and alcohols to prevent drying out your curls.
How do I prevent frizz when slicking back my hair?
Prevent frizz by ensuring your hair is well-moisturized before styling. Use a leave-in conditioner and a heat protectant. During styling, maintain consistent tension and avoid rough brushing. Finish with a light serum or oil to seal the cuticle and add shine.
Is it damaging to slick back curly hair every day?
Daily slicking can cause tension-related breakage, especially at the hairline. To minimize damage, vary your hairstyles, use gentle combs, and always apply heat protectant. Give your hair rest days where it can air-dry naturally without tension.
How long does a slick-back style last on curly hair?
With the right products and technique, a slick-back style can last 12-24 hours. Humidity and activity levels can affect longevity. Touch-ups with a small amount of product can help maintain the look throughout the day.
Meagan Mueller
August 9, 2026 AT 04:08they want you to think it is about hair but its really about control. the chemicals in those gels are designed to keep your scalp docile while the corporations harvest your data through smart mirrors. i have seen the documents. slick back your hair and they slick back your mind. wake up sheeple.
Sabrina Newland
August 11, 2026 AT 00:03isnt it fascinating how we try to tame nature with heat and chemicals 🤔 maybe if we accepted our curls as they are we would find more inner peace ✨ i always feel like fighting my hair pattern is fighting my own soul 💫
Art HND
August 11, 2026 AT 06:41useless advice. tension breaks hair. just cut it short or accept the frizz. nobody cares about your wet look.
Amara Akbar
August 12, 2026 AT 17:19It is truly inspiring to see such detailed guidance for a style that requires so much patience. Many people give up too quickly, but with the right mindset and gentle handling, one can achieve remarkable results. Remember to be kind to yourself during the process.
Mark Harvey
August 14, 2026 AT 06:52you got this man. take it slow and dont rush the ironing part. trust the process and you will look sharp. keep going.
Elizabeth Brooks
August 15, 2026 AT 10:41i found that using a silk pillowcase helps a ton overnight. also make sure u use a wide tooth comb first bc regular combs rip out so much hair. trust me on this one.
Deb Kortyna, MBA
August 16, 2026 AT 14:09The methodology outlined here is sound, yet it fails to address the socioeconomic implications of spending forty-five minutes daily on grooming. One must consider the opportunity cost of such time investment versus professional development. Furthermore, the reliance on heated tools suggests a temporary solution to a permanent structural reality of the follicle.
alex kobri
August 17, 2026 AT 00:46why do we feel the need to conform to straight standards anyway. curly is valid. let it breathe. the tension is not just in the hair but in society itself.
Quintin Franzese
August 17, 2026 AT 16:07sure because nothing says natural beauty like frying your head with a flat iron until it smells like burnt popcorn. great tip. really needed that.
Susan Cole
August 17, 2026 AT 20:44I prefer to keep my routine simple and avoid excessive product buildup.
Zach Loescher
August 18, 2026 AT 22:42interesting read. i never thought about the rubber band analogy before. makes sense though. thanks for sharing the tips.