
Have you ever looked at the price tag on a professional brow wax and thought, "I could make that myself"? You are not alone. The market for homemade eyebrow wax is a DIY beauty solution using natural ingredients like sugar, lemon, and water to remove unwanted facial hair safely and affordably has exploded because people want control over what touches their sensitive eye area. Store-bought waxes often contain harsh chemicals, synthetic fragrances, and resins that can irritate delicate skin. Making your own allows you to use pure, food-grade ingredients.
But here is the catch: the skin around your eyes is thinner than almost anywhere else on your body. One wrong move with hot wax can mean burns, lifted skin, or worse. This guide breaks down exactly how to prepare a safe, effective wax at home, the science behind why it works, and the critical safety steps you cannot skip.
The Best Recipe: Sugar Wax (The Gold Standard)
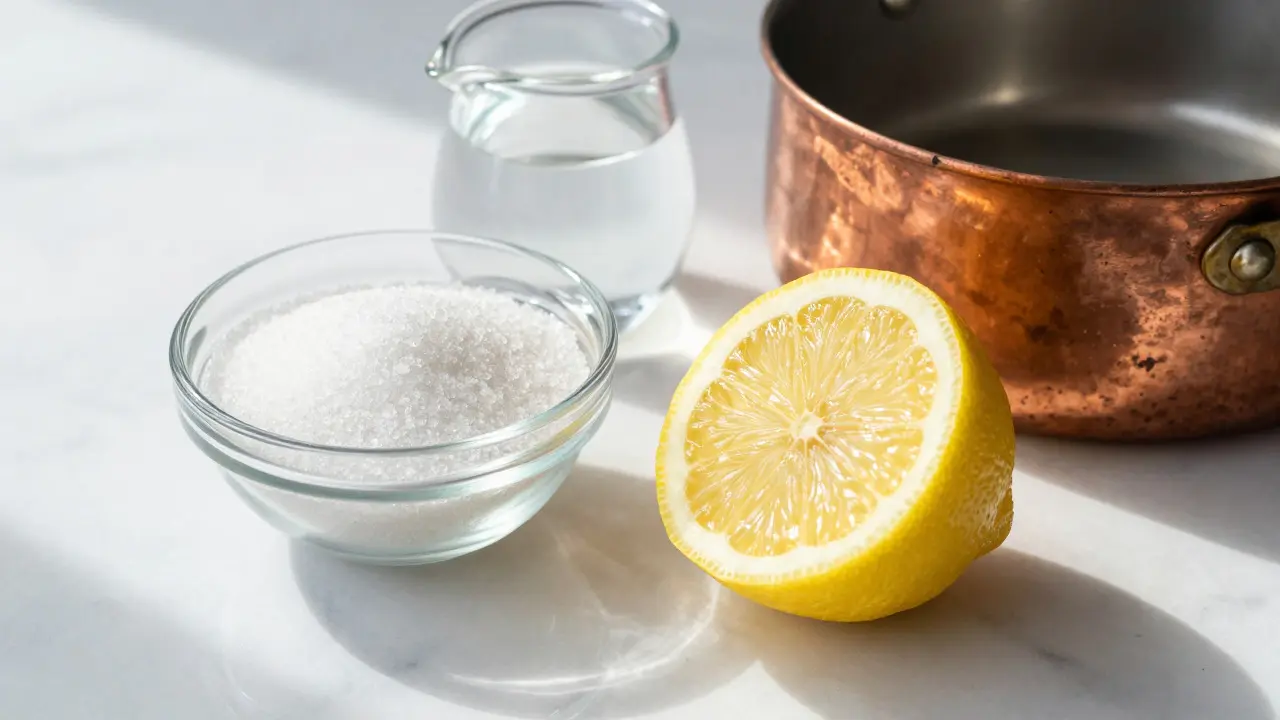
When we talk about making wax at home, we are usually talking about sugar wax is a traditional hair removal paste made from sugar, lemon juice, and water that adheres to hair rather than skin. Unlike resin-based waxes, sugar wax only sticks to the hair shaft, not the top layer of skin. This makes it significantly less painful and much safer for the brow area. It is also water-soluble, meaning if you make a mess, warm water cleans it up instantly.
You need three simple ingredients:
- 1 cup of granulated white sugar: This provides the sticky base. Brown sugar adds molasses which changes the consistency unpredictably, so stick to white.
- 1 tablespoon of fresh lemon juice: The citric acid acts as an antioxidant and helps break down the sugar bonds slightly, making the wax pliable. Do not use bottled juice; the preservatives interfere with the texture.
- 1/4 cup of water: This dissolves the sugar initially and controls the viscosity.
Mix these in a small saucepan over medium heat. Stir constantly until the mixture looks like golden honey. Once it bubbles, stop stirring and let it boil for about 3-5 minutes. You are looking for the "soft ball stage" in candy-making terms, which is around 230°F (110°C). If you have a candy thermometer, use it. If not, drop a tiny bit into cold water; if it forms a soft, squishy ball, it is ready. Pour it into a glass jar and let it cool completely. It will harden as it cools, becoming a thick, pliable paste.
Why Not Beeswax or Candle Wax?
A common mistake beginners make is trying to melt beeswax or even candle wax for brows. Here is why you should avoid them:
| Wax Type | Adhesion | Temperature Risk | Safety for Brows |
|---|---|---|---|
| Sugar Wax | Hair only | Low (cools quickly) | High |
| Beeswax | Skin and Hair | Medium | Low (too aggressive) |
| Candle Wax | Poor | High (burn risk) | Very Low |
Beeswax requires high heat to melt and adheres strongly to the epidermis. When you rip it off, you risk lifting the top layer of skin, leading to scabs and hyperpigmentation. Candle wax is designed to burn, not to grip hair. It slides right off or burns you. Stick to the sugar recipe for facial hair.
Preparation: Prepping Your Skin and Tools
Before you even touch the wax to your face, preparation is key. Eyebrow prep involves cleaning and drying the skin to ensure maximum adhesion and minimal pain during waxing. If your skin is oily or damp, the wax will slide off, requiring multiple pulls which increases irritation.
- Cleanse: Wash your face with a gentle cleanser to remove oils and makeup. Pat dry thoroughly.
- Dust: Lightly dust the brow area with cornstarch or talc-free baby powder. This absorbs any residual moisture and creates a barrier between the wax and your skin, reducing stinging.
- Gather Tools: You will need wooden tongue depressors or spatulas for application, and strips of cloth or paper tape. Cotton rounds do not work well because they are too porous and tear easily.
Ensure your hands are clean. Bacteria on your fingers can enter open pores after waxing, leading to breakouts. Use disposable gloves if you have them, but wash your hands thoroughly if not.

Application Technique: Less is More
Working with eyebrow shaping requires precision mapping of the arch, tail, and head to maintain symmetry and facial balance is an art form. With homemade wax, precision is even more critical because you cannot easily reapply without cooling the wax again.
Take a pea-sized amount of the cooled sugar wax. Roll it between your fingers until it becomes translucent and pliable. If it is too hard, rub it vigorously to generate heat. If it is too sticky, add a tiny drop of water. Apply the wax in the direction of hair growth. For most people, this means applying downwards on the unibrow area and upwards on the tails.
Press firmly with your strip. Hold the skin taut with one hand while pulling the strip off with the other. Pull parallel to the skin, close to the surface, and in the opposite direction of hair growth. Do not pull straight up; this causes bruising and bleeding. Quick, confident movements hurt less than slow, hesitant ones.
Aftercare: Soothing Sensitive Skin
Once the hair is gone, your pores are open and your skin is inflamed. Post-wax care focuses on reducing redness, preventing ingrown hairs, and hydrating the treated area. Avoid sun exposure, heavy perfumes, and exfoliants for at least 24 hours.
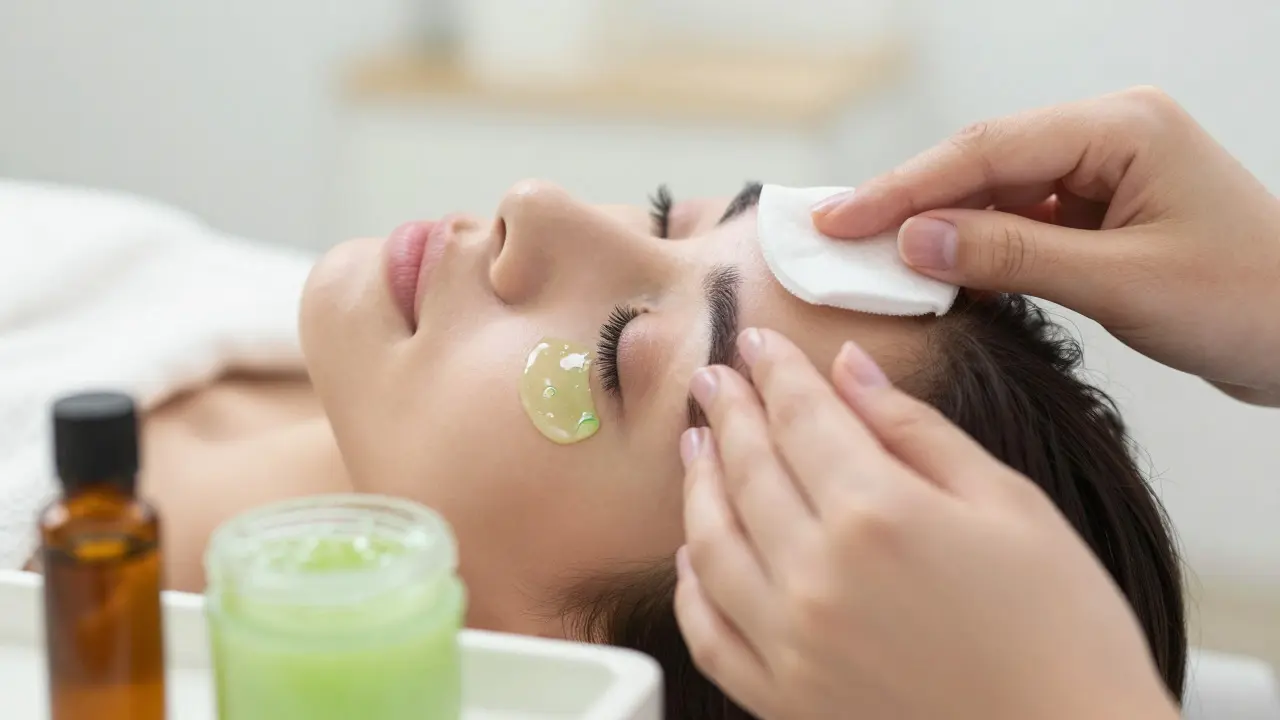
Apply a soothing agent immediately. Aloe vera gel is excellent because it cools and hydrates. Tea tree oil diluted in a carrier oil can prevent bacterial infection. Avoid retinol or vitamin C serums for two days, as these active ingredients can sting intensely on freshly waxed skin. Keep the area moisturized with a light, non-comedogenic lotion to keep the skin supple and reduce the chance of ingrown hairs.
Troubleshooting Common Issues
Even with the best recipe, things can go wrong. Here is how to fix them:
- Wax is too hard: You likely boiled it too long. Next time, check the temperature earlier. To fix current batch, microwave for 5-second intervals while stirring, adding a drop of water if needed.
- Wax is too runny: It didn't reach the correct temperature. Boil it longer next time. Unfortunately, once cooled, you cannot easily thicken it without risking burning. Start over.
- It hurts too much: Take a painkiller like ibuprofen 30 minutes before waxing. Ensure you are pulling the strip fast and parallel to the skin.
- Burns: If you feel heat that doesn't subside, apply a cool compress immediately. Do not put ice directly on the skin. If blisters form, seek medical advice.
Is It Worth It?
Making homemade eyebrow wax saves money and reduces chemical exposure. However, it requires practice. The first few times might result in uneven brows or minor mishaps. If you are new to waxing, consider practicing on your legs or arms first. For the delicate brow area, patience and precision are your best tools. Remember, hair grows back stronger and thicker only if the root is damaged incorrectly; proper waxing actually leads to finer regrowth over time.
Can I use honey instead of sugar for eyebrow wax?
While honey wax exists, it is trickier to make at home. Honey contains moisture that makes it difficult to achieve the right consistency without specialized heating equipment. Sugar is more predictable and creates a firmer hold for coarse brow hair. Stick to sugar for reliability.
How long does homemade eyebrow wax last?
Stored in an airtight glass jar at room temperature, sugar wax can last up to six months. Because it contains no preservatives, always check for mold or off smells before use. If it crystallizes, you can gently rewarm it.
What is the minimum hair length for waxing eyebrows?
Hair needs to be at least 1/4 inch long, about the length of a grain of rice. If it is shorter, the wax cannot grip it effectively, leading to broken hairs and stubble. Wait until your brows have grown out sufficiently before attempting another session.
Can I wax my eyebrows if I use Retin-A or Accutane?
Generally, no. Retinoids thin the skin and increase sensitivity. Waxing can cause the skin to lift or tear. Consult your dermatologist, but most recommend waiting at least four weeks after stopping strong retinoids before waxing.
Does homemade wax cause ingrown hairs?
It can, but less so than shaving. To prevent ingrowns, start exfoliating gently with a soft brush or chemical exfoliant (like salicylic acid) three days after waxing. Keep the area moisturized to allow hairs to shed naturally.