
There is nothing quite like the panic of looking in the mirror and realizing your short hair has grown out into an awkward shape. Maybe the bangs are hitting your eyebrows, or the back is losing its structure. You could book a salon appointment, but that costs time and money. So, you grab a pair of scissors from the junk drawer. Stop right there. Using kitchen shears on your head is a recipe for disaster.
Cutting short hair at home is entirely possible, but it requires a specific approach different from trimming long locks. With short styles, every millimeter counts. A mistake isn't hidden by length; it’s front and center. This guide will walk you through exactly how to trim your own short hair safely, using the right tools and techniques to avoid common pitfalls.
Gather the Right Tools Before You Start
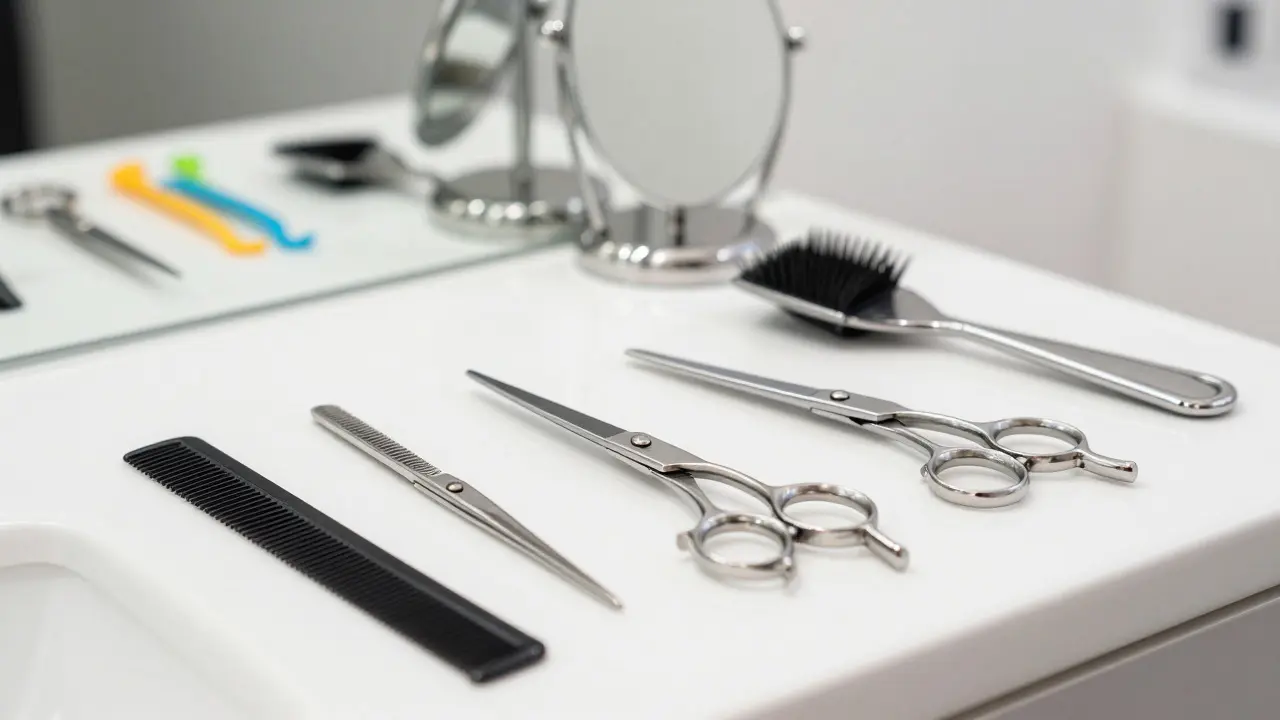
The biggest mistake people make is assuming any scissors will do. They won’t. Kitchen scissors are dull and designed for cutting paper or food, not fine hair strands. Using them creates friction, which leads to split ends and jagged cuts. You need professional-grade shears.
| Tool | Purpose | Why It Matters |
|---|---|---|
| Professional Hair Shears | Precision cutting | Sharp blades slice cleanly without crushing the hair shaft, preventing split ends. |
| Thinning Shears | Texturizing and blending | Removes bulk without removing length, crucial for softening harsh lines in short cuts. |
| Fine-Tooth Comb | Sectioning and holding | Holds hair taut for a straight cut line. Wide-tooth combs slip too much. |
| Two Mirrors | Visibility | A hand mirror and a wall mirror allow you to see the back of your head clearly. |
| Hair Clips | Sectioning | Keeps uncut hair out of the way so you focus only on the layer you are working on. |
If you don’t have thinning shears, skip them for now. It is better to take off less hair than too much. You can always go back, but you cannot glue hair back onto your head.
Prepare Your Hair Properly
When should you cut your hair? Dry or wet? For most short styles, especially pixie cuts or bobs, cutting dry hair is often safer for beginners. Wet hair stretches. When it dries, it shrinks up, meaning you might cut more than you intended. However, if you are doing a very precise blunt bob, damp hair can help keep the strands together. For this guide, we will assume you are maintaining a standard short style, so we recommend starting with clean, completely dry hair. This lets you see exactly where the hair falls naturally.
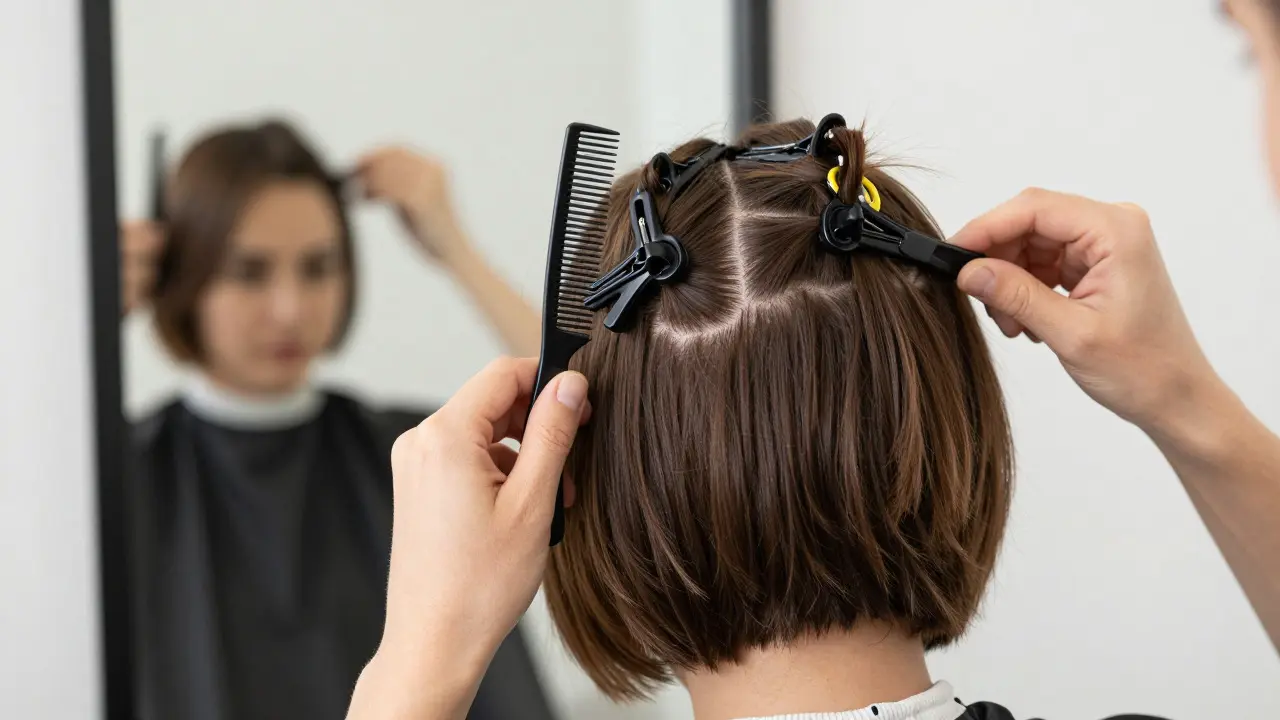
Brush your hair thoroughly to remove all tangles. If you cut tangled hair, you risk pulling uneven sections and creating bumps. Section your hair using clips. Divide your head into four quadrants: two in the front (above each ear) and two in the back. Clip the top sections away first. We will start with the back because it is the foundation of the shape.
Trimming the Back: The Foundation
Stand in front of your main mirror with a hand mirror behind your head. Unclip the lower back section. Use your fine-tooth comb to pull the hair straight down. Hold the comb firmly against your scalp with your non-dominant hand. This acts as a ruler.
Look in the hand mirror to check the length. Decide how much you want to remove. A good rule of thumb is to never cut more than half an inch at a time when starting out. Place your scissors parallel to the floor. Cut straight across. Do not angle the scissors up or down unless you are intentionally creating layers, which is advanced territory.
Check your work immediately. Flip the hand mirror to see the profile. Is the line even? If one side looks longer, trim just that side. Small adjustments are key. Once the back is even, move to the sides.
Shaping the Sides and Blending
Unclip one side section. Pull the hair forward slightly, following the natural curve of your jawline. This is important for bobs and lobs. If you pull it straight down, the hair will bounce up when released, leaving it shorter than the back. Aim for a slight forward angle.
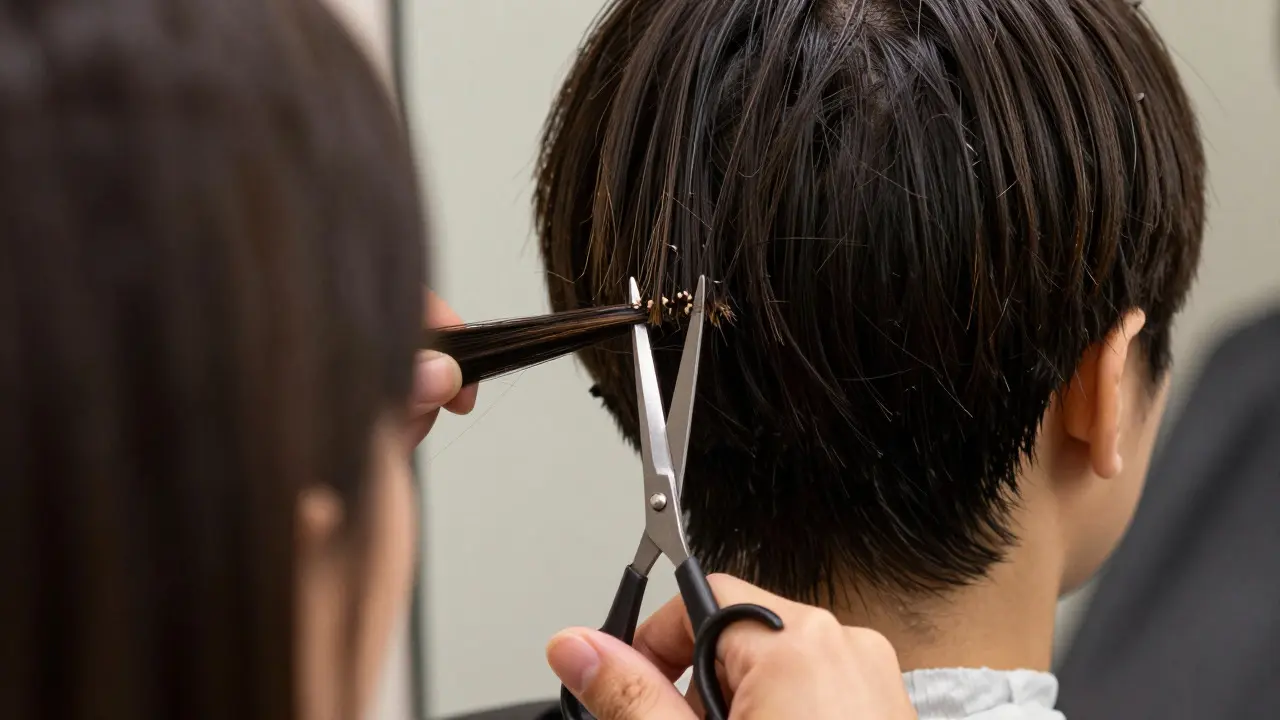
Use the length of the already-cut back section as your guide. Comb the side hair over the back hair. Match the lengths. Cut carefully. Repeat on the other side. Now, step back and look in the mirror. Does the transition from the back to the sides look smooth? If there is a visible "step" or corner, use your thinning shears lightly on the edges to blend the weight. If you don’t have thinning shears, use point cutting. Instead of slicing straight across, open your scissors vertically and snip tiny bits into the ends. This softens the line without removing significant length.
Handling Bangs and Fringe
Bangs are the most dangerous part of a DIY haircut. Why? Because they frame your face. If they are too short, they stick up. If they are uneven, they look messy. Always cut bangs dry. Wet bangs shrink significantly when dry.
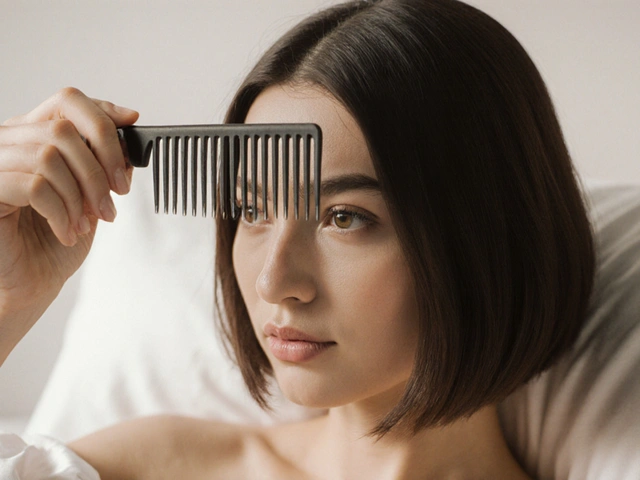
Isolate the fringe section. Comb it straight down over your forehead. Do not pull it tight. Let it rest naturally. Look straight ahead. Where do you want them to end? Eyebrows? Nose bridge? Mark the spot mentally. Cut horizontally, but leave them slightly longer than your desired final length. Remember, you can always cut more.
To avoid a heavy, blocky look, use the point-cutting technique here too. Snip vertically into the ends of the bangs. This creates texture and allows the bangs to lay softly rather than sitting like a helmet rim. If you have wispy baby hairs, ignore them. They will grow out and blend in later.
Adding Texture and Removing Bulk
Short hair can sometimes look triangular or bulky at the crown. This happens when there is too much weight on top. To fix this, you don’t necessarily need to cut length; you need to remove density. This is where thinning shears shine.
Take small vertical sections from the top of your head. Lift the hair up. Use the thinning shears to cut into the mid-lengths, not the very ends. Avoid the roots to prevent flatness. Work your way around the crown. Check frequently. You want the hair to feel lighter, not chopped up. If you only have regular shears, use point cutting on the top layers to break up the weight. Keep the scissors vertical and snip sparingly.
Common Mistakes to Avoid
Even with the best intentions, errors happen. Here is what to watch out for:
- Cutting while distracted: Turn off the TV. Put your phone away. Focus entirely on the mirror and your hands.
- Using dull scissors: As mentioned, this causes damage. Invest in a decent pair of shears ($15-$30) rather than using old craft scissors.
- Removing too much length: It is tempting to try to fix everything in one go. Trim a little, assess, then trim again. Patience prevents disasters.
- Igoring the neck hair: Don’t forget the nape of your neck. Clean up stray hairs there for a polished look. A small trimmer can help here if you have one.
- Forgetting about hair type: Curly hair behaves differently than straight hair. If you have curls, consider cutting them dry and curl-by-curl, or consult a specialized guide for curly cuts, as the "shrinkage" factor is much higher.
Aftercare and Styling
Once you are happy with the cut, wash your hair gently to remove loose clippings. Condition as usual. Blow-dry your hair using a round brush to smooth the ends and set the new shape. If you notice any uneven spots after drying, do not rush to cut them again. Sometimes, styling products can help mask minor imperfections. A light texturizing spray or pomade can add hold and definition, making the cut look intentional rather than accidental.
Maintaining short hair at home is a skill that improves with practice. Start with small trims-just enough to keep the shape fresh between salon visits. Over time, you will learn how your specific hair texture reacts to cutting, allowing you to take more control over your style.
Can I use regular household scissors to cut my short hair?
Technically yes, but it is not recommended. Household scissors are not sharp enough for hair and will crush the hair shaft, leading to split ends and frizz. Professional hair shears are sharpened to a finer edge specifically for cutting keratin fibers cleanly.
Should I cut my hair wet or dry?
For short hair maintenance, dry cutting is generally safer for beginners. Wet hair stretches and appears longer than it is. When it dries, it shrinks, which can result in a cut that is shorter than intended. Dry cutting allows you to see the true length and behavior of your hair.
How do I fix an uneven haircut at home?
If one side is shorter, do not cut the longer side to match it immediately. Instead, try styling the longer side to see if it balances out. If it still looks uneven, trim the longer side in tiny increments (1-2mm at a time). If you accidentally cut too much, use a clip or pin to tuck the short section away until it grows out, or embrace a choppy, textured look.
What is point cutting and why should I use it?
Point cutting involves holding the scissors vertically and snipping into the ends of the hair rather than cutting straight across. This technique removes weight and creates a softer, more textured edge. It is ideal for short hair to avoid harsh, blunt lines and to help blend layers seamlessly.
How often should I trim my short hair at home?
Short hair grows out of shape faster than long hair. Depending on your growth rate, you may need a minor touch-up every 4 to 6 weeks to maintain the shape. A full salon visit might be needed every 8 to 12 weeks, with home trims keeping the style tidy in between.