

You’ve just unboxed a set of clip-in hair extensions. They look lush, they feel soft, and you’re ready to transform your look in five minutes. But then reality hits: there are seven different pieces, weird metal clips, and no instructions that actually make sense. You’re left staring at your mirror, wondering if you should have stuck with your natural hair.
Don’t worry. Applying clip-ins isn’t rocket science, but it does require a specific technique to look seamless. If you slap them on haphazardly, you’ll end up with visible bumps or unnatural volume. The goal is invisibility. You want people to think you were born with this length and thickness, not that you’re wearing fake hair. This guide breaks down exactly how to do that, step by step, without the frustration.
Prepping Your Natural Hair Is Non-Negotiable
Before you even touch an extension piece, you need to prep your base. Most mistakes happen here. If your hair is too slippery from fresh conditioner, the clips will slide down throughout the day. If it’s too dry and tangled, the clips will snag and cause breakage.
The sweet spot is clean, dry hair that has some texture. Washing your hair the night before application is often better than washing it the morning of. This allows natural oils to build up slightly, giving the clips something to grip. If you must wash today, use a volumizing shampoo and skip the heavy conditioners near the roots. Blow-dry your hair completely. Wet hair stretches and weakens; clipping into damp hair can lead to breakage over time.
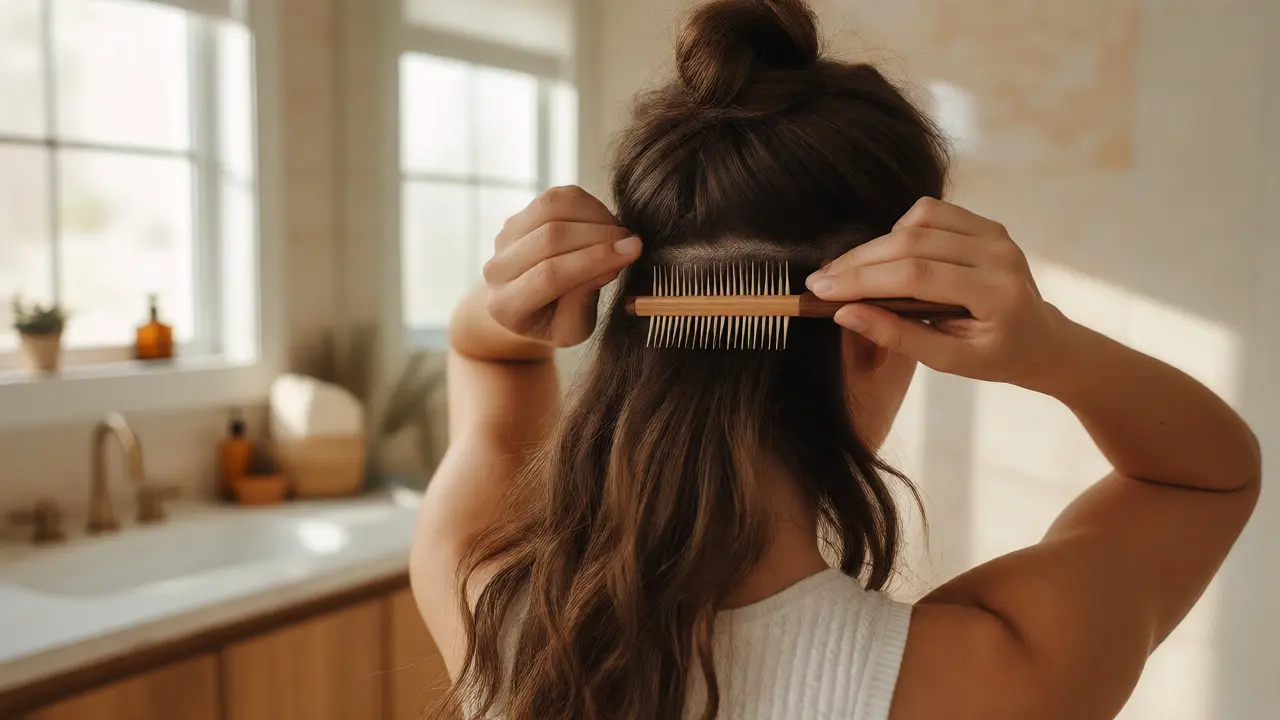
Once dry, run a wide-tooth comb through your hair to remove any tangles. Then, take a teasing brush or a fine-tooth comb and gently backcomb the section where the largest weft will sit. Teasing creates a small cushion of hair that hides the metal clip mechanism and gives it extra hold. Don’t go crazy-you don’t need a beehive-but enough to create friction is key.
Understanding the Anatomy of Your Extension Set
A standard clip-in set usually comes with three types of pieces, each serving a distinct purpose. Knowing which is which prevents you from putting the wrong piece in the wrong place.
| Piece Type | Typical Width | Primary Placement | Clip Count |
|---|---|---|---|
| Jumbo Weft | 10-15 inches | Nape of the neck (bottom layer) | 4-6 clips |
| Side Pieces | 3-5 inches | Around the ears/temples | 2-3 clips |
| Bangs/Fringe | 3-4 inches | Front hairline | 2-3 clips |
The jumbo weft provides the bulk of your length and volume. It goes at the very bottom, hidden under your natural hair. The side pieces blend the transition between your short layers and the long extensions. The bangs piece, if included, adds fringe or face-framing layers. Never put the jumbo weft at the top; it’s too heavy and will pull on your scalp.
Step-by-Step Application Process
Now for the actual installation. Work from the bottom up. This ensures your natural hair covers every single clip.
- Section the Nape: Use a rat-tail comb to separate a horizontal section of hair at the nape of your neck. Keep the rest of your hair clipped up out of the way. The section should be thin-just enough to cover the width of the weft.
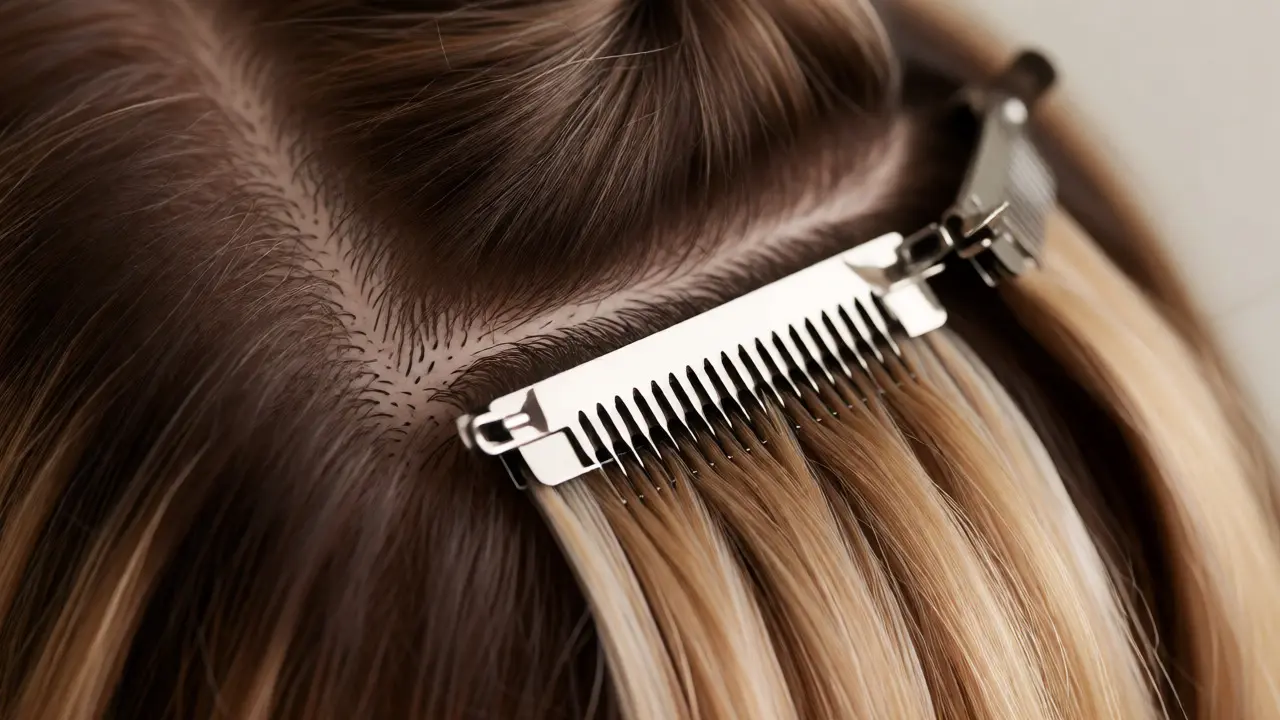
- Apply the Jumbo Weft: Open all the clips on the large weft. Position it close to your roots, but not directly against the scalp. Snap the center clips first, then work outward to the sides. This distributes the weight evenly. Release the clips one by one to check for tension.
- Add Side Pieces: Move up to the area around your ears. Section off a horizontal slice of hair. Attach a side piece here. These pieces are crucial for blending. If you skip them, you’ll see a harsh line where your natural hair ends and the extensions begin.
- Top Layer (Optional): For extra volume, add another medium-sized weft higher up, about two inches below the crown. Only do this if you have thick natural hair. Fine-haired folks should skip this to avoid bulkiness.
- Bangs (If Applicable): Finally, attach the bangs piece at the front hairline. Place it behind your existing baby hairs so it looks like it grew out of your head.
Blending and Styling Tips for a Seamless Look
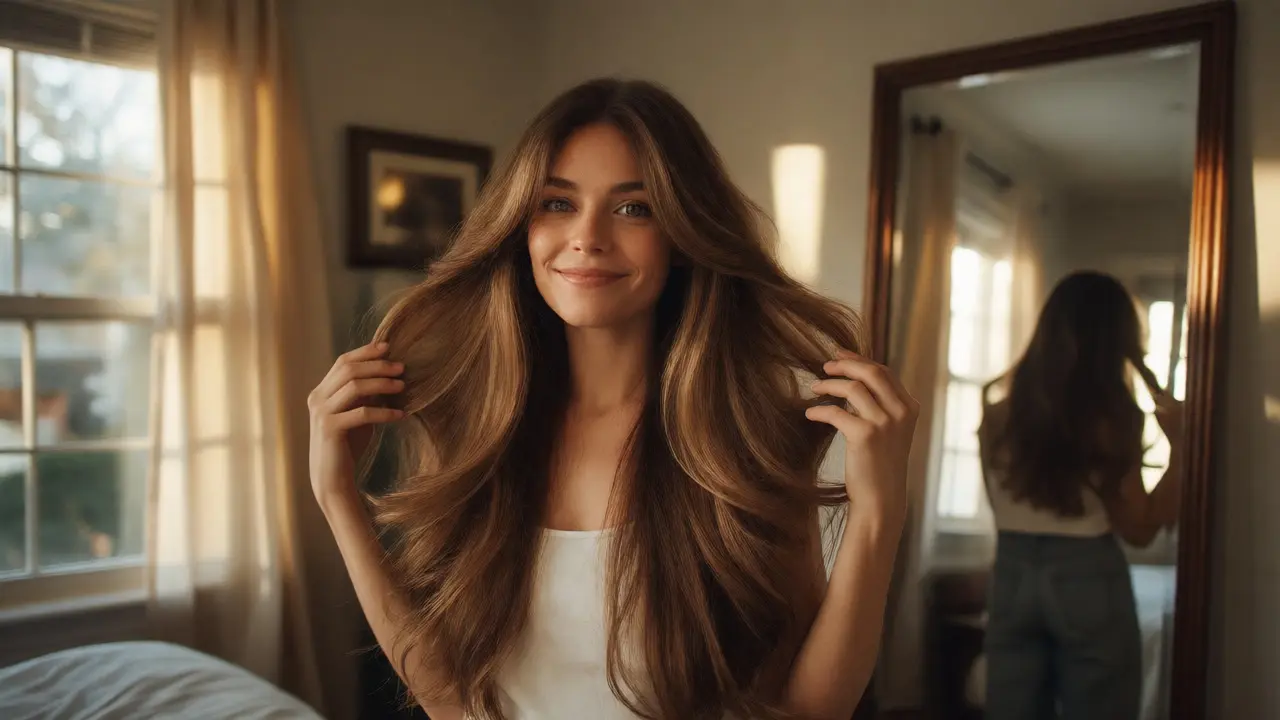
Putting them on is half the battle. Making them look real is the other half. Once all pieces are secured, release your natural hair. It will likely look chunky or disconnected at first. That’s normal.
Start by brushing through your hair with a loop brush or a paddle brush designed for extensions. These brushes glide over the bonds and clips without pulling. Blend your natural hair with the extensions using your fingers. Gently tease the roots of your natural hair over the clips to hide them further.
If there’s a noticeable difference in texture or color, use heat tools. Curling both your natural hair and the extensions together helps them meld. Use a curling iron on a low setting (under 350°F for synthetic, up to 400°F for human hair). Alternate directions-curl some strands away from your face, others toward-to create movement. Straightening works too, especially if you have wavy natural hair and straight extensions. Just remember to use a heat protectant spray.
Caring for Your Clip-Ins to Make Them Last
Whether you bought human hair or synthetic fibers, maintenance dictates longevity. Human hair extensions can last six months to a year with proper care. Synthetic ones typically last three to four months.
- Washing Frequency: Wash only after 15-20 wears. Over-washing strips moisture and causes tangling.
- Drying Method: Lay flat on a towel to air dry. Hanging wet extensions stretches the wefts and loosens the stitches.
- Sleeping: Never sleep in clip-ins. The friction against your pillow causes matting and pulls on your natural hair. Take them out before bed.
- Storage: Store them in their original case or hang them on a wig stand. Keep them away from direct sunlight to prevent color fading.
When removing them, open the clips slowly. Do not rip them out. Start from the bottom and work your way up. If a clip feels stuck, apply a tiny bit of leave-in conditioner to loosen it rather than forcing it.
Troubleshooting Common Clip-In Issues
Even pros run into problems. Here’s how to fix the most common ones quickly.
Visible Bumps: This happens when the clip sits on top of smooth hair. Solution: Tease the natural hair underneath more aggressively. Create a “nest” for the clip to sink into.
Slipping Down: Your hair might be too oily or the clips aren’t closed fully. Solution: Use dry shampoo at the roots for extra grip. Ensure every tooth of the clip is snapped shut.
Color Mismatch: Lighting affects perception. Solution: Try applying them in natural daylight. If they still clash, you may need to dye the extensions (if human hair) or return them for a better match.
Tangling Near Clips: Friction between the clip teeth and hair causes knots. Solution: Detangle gently with a wide-tooth comb starting from the ends and working up to the clip. Never yank from the top.
Frequently Asked Questions
Can I sleep with clip-in hair extensions?
No, you should never sleep with clip-in extensions. The pressure against your pillow can bend the clips, causing them to lose their grip. More importantly, it causes severe tangling and matting in both your natural hair and the extensions, leading to breakage. Always remove them before bed.
How many sets of clip-ins do I need for full coverage?
Most people need one standard set (usually 7 pieces totaling 120g-180g) for moderate volume and length. If you have very thick hair or want extreme drama, you might need two sets. However, adding too many pieces can weigh down your natural hair and cause traction alopecia over time. Start with one set and assess the look.
Are clip-in extensions bad for my natural hair?
Not if used correctly. Clip-ins are considered one of the least damaging methods because they don’t involve glue, heat bonding, or braiding. Damage usually occurs from improper removal (ripping), sleeping in them, or leaving them in too long without cleaning. Treat them as temporary accessories, not permanent fixtures.
Can I swim with clip-in extensions?
It’s best to avoid swimming with clip-ins. Chlorine and saltwater can dry out the hair fibers, making them brittle. Additionally, water increases the weight of the hair, putting excessive strain on the clips and your natural roots. If you must swim, braid your hair tightly and wear a swim cap, but rinse immediately afterward.
How do I match my clip-in extensions to my hair color?
Always match to the mid-lengths of your hair, not the roots. Roots are often darker due to regrowth, while ends are lighter from sun exposure. If you have highlights, choose a multi-tonal blend rather than a solid color. When in doubt, order two shades and return the one that doesn’t blend seamlessly in natural light.



Ian Mason-Laurence
October 1, 2026 AT 22:52The distinction between synthetic and human hair regarding heat tolerance is often glossed over in beginner guides. It is imperative to note that while human hair can withstand temperatures up to 400°F, synthetic fibers typically degrade rapidly above 350°F, leading to irreversible melting or frizzing. Furthermore, the recommendation to wash only after 15-20 wears is sound advice for preserving the integrity of the weft stitching, which is frequently the point of failure in lower-quality extensions.
Lauren Martin
October 2, 2026 AT 10:20Let's be real here. This guide is basic 101 fluff for people who have never held a comb in their life.
If you are relying on this to save your look, you are already failing. The 'teasing' instruction is vague garbage. You need to backcomb aggressively at the root section, creating a dense cushion, otherwise the metal teeth will slide right off your silky virgin hair within two hours. And don't get me started on the 'blending' tip. Curling everything together is lazy styling. Real blending requires texturizing shears on the natural hair ends to remove the blunt line where your natural hair meets the extension. If you just slap them on and curl, you look like a horse with a wig. Fix your technique or stop wearing them.
Anthony .
October 3, 2026 AT 08:36I think there’s so much beauty in finding what works for your own unique texture 🌟
We often forget that hair is an extension of our identity, not just a cosmetic accessory. While the technical steps are helpful, the emotional comfort of feeling confident in your skin (and scalp!) matters most. Maybe take a deep breath before starting? Treat your hair with kindness, and it will reflect that care back to you. There is no single 'right' way, only what feels authentic to you. Let’s support each other in exploring these transformations without judgment 💖🧘♂️
Tommy Cahyadi
October 5, 2026 AT 03:01Sure, because nothing says 'I definitely did not spend three hours on my head' like a perfectly seamless blend that looks suspiciously perfect. I guess if you enjoy pretending you have naturally thick hair, go for it. I’ll stick to my thinning crown and my dignity. Or lack thereof. Whatever.
Marisa Marroquin
October 5, 2026 AT 15:50One must appreciate the meticulous attention to detail required for such a transformation; however, I do harbor a slight concern regarding the structural integrity of one's follicles when subjected to such mechanical stress. The prose is elegant, yet the practical application seems fraught with potential peril for the delicate human scalp. It is a fascinating juxtaposition of vanity and vulnerability.
Sabrina Silvani
October 6, 2026 AT 05:45the biggest lie in this whole industry is that clip ins are harmless
they pull on the roots every time you move your head
over months that tension adds up to traction alopecia
you think you are adding volume but you are actually stealing density from your real hair
the guide mentions breakage but downplays the long term damage
if you have fine hair you are basically inviting bald spots by using heavy wefts
i stopped using them because i noticed my hairline receding and i refused to blame genetics
it was the clips
simple as that
don't let marketing convince you that temporary accessories are free of consequence
everything has a cost
especially things attached to your body with metal teeth
Shaina Silver-Baird
October 7, 2026 AT 23:15It is highly suspicious that the source does not disclose the chemical composition of the adhesive or coating used on the metal clips. Many standard nickel alloys can cause contact dermatitis, which is often dismissed as mere irritation rather than an allergic reaction. Furthermore, the claim that synthetic fibers last three to four months seems arbitrary. Have they accounted for UV exposure degradation rates in various climates? One must question the objectivity of any guide that promotes consumer products without disclosing the full lifecycle environmental impact and health risks associated with microplastic shedding during washing cycles.
Mithilesh Singh
October 9, 2026 AT 02:26This is exactly why Western society is obsessed with superficiality! In India, we value natural beauty and strong roots. Why waste money on fake hair when you can nourish your real hair with oil? These clips are bad for health. They block pores. They cause headaches. Do not follow blind trends. Respect your ancestors who had beautiful hair without plastic. 😠
evelyn starcher
October 9, 2026 AT 14:31OMG yes!! 😭 I tried this last week and cried because I looked like a clown 👯♀️
But seriously, the teasing part saved me once I figured out how much to do. It’s scary at first but then it clicks! We all struggle with looking perfect, it’s okay to be messy sometimes! 🇺🇸💅✨
Kathy Mccoy
October 10, 2026 AT 19:10You've got this! 💪 Start small with just the bottom weft to get comfortable with the motion before adding the side pieces. Remember, practice makes perfect, and even pros have days where the clips show. Be patient with yourself and your hair. You're doing great just by trying new things! 🌟