Thinking about trying hair extensions at home, setting up a waxing kit, or just making sure your beauty gear is ready to use? You’re definitely not alone. Doing these ‘installations’ right makes all the difference—whether you’re adding volume and length to your hair, or prepping for the smoothest waxing session.
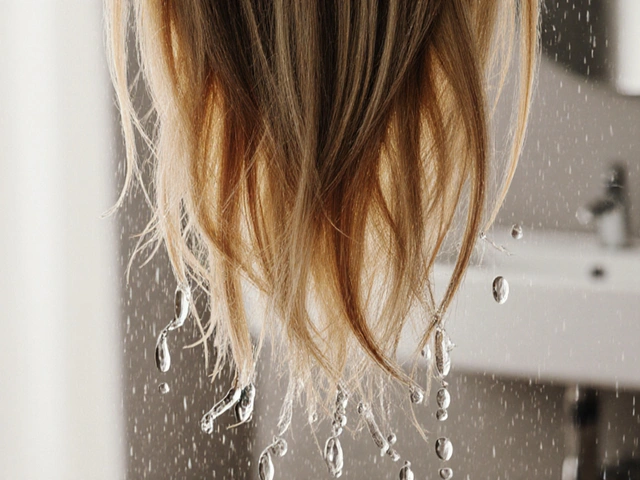
Setting up hair extensions starts even before you open the package. Check if your natural hair is clean and dry. Oily or wet hair won’t hold clips or tape well, and can lead to slippage. Section your hair clearly. If you have thick hair, go with smaller pieces so the extensions blend better. When using tape-ins or bonding extensions, keep your tools handy—a fine-tooth comb helps smooth things down between layers, making sure everything lays flat and looks natural.
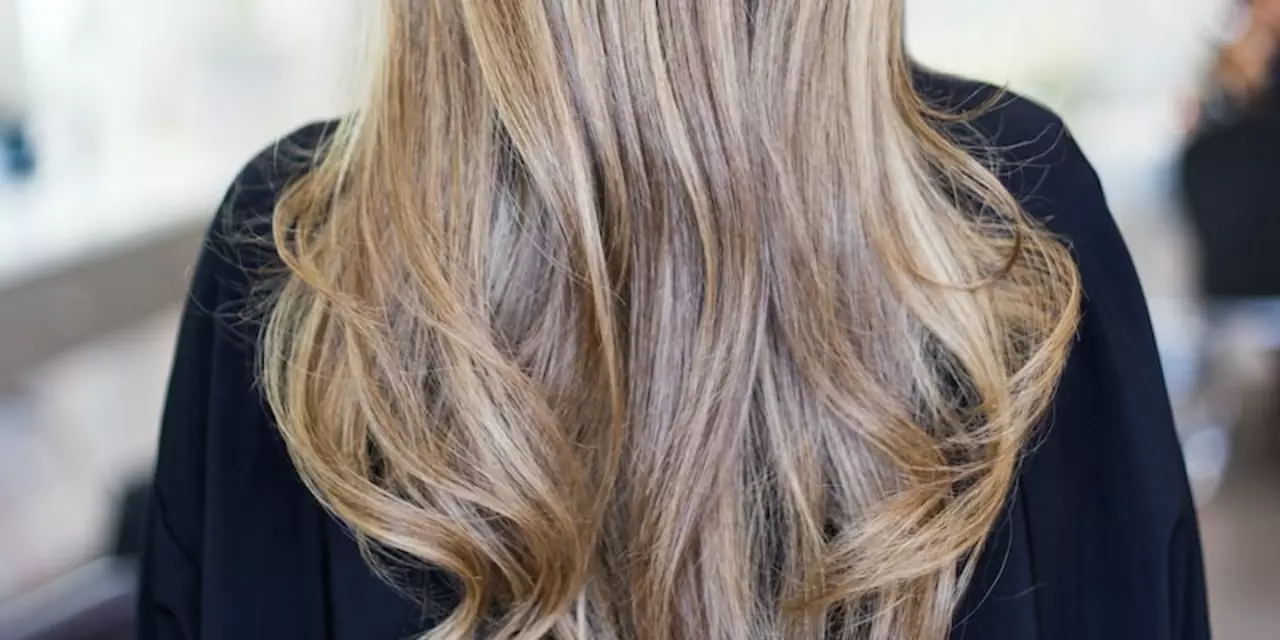
Clip-ins? Here’s a pro tip: tease the base of each hair section before clipping them in. This adds grip—so those wefts won’t slide out while you’re running errands or out on the dance floor. After every use, detangle gently and store them in a box or a silk bag. Clean tools always last longer and look better.
Home waxing kits sound straightforward, but let’s get real—they can be tricky. Always read those instructions (yes, all the way through) before plugging anything in. If your wax heater is new, wipe it out and do a quick test run without wax. You don’t want weird smells or overheating the first time around. Check the recommended wax temperature, and always test a bit on your wrist before touching your face or legs. If you’re waxing your brows, have a mirror with good lighting and go slow. Pull the skin taut and apply the wax in the direction of hair growth for less pain and fewer bumps.
If you’re unsure about using heat-based tools like wax heaters or curling irons, place them on a thick towel or heat-proof mat to avoid burns or countertop damage. Never leave them running—power off as soon as you’re done. It sounds basic, but you wouldn’t believe how many burns happen this way.
For haircuts at home, sharp scissors are non-negotiable. Dull blades create split ends, so invest in hair-cutting shears from a beauty store. Start with small, conservative snips—you can always take more off, but you can’t put it back. When working with curtain bangs, part your hair fresh out of the shower and let it dry so you see how your hair actually sits. If you get a wax burn on your upper lip, treat it like any other mild burn: cool water, a gentle moisturizer, and no picking at scabs.
Got questions about mixing hair color, using argan oil, or setting up for your first at-home hairstyle? Keep manufacturer instructions handy, especially if it’s your first time trying something new. Even seasoned pros still check sometimes—the last thing you want is a beauty disaster.
Don’t forget, safety and prep matter as much as technique. When you have everything set up right—and know what each product actually does—results get a lot better. Plus, you save time, money, and avoid those facepalm moments when that home beauty treatment goes sideways. Want expert help or a fresh installation done by a stylist? There’s no shame in calling in the pros, especially for bigger changes or tricky first-timers.
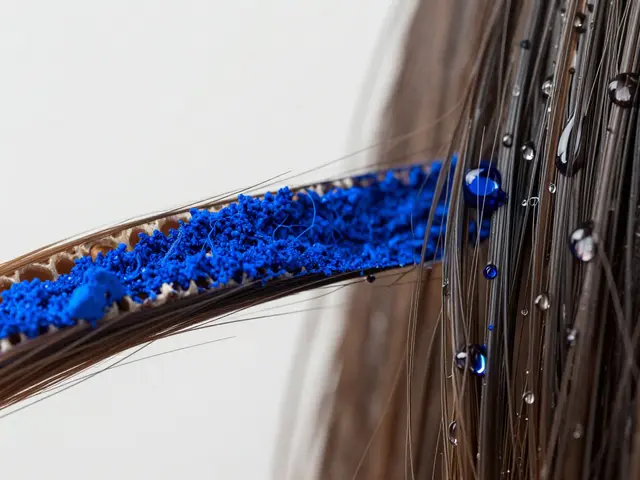
Hair extensions are a great way to add length and volume to your natural hair. They are typically made of either human hair or synthetic fibers, and come in a variety of colors and textures. They can be attached to your natural hair using a variety of methods, including bonding, sewing, and micro-links. The cost of hair extensions will vary depending on the quality of the hair and the type of attachment used. Generally, the cost ranges from a few hundred to a few thousand dollars.