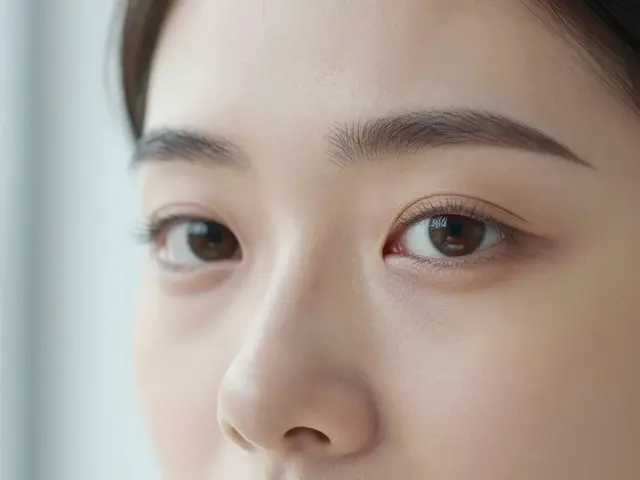

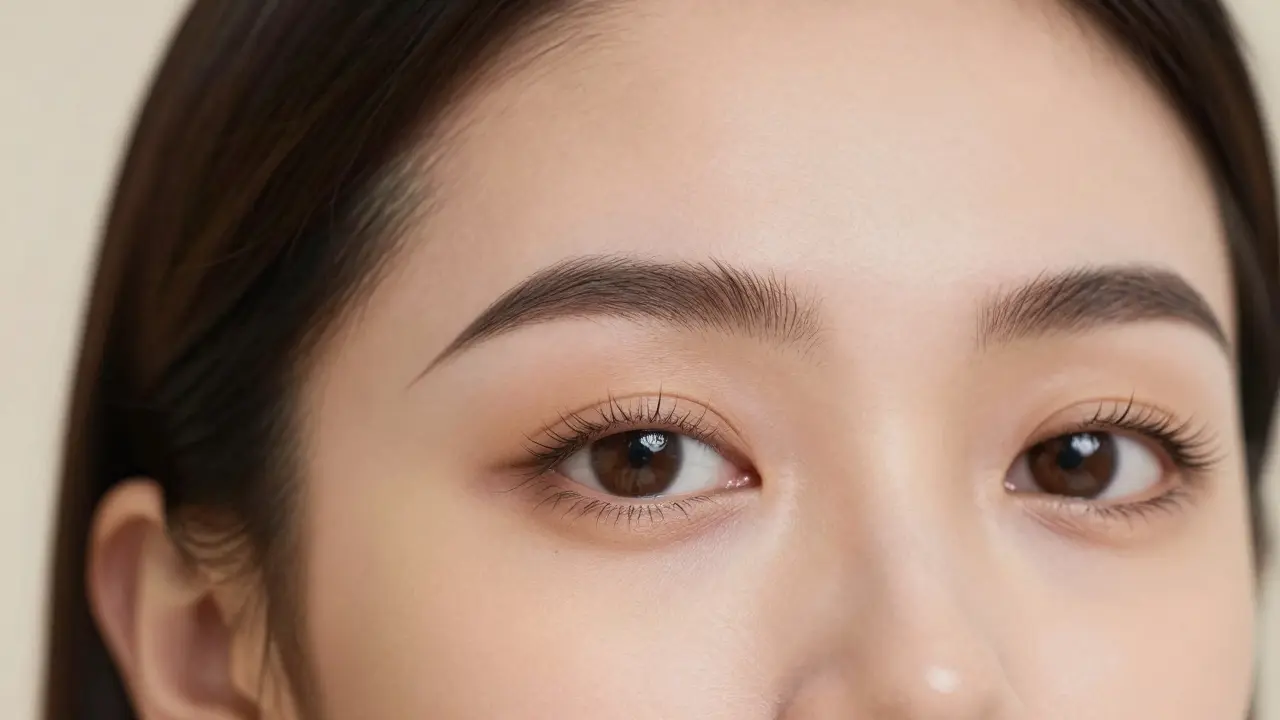
Have you ever looked in the mirror and wished your eyebrows had a little more definition without looking like you drew them on with a sharpie? That’s exactly why Mina ibrow henna is a semi-permanent hair dye that stains both the brow hairs and the skin beneath for a fuller, defined look. Unlike traditional eyebrow tints that only color the hair, henna works like a temporary tattoo. It gives you that popular "soap brow" or laminated effect for up to two weeks on the skin and four to six weeks on the hair. If you’ve been eyeing that bold, structured brow trend but are scared of messing it up at home, this guide will walk you through every single step.
Why Choose Mina Ibrow Henna Over Regular Tint?
You might be wondering if you really need henna when regular eyebrow dye exists. The difference comes down to longevity and dimension. Standard dyes sit on top of the hair shaft and wash out after a week or so. Henna, derived from the Lawsonia inermis plant, penetrates the cuticle and binds to keratin. This means the color lasts significantly longer. But the real game-changer is the skin stain. When you apply henna, it leaves a light shadow on the skin where the hairs grow. This creates the illusion of denser brows, filling in sparse areas naturally. For anyone with thinning edges or gaps between their arches, this is a lifesaver.
However, there is a catch. Because henna stains the skin, precision matters more than usual. A wobbly line doesn’t just mean bad hair color; it means you’ll have orange marks on your forehead for ten days. This is why preparation and steady hands are non-negotiable. You aren't just coloring hair; you are drawing a frame for your face.
Gathering Your Tools Before You Start
Before you mix anything, make sure your station is ready. Rushing to find a cotton swab while the timer is ticking is a recipe for disaster. Here is what you need:
- Mina Ibrow Henna Kit: Most kits come with the powder, an activator liquid, and sometimes brushes. Check if yours includes a barrier cream.
- Barrier Cream or Vaseline: This is crucial. You want the henna on the hair, not the surrounding skin (except for the intentional fill). Petroleum jelly acts as a shield.
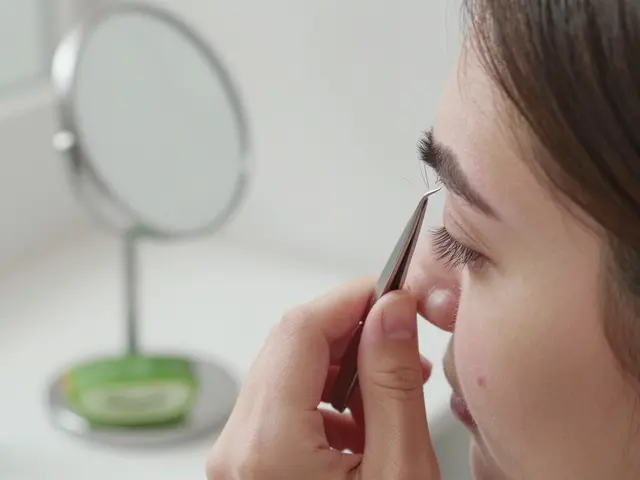
- Angled Brow Brush: Use one end for applying the product and the other for shaping. A clean spoolie brush helps comb the hairs into place before application.
- Cotton Swabs (Q-tips): Keep these dipped in water or micellar water nearby for quick corrections.
- A Timer: Your phone is fine. Do not guess the time.
- An Old Towel: Henna can drip. Protect your shirt and sink.
Prepping the Brows for Maximum Hold
Cleanliness is key. Any residual makeup, oil, or sunscreen will create a barrier between the henna and your hair, leading to patchy results. Wash your face thoroughly and pat your brow area dry. Make sure there is absolutely no moisture left, as water dilutes the henna mixture. Next, comb your eyebrows upward using a spoolie. This reveals the true shape of your brow bone and shows you which areas are sparse. If you are planning to use an eyebrow wax kit prior to tinting, do it now. Waxing removes unwanted hair below the brow line, giving you a clean canvas. Just remember to wait at least 24 hours after waxing before applying henna, as freshly waxed skin is sensitive and more prone to absorbing too much pigment, resulting in dark, muddy stains.
Mixing the Perfect Consistency
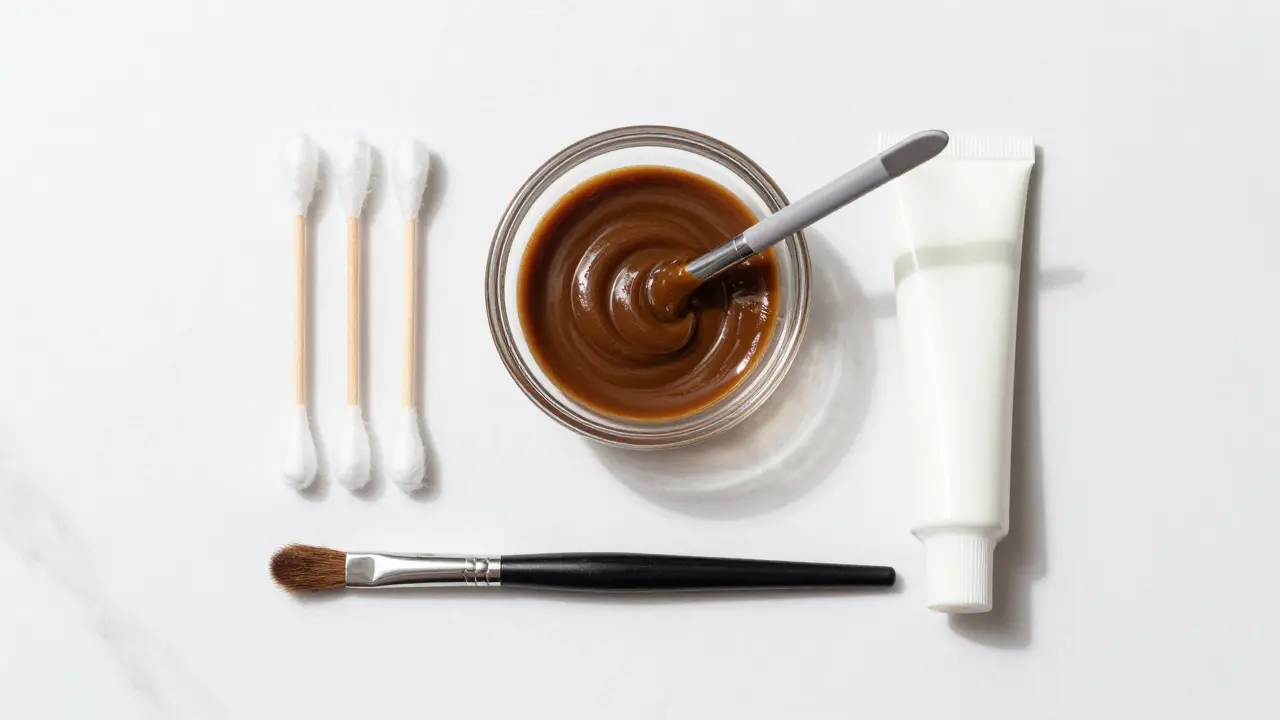
The texture of your henna paste determines how well it adheres. If it’s too runny, it will drip into your eyes (ouch) and fade quickly. If it’s too thick, it won’t penetrate the hair shaft. Aim for a consistency similar to yogurt or cake batter. Most Mina Ibrow kits provide specific ratios. Typically, you mix one part henna powder with one part activator liquid. Stir vigorously until all lumps are gone. Let the mixture sit for about five minutes. This allows the dye release process to begin, especially if the henna contains additional botanicals like indigo for darker shades. The color should deepen slightly during this rest period.
Applying the Henna: Precision is Everything
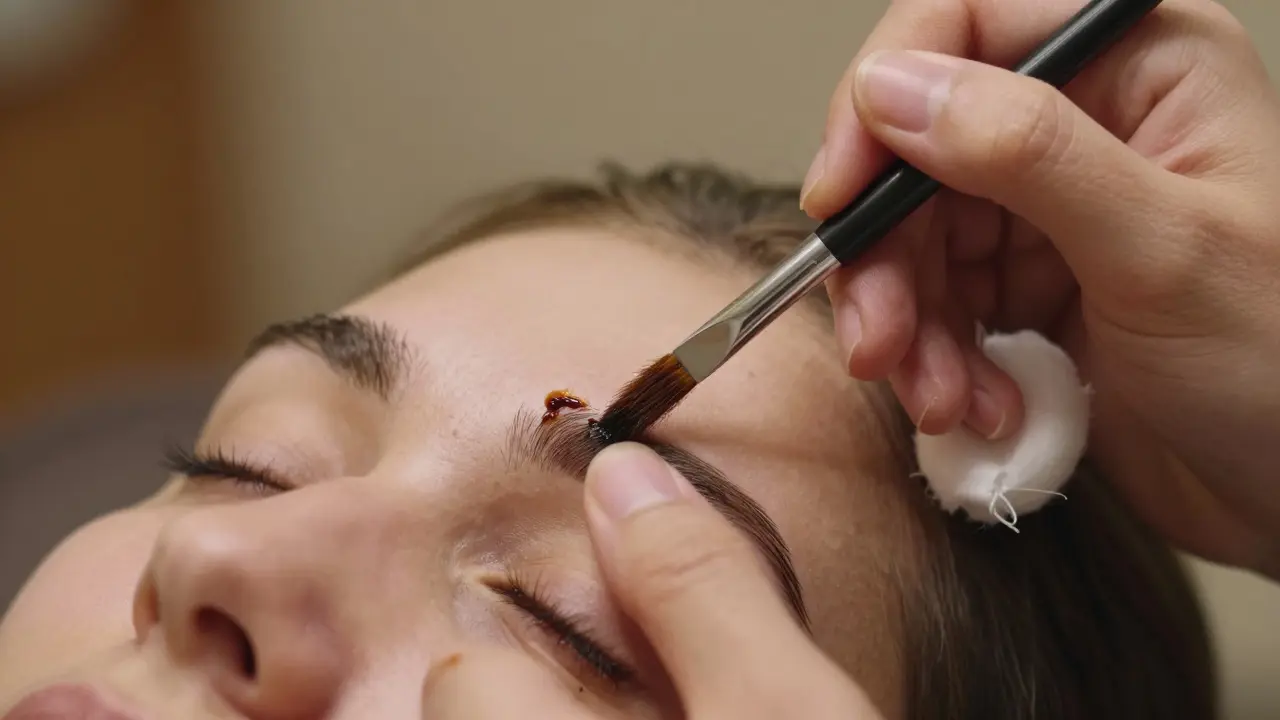
This is the moment of truth. Dip your angled brush into the mixture, wiping off excess on the edge of the container. You want a loaded brush, not a dripping one. Start by outlining the bottom edge of your brow. Draw a clean, straight line following your natural brow bone. Then, outline the top edge, creating a slight arch. Fill in the body of the brow by brushing the henna in short, feathery strokes that mimic natural hair growth. Work from the inner corner outward. For the "laminated" look, press the henna firmly against the skin within the outlined shape. The goal is to saturate the skin inside the border while keeping the outside pristine. If you make a mistake, dip a cotton swab in water and gently wipe the error immediately. Once the henna sets, it becomes much harder to remove cleanly.
Timing and Removal
How long you leave the henna on depends on the intensity you want. For a subtle tint, 5-10 minutes is enough. For a deep, bold stain that lasts, aim for 15-20 minutes. Do not exceed 30 minutes, as this can lead to an overly harsh, blackened look that takes weeks to fade. While waiting, avoid touching your face. Let the product dry completely. As it dries, it may feel tight-that’s normal. When the timer goes off, do not rinse with water yet. Water activates the staining process further. Instead, take a cotton pad soaked in baby oil, coconut oil, or an oil-based makeup remover. Gently rub the brow area in circular motions. The oil breaks down the henna paste, lifting it off the skin and hair. You will see the color transferring onto the pad. Repeat until most of the paste is gone. Finally, rinse with cool water to close the pores.
Aftercare to Extend Longevity
Your brows are fresh, defined, and beautiful. Now, keep them that way. For the first 24 to 48 hours, avoid getting your brows wet. No swimming, no heavy sweating at the gym, and skip the steam room. Moisture will strip the stain from the skin prematurely. Avoid applying oily serums or retinoids directly on the brows for the first three days. These ingredients accelerate cell turnover and can fade the skin stain faster. When washing your face, be gentle around the brow area. Pat dry instead of rubbing. Expect the skin stain to fade gradually over 7-14 days, leaving behind the colored hair which will last longer. This gradual fading looks natural and prevents the "shock" of sudden color loss.
| Feature | Mina Ibrow Henna | Traditional Brow Tint |
|---|---|---|
| Lasts on Hair | 4-6 weeks | 2-4 weeks |
| Lasts on Skin | 1-2 weeks | No stain |
| Ingredients | Natural plant-based (Lawsonia) | Synthetic chemicals (PPD often) |
| Effect | Fuller, defined shape | Darker hair only |
| Patch Test Required? | Yes (always) | Yes (especially with PPD) |
Common Mistakes to Avoid
Even pros mess up sometimes. Here are the pitfalls that ruin a good job: Skipping the Patch Test: Always test henna on a small patch of skin behind your ear or inner arm 24 hours before full application. Allergic reactions to henna additives (like PPD in black henna) can cause swelling and blistering. Natural brown henna is generally safer, but caution is still wise. Applying on Dirty Skin: Oil blocks absorption. If your brows were prepped poorly, the color will look patchy and weak. Leaving It On Too Long: More time does not always mean better color. Over-processing leads to a flat, unnatural block of color rather than a dimensional look. Ignoring the Shape: Don’t try to change your entire brow structure with henna. Enhance what you have. Drastic changes look artificial and highlight mistakes in symmetry.
Does Mina Ibrow Henna damage eyebrows?
No, pure henna is conditioning and does not damage hair. However, some commercial mixes contain synthetic dyes or high levels of peroxide to achieve very dark shades. Stick to natural brown tones if you have sensitive skin or brittle hairs. Always check the ingredient list for PPD (paraphenylenediamine), which can cause irritation.
Can I use Mina Ibrow Henna if I have had botox?
It is recommended to wait at least two weeks after botox injections before tinting or waxing your brows. The heat and pressure from application can interfere with the settling of the neurotoxin, potentially causing uneven results or migration of the product.
How do I fix uneven henna brows?
If one side is darker, you cannot lighten it easily. Your best bet is to let it fade naturally while using concealer to balance the look daily. For future applications, apply less product or reduce processing time on the lighter side. Never try to scrub hard, as this irritates the skin and worsens the appearance.
Is Mina Ibrow Henna safe for eyelashes?
Generally, no. Henna formulations for brows are not designed for the delicate eye area and can cause severe irritation if they get into the eye. Use products specifically labeled for lash tinting, which are formulated to be safer near the ocular surface.
Will Mina Ibrow Henna work on gray eyebrows?
Yes, henna is excellent for covering gray hairs because it coats the hair shaft effectively. However, gray hair is coarser and may require a slightly longer processing time (up to 20 minutes) to ensure even saturation compared to pigmented hair.