Eyebrow Microthreading Suitability Quiz
Eyebrow microthreading is a semi‑permanent brow shaping technique that uses fine surgical threads to deposit pigment into the skin, creating natural‑looking hairs, characterized by its minimal invasiveness, precise hair‑stroke effect, and fast healing time.
Quick Facts
- Uses ultra‑thin silk or polyester thread instead of a blade.
- Results last 12‑18 months, similar to microblading.
- Ideal for sensitive skin and anyone who hates waxing.
- Procedure takes 45‑90 minutes, including prep and aftercare.
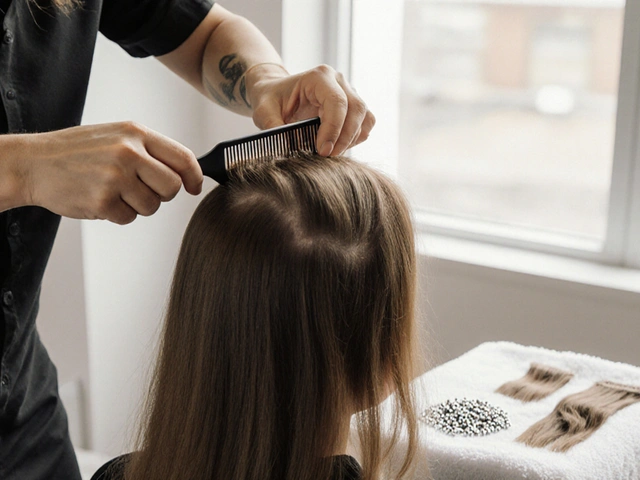
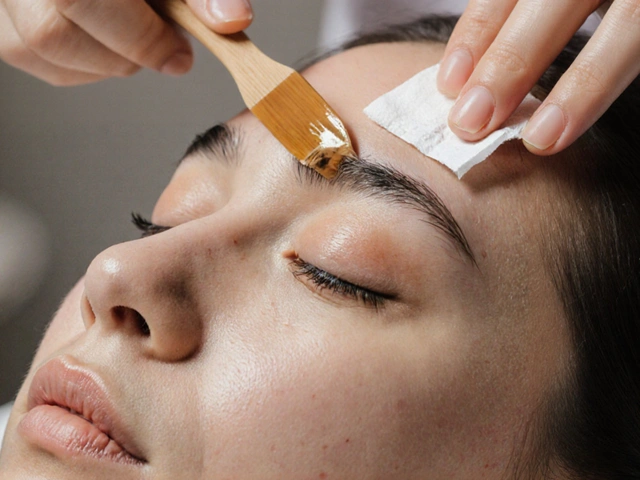
How Eyebrow Microthreading Works
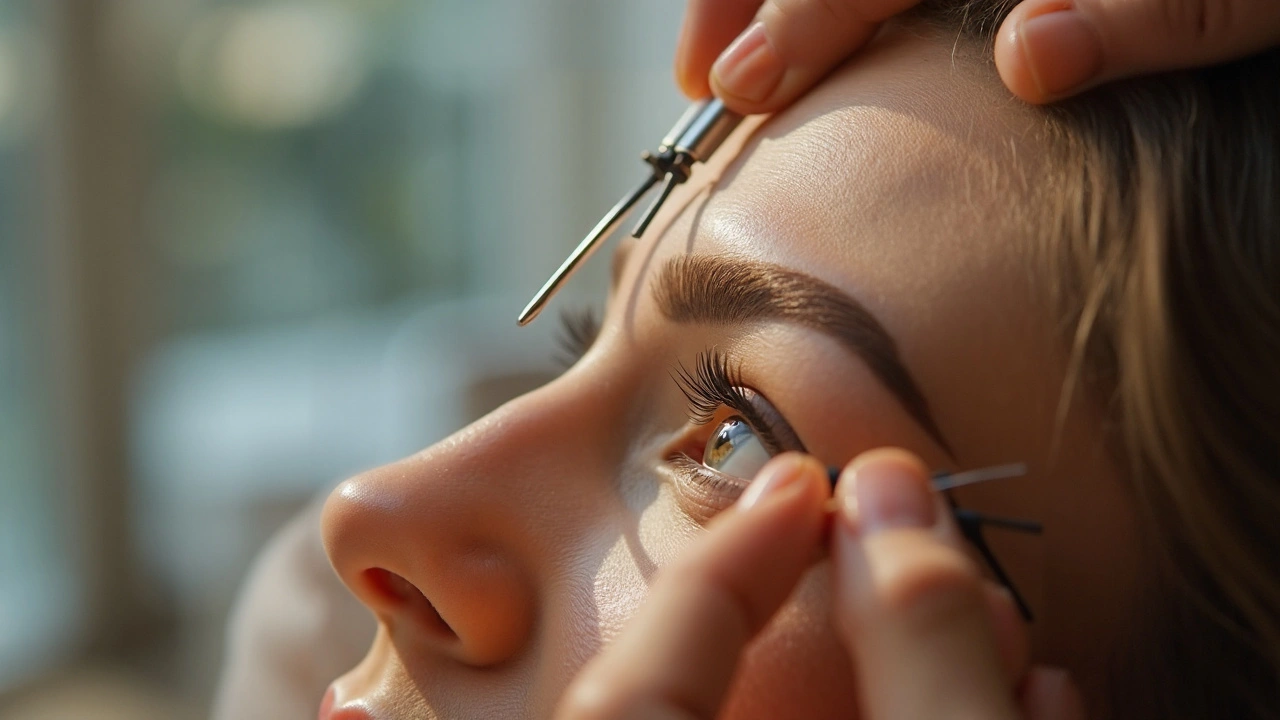
First, a certified technician maps the desired brow shape based on facial bone structure. The mapped outline becomes a template that guides the thread’s movement. The thread, often made of medical‑grade silk, is looped around a tiny needle. When the needle pushes the thread through the epidermis, it creates a tiny channel where pigment is released. Because the channel is less than 0.2mm deep, the skin recovers quickly, and the pigment settles into the upper papillary dermis, where it stays stable for months.
Tools & Ingredients that Make It Possible
Every step relies on a handful of key components, each with its own role:
- Thread is a single‑strand, sterile silk or polyester filament used to create micro‑incisions, valued for its flexibility and hypoallergenic properties.
- Pigment is a dermal‑grade, iron‑oxide based color formulated for long‑lasting, fade‑resistant results, available in shades that match natural brow hair.
- Needle is a tiny, disposable, stainless‑steel instrument that guides the thread, typically 0.18‑0.20mm in diameter.
- Sterile technique is a set of protocols-gloves, disinfectants, single‑use tools-that prevent infection and ensure client safety.
- Aftercare is a post‑procedure regimen that includes cleaning, moisturising, and sun protection to promote healing and pigment retention.
Why Choose Microthreading Over Other Brow Methods?
| Technique | Depth of Ink | Duration | Typical Longevity | Ideal Skin Type |
|---|---|---|---|---|
| Eyebrow microthreading | 0.1‑0.2mm (epidermal) | 45‑90min | 12‑18mo | All, especially oily or acne‑prone |
| Microblading is a hand‑held blade technique that creates hair‑like strokes | 0.2‑0.3mm (papillary dermis) | 60‑120min | 12‑24mo | Normal‑dry skin |
| Waxing | Surface level | 10‑20min | 2‑4weeks | All |
| Tweezing | Surface level | 5‑15min | 1‑2weeks | All |
Key takeaways: microthreading sits between microblading and traditional waxing in terms of depth and durability. Because it stays shallower than a blade, the risk of scarring drops dramatically-great news for anyone with sensitive or acne‑prone skin.
Who Benefits Most from Eyebrow Microthreading?
If you fall into any of these categories, microthreading might be your sweet spot:
- Oily or acne‑prone skin: The shallower channel means pigment is less likely to migrate.
- Thin or sparse brows: Each thread can draw multiple hair‑strokes, adding density.
- Allergy‑sensitive clients: Medical‑grade sterile thread reduces allergic reactions compared with metal blades.
- Busy professionals: Longer wear means fewer touch‑up appointments.
Conversely, if you have very deep scar tissue or are currently undergoing isotretinoin treatment, a technician may recommend waiting until the skin stabilizes.
Step‑by‑Step: What to Expect During Your Session
- Consultation & Design - The technician photographs your face, discusses brow goals, and sketches the final shape.
- Skin Preparation - A gentle cleanser removes oils, then an alcohol‑based antiseptic ensures a sterile field.
- Numbing - A topical anesthetic cream (usually lidocaine 4%) is applied for 10‑15minutes to minimize discomfort.
- Threading & Pigment Application - The technician loads the pigment onto the thread, then makes controlled, hair‑like strokes along the pre‑drawn map.
- Cleaning & Evaluation - Any excess pigment is wiped away, and the brows are examined for uniformity.
- Aftercare Briefing - You receive a printed guide covering cleaning, moisturising, and sun protection for the next two weeks.
The entire process feels like gentle scratching-most clients describe it as “a light buzzing”. Because there’s no blade, you’ll notice far less swelling compared with microblading.
Aftercare & Longevity Tips
Proper aftercare is the secret sauce for pigment staying vibrant. Follow these rules for the first 14days:
- Keep the brows dry for the first 24hours; avoid steam rooms, swimming, and heavy sweating.
- Apply a fragrance‑free, silicone‑based ointment (e.g., Aquaphor) twice daily to lock in moisture.
- Use a gentle, sulfate‑free cleanser; pat dry-no rubbing.
- Never pick or scratch; if scabbing occurs, let it fall naturally.
- Shield brows from direct UV exposure; a SPF30 mineral sunscreen works wonders.
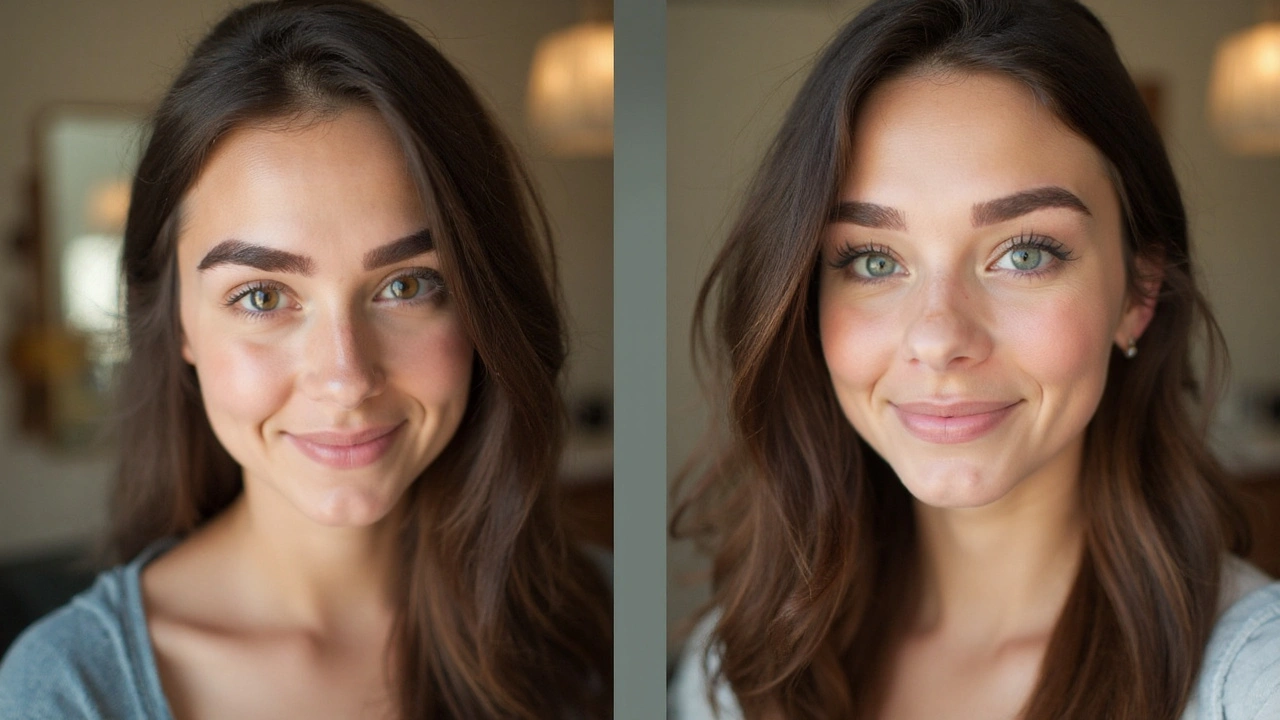
Most clients see the true colour after the “healing phase”-typically 7‑10days. Touch‑up appointments are usually scheduled at 4‑6weeks to perfect any faded spots.
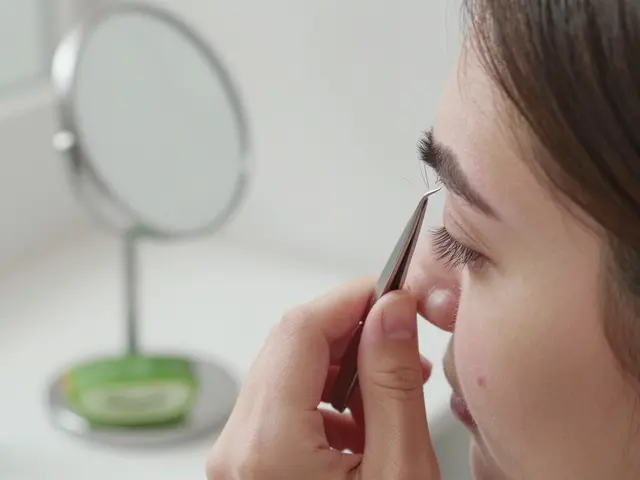
Potential Risks & How to Minimise Them
Like any cosmetic procedure, microthreading carries some risks, but they’re low when you choose a reputable professional:
- Infection: Prevented by strict sterile technique and aftercare hygiene.
- Allergic reaction: Conduct a patch test 48hours before the session.
- Pigment fading or colour shift: Use high‑quality, iron‑oxide pigments and avoid excessive sun.
- Uneven strokes: A skilled technician with a solid brow mapping process eliminates this.
Most complications resolve with simple home care or a brief follow‑up visit.
Related Concepts in the Brow World
Microthreading sits inside a larger ecosystem of semi‑permanent makeup (SPM). Other SPM methods include:
- Microblading - uses a tiny blade to carve hair‑like incisions.
- Microshading - deposits pigment in a shading style for a powdered look.
- Nanoblading - a finer version of microblading with ultra‑thin strokes.
Choosing the right technique depends on your skin type, desired look, and budget. If you love the ultra‑natural effect of hair‑stroke but can’t tolerate a blade, microthreading is the perfect middle ground.
Future Trends: Where Is Eyebrow Microthreading Headed?
Industry surveys from 2024 show a 38% rise in demand for thread‑based brow services across North America. Experts predict two big trends:
- Hybrid techniques: Combining microthreading with microshading for a 3‑D effect.
- Personalised pigments: Labs are formulating custom colour blends matched to each client’s natural hair and undertone.
Staying updated means you’ll always have access to the most natural‑looking brows without committing to a full‑time tattoo.
Frequently Asked Questions
How long does eyebrow microthreading actually last?
Because the pigment sits just under the epidermis, most clients enjoy 12‑18months of colour before a touch‑up is needed. Longevity depends on skin type, aftercare, and sun exposure.
Is the procedure painful?
Pain is minimal. A topical numbing cream (lidocaine) is applied beforehand, and most people describe the sensation as a light buzzing or gentle pulling.
Can I get microthreading if I have oily skin?
Yes - oily or acne‑prone skin actually benefits from the shallower channel depth, which reduces pigment migration and keeps the brow shape stable.
How does microthreading differ from microblading?
Microblading uses a tiny blade to carve deeper incisions (0.2‑0.3mm) while microthreading uses a sterile thread that creates a shallower channel (0.1‑0.2mm). The result is less swelling, lower scar risk, and a quicker healing period.
What aftercare steps are absolutely essential?
Keep the area dry for 24hours, apply a fragrance‑free ointment twice daily, avoid sun exposure, and don’t pick at any scabs. Following these steps ensures colour retention and prevents infection.
Do I need a patch test before the session?
A patch test 48hours ahead of time is standard practice. It helps identify any allergic reaction to the pigment or numbing cream before the full procedure.