
You wake up late. The coffee hasn't kicked in yet. You have exactly seven minutes to look like you put effort into your appearance before you run out the door. That is the real test of a hairstyle. It isn't about intricate braids that take an hour; it's about easy hairstyles that work when you're half-asleep. Most people think they need professional skills or expensive tools to look polished. They don't. They just need to know which techniques actually hold up without breaking your hair or your schedule.
This guide cuts through the noise of complex tutorials. We are focusing on styles that require minimal tools, zero heat (or very little), and basic motor skills. Whether you have fine hair, thick curls, or straight strands, there is a solution here that fits your morning routine. Let's get your hair sorted so you can focus on your day.
The Three-Minute Tuck
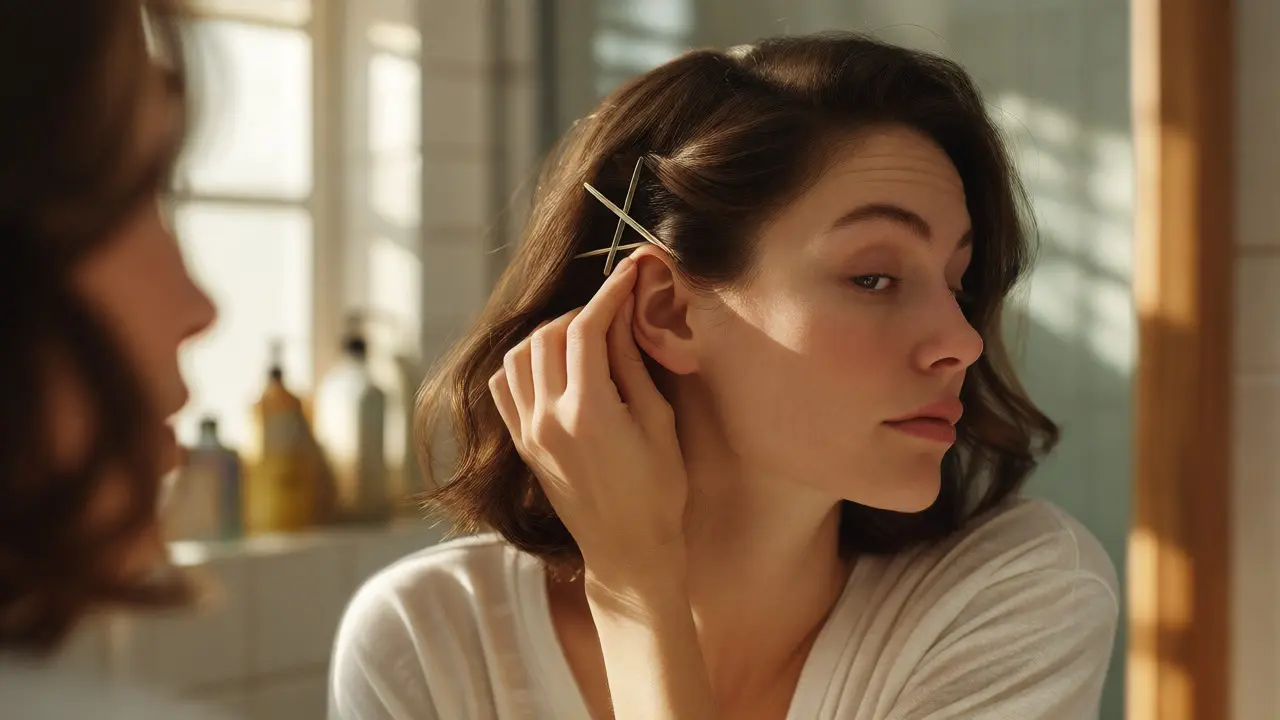
If you have shoulder-length or longer hair, the tuck is your best friend. It looks intentional, not accidental. Start by brushing your hair back gently. Use your fingers to push all your hair behind one ear. Secure it with two bobby pins crossed over each other at the base of your ear. This creates an anchor point that holds better than a single pin. If your hair slips, use a light-hold hairspray on the section before pinning. This style works because it uses gravity and tension rather than elastic bands, which often leave dents or breakage. It frames the face nicely and keeps stray hairs off your neck during humid Asheville afternoons.
The Low Bun That Actually Stays
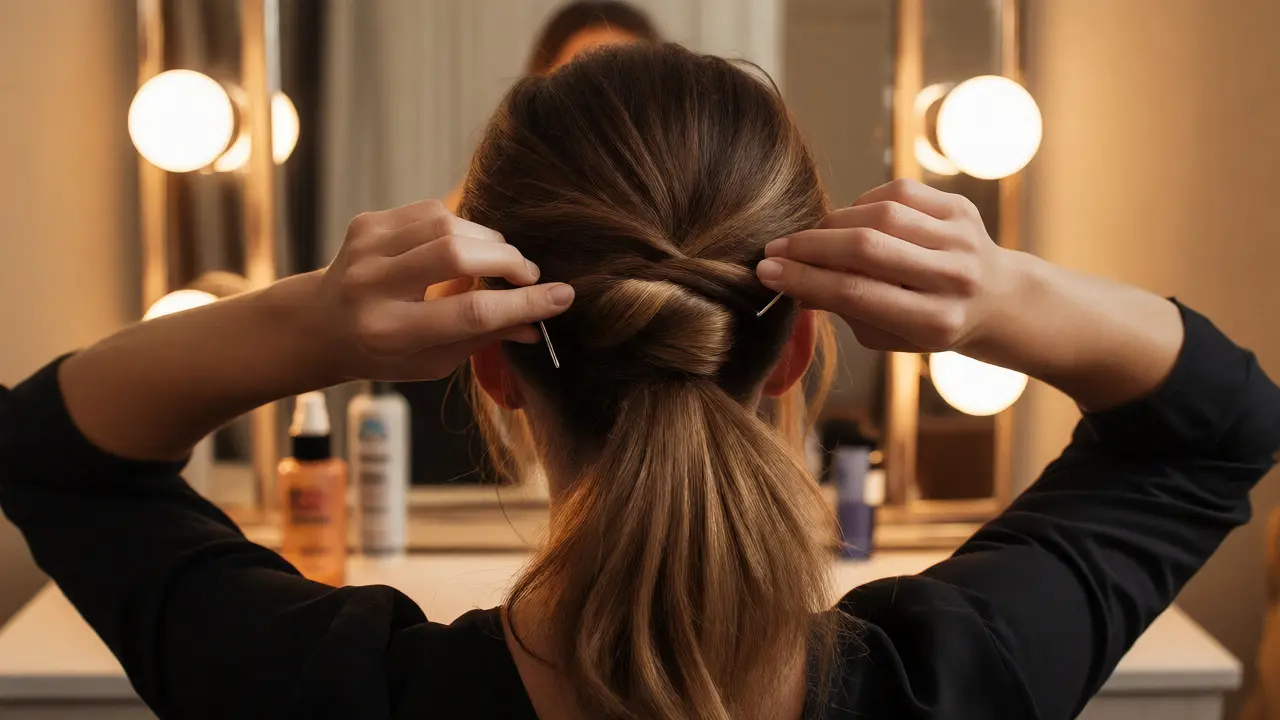
Most low buns fall apart by lunch. The secret isn't tightness; it's texture. Clean, slippery hair slides out of buns. Dirty hair grips itself. If your hair is freshly washed, apply a texturizing spray or dry shampoo first. Gather your hair into a low ponytail at the nape of your neck. Twist the ponytail tightly until it coils around itself. Instead of wrapping it once and pinning, wrap it twice to create volume. Secure the ends underneath the bun with U-shaped pins, not bobby pins. U-pins go deeper into the scalp and offer more resistance against movement. This low bun is versatile enough for office settings or casual weekends.
Half-Up Half-Down: The Classic Revival
This style has made a massive comeback, but the old way-pulling a random chunk from the top-is outdated. For a modern look, gather only the top layer of hair from above your ears. Twist this section slightly to add texture, then secure it with a small, clear elastic or a decorative clip. Leave the rest down. To make it look effortless, pull lightly on the sides of the twisted section to loosen it. This adds softness and prevents the "tight ponytail" headache look. It’s perfect for days when you want to keep hair off your face but still show off your length. It also hides oily roots if you skipped washing yesterday.
The French Braid Simplified
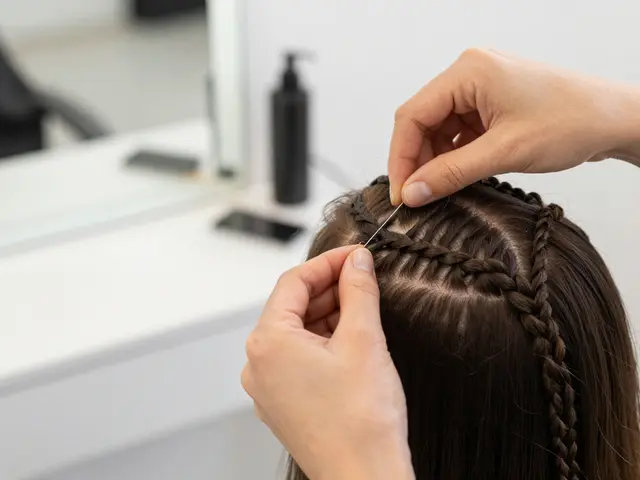
People avoid braids because they think they need three hands. You don't. You need practice. Start with damp hair-it holds shape better. Take a section of hair from the front hairline. Split it into three equal strands. Cross the right strand over the middle, then the left over the new middle. Before crossing again, grab a small piece of loose hair from the side and add it to the outer strand. Repeat. If you find adding hair too hard, try a Dutch braid instead. In a Dutch braid, you cross strands under the middle rather than over. It sits on top of the head like a raised rope, which many beginners find easier to see and control. Once you reach the nape, finish with a regular three-strand braid and tie it off. Pull gently on the edges of the braid to widen it. This makes it look thicker and more romantic.
Headband Hacks for Fine Hair
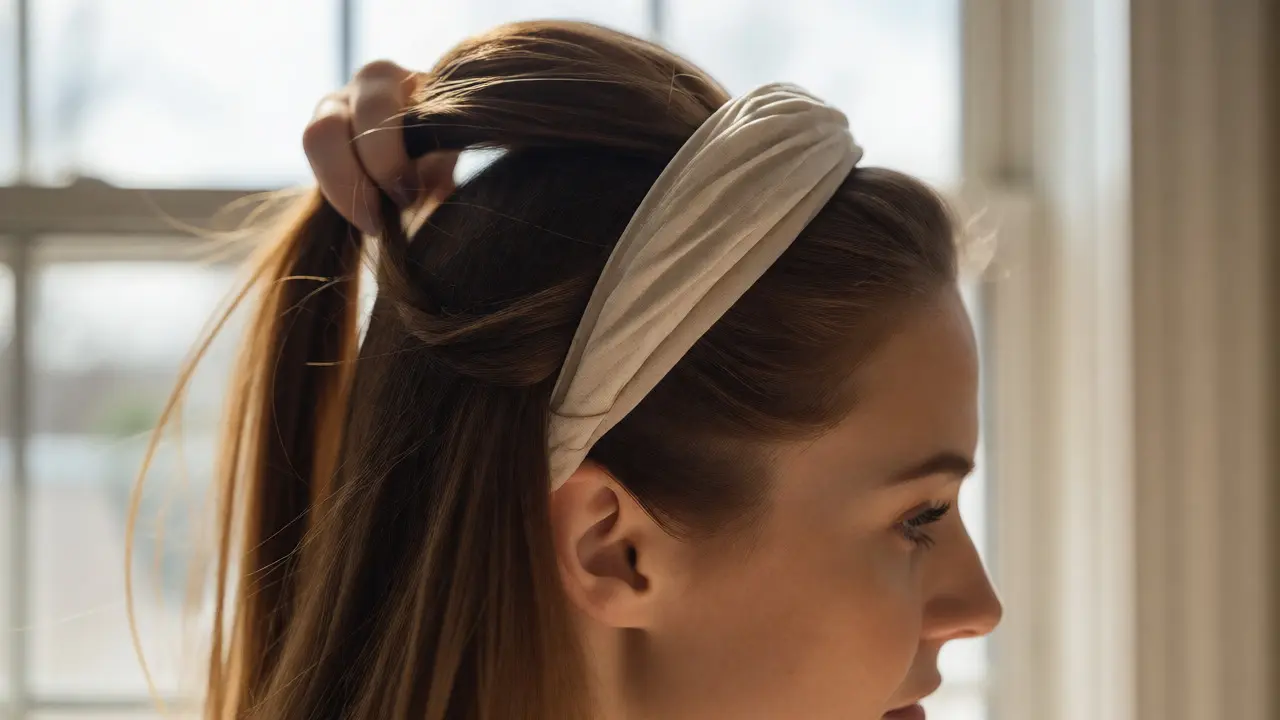
Fine hair struggles to hold volume. A headband solves this instantly. Choose a wide, padded headband or a knotted fabric band. Place it over your hair, pushing your bangs or front sections forward. Then, flip the rest of your hair back over the band. This creates instant lift at the crown. For extra polish, twist small sections of hair near the temples and tuck them under the band. This style requires no pins, no elastics, and no skill. It stays in place all day because the friction of the fabric against your hair does the work. It’s ideal for windy days or active mornings where you need security without discomfort.
Choosing the Right Tools
You don't need a drawer full of gadgets. You need four specific items. First, a good detangling brush. Wet hair breaks easily; a flexible-bristle brush saves your lengths. Second, strong-hold bobby pins. Buy matte-finish ones-they grip better than shiny ones. Third, a texturizing spray or sea salt spray. This gives clean hair the grit needed to stay put. Fourth, silk scrunchies. Regular elastics snap hair; silk glides. Having these four things ready by your bed means you aren't hunting for supplies while rushing out the door.
| Style | Time Required | Skill Level | Best Hair Type | Key Tool Needed |
|---|---|---|---|---|
| Side Tuck | 1 minute | Beginner | All types | Bobby Pins |
| Low Bun | 3 minutes | Beginner | Medium/Thick | U-Pins |
| Half-Up | 2 minutes | Beginner | Fine/Medium | Elastic/Clip |
| Dutch Braid | 5-7 minutes | Intermediate | All types | Texturizer |
| Headband Style | 1 minute | Beginner | Fine/Straight | Padded Band |
Troubleshooting Common Issues
Hair slipping? Add product. Product buildup? Wash less. Frizz? Don't touch it with dry hands. Use a tiny bit of oil on your palms and smooth the surface. If your braid feels messy, remember that perfection isn't the goal. Textured imperfection is trendy. If your bun collapses, check your pin direction. Pins should always be inserted towards the scalp, not parallel to it. If you're short on time, skip the blow-dryer. Air-dried hair often styles better because it retains natural wave patterns. Embrace the air-dry look. It’s healthier for your strands and saves electricity.
How do I make easy hairstyles last all day?
Preparation is key. Apply a texturizing spray or dry shampoo to clean hair before styling. This adds grip. When securing styles, use high-quality pins and insert them firmly toward the scalp. Avoid touching your hair frequently, as oils from your hands can weigh it down and cause slippage.
Can I do these styles on curly hair?
Yes, absolutely. Curly hair naturally has more texture, which helps styles hold better. For braids, ensure hair is well-moisturized to prevent frizz. For buns, use a satin scrunchie to minimize breakage and maintain curl definition. Headbands work exceptionally well on curls by keeping frizz contained while showcasing volume.
What if my hair is too short for these styles?
For chin-length or shorter hair, focus on accessories. Bobby pins can create textured twists at the temples. Headbands can define the silhouette. You can also use small clips to sweep back sections for a polished look. While long-braided styles won't work, the principles of using accessories to frame the face remain the same.
Do I need special products for easy hairstyles?
You don't need many, but having the right ones helps. A lightweight texturizing spray provides grip without stiffness. Dry shampoo absorbs oil and adds volume. A flexible-hold hairspray sets the style without making it crunchy. Avoid heavy waxes or gels unless you want a slicked-back look, as they can weigh down simpler styles.
How do I fix a hairstyle that looks too messy?
Smooth down flyaways with a toothbrush sprayed with hairspray. This targets specific areas without disturbing the whole style. If a bun is too loose, tighten the base by pulling the ponytail tighter before coiling. If a braid is uneven, gently tug on the loops to even out the tension. Often, a slight adjustment fixes the entire look.