Installing sew-in hair extensions isn’t as complicated as it looks-but doing it wrong can lead to damage, discomfort, or a look that doesn’t last. If you’ve ever stared at a salon appointment price and thought, "I could do this myself," you’re not alone. Thousands of people install their own sew-ins every month, saving money and gaining control over their hair routine. The key isn’t having perfect hands-it’s knowing the right steps and avoiding the most common mistakes.
What You’ll Need Before You Start
You can’t just grab a needle and thread and hope for the best. A successful sew-in starts with the right tools. Here’s what you actually need:
- Human hair wefts (1-3 packs, depending on length and density-18-20 inches usually takes 2 packs for full coverage)
- Sharp curved needle (a sewing needle designed for hair extensions, not a regular sewing needle)
- Strong, thin thread (nylon or polyester thread in a color that matches your natural hair-never cotton, it frays)
- Combs and sectioning clips (to divide hair cleanly)
- Detangler spray or light oil (to keep edges smooth)
- Scissors (small, sharp ones for trimming wefts)
- Extension sewing thread (available at beauty supply stores-look for "weft thread" or "sew-in thread")
Don’t skip the thread. Regular sewing thread breaks under tension. I’ve seen too many sew-ins come loose after a week because someone used craft thread. It’s not worth it.
Step 1: Prep Your Natural Hair
Start with clean, dry hair. Wash it 24-48 hours before installation-too fresh and your scalp will be too oily; too long ago and your hair will be brittle. After washing, blow-dry your hair completely. Wet hair stretches and shrinks, which throws off your braid pattern.
Now, part your hair into horizontal sections from ear to ear. Use clips to hold the top half out of the way. Divide the bottom half into 3-5 vertical rows, depending on how thick your hair is. Each row should be about 1 inch wide. Braid each row tightly in a flat cornrow, going from front to back. Keep the braids snug but not painful. If you feel pulling, loosen slightly. Tight braids cause traction alopecia over time.
Use a small amount of edge control or gel to smooth flyaways along the hairline. You want a clean, flat surface for sewing. No bumps, no loose strands.
Step 2: Measure and Trim the Wefts
Take your weft and lay it along the back of your head, from ear to ear. It should cover the entire braid row. Trim the weft to fit-don’t leave it too long. Excess weight pulls on your braids and can cause breakage. If you’re using multiple wefts for volume, stagger their lengths so they blend naturally. The back weft should be the longest; the front ones shorter.
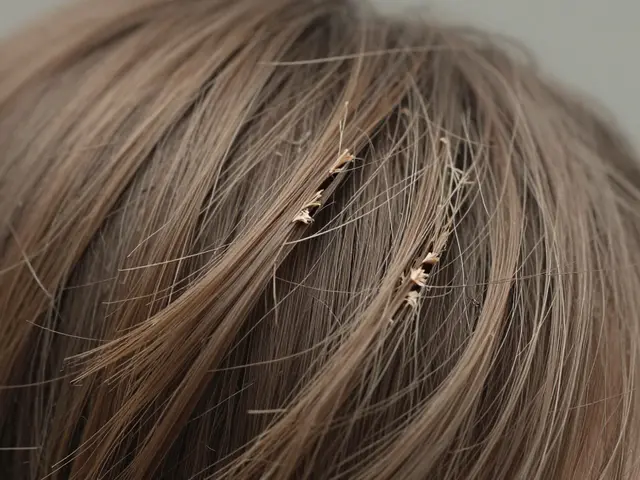
Always cut the weft between the tracks. Never cut through the stitching. If you do, the hair will shed. Use sharp scissors and make clean, straight cuts.
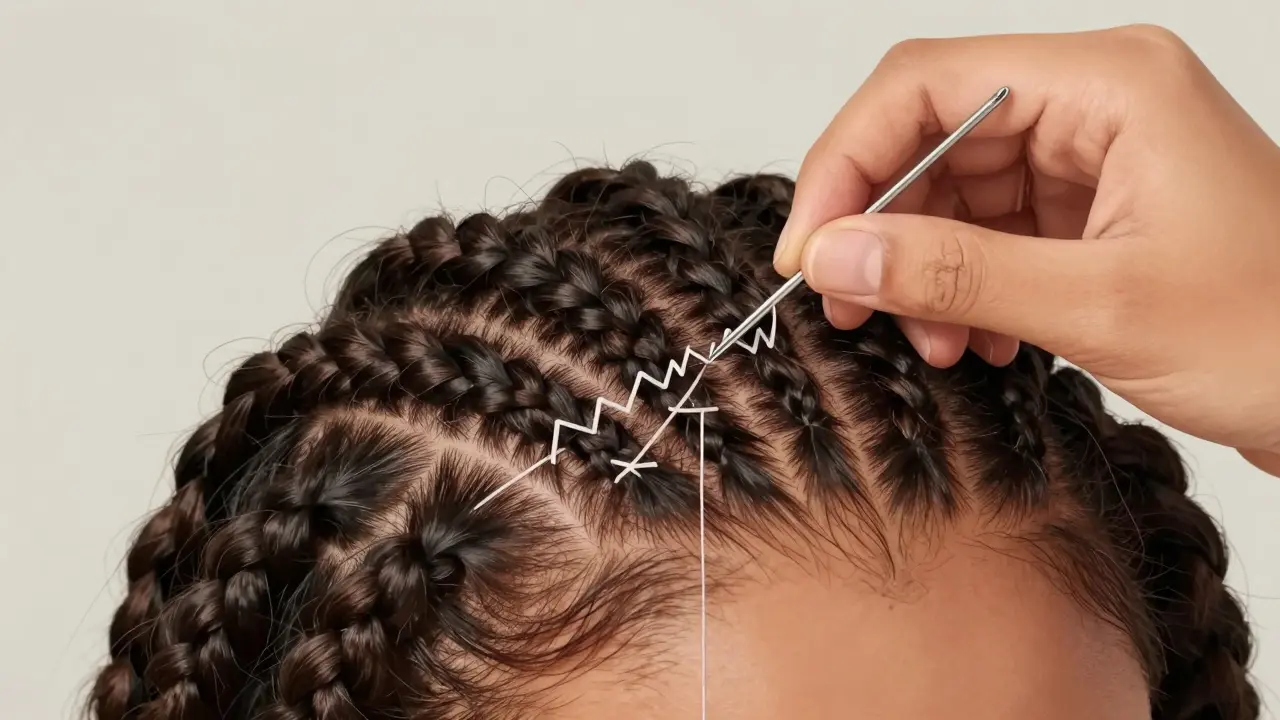
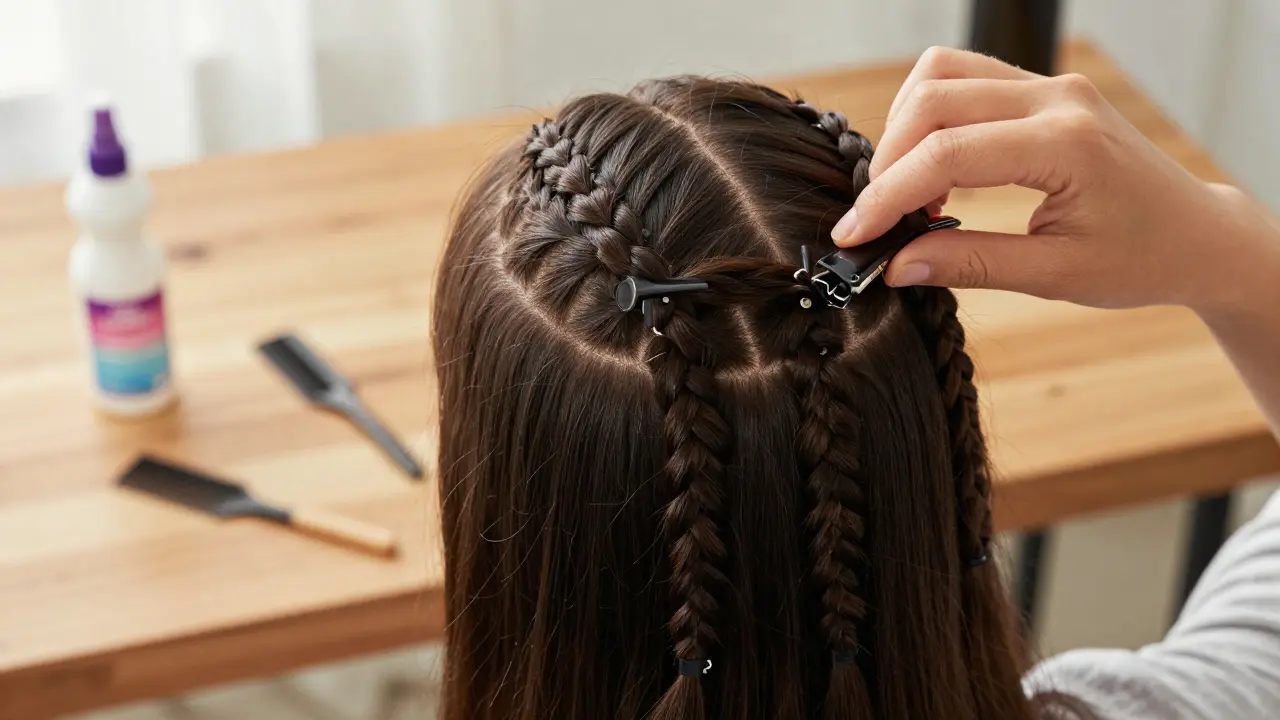
Step 3: Sew the Weft On
Thread your needle with about 18 inches of thread. Tie a double knot at the end. Start at the left side of your first braid row. Insert the needle under the base of the braid, coming up through the hairline side. Pull the thread through, leaving a small tail. Don’t tie it off yet.
Now, sew in a zigzag pattern: go under one braid, over the next, under the next. This locks the weft in place. Don’t stitch too tight-your head needs to breathe. Aim for even tension. If you pull too hard, you’ll create ridges. Too loose, and the weft will slide.
When you reach the end of the row, tie off the thread with two knots and hide the end under the braid. Cut the excess. Repeat for each row, working from back to front. Always start sewing on the outer edges first. That way, you can adjust the center as you go.
Step 4: Blend and Finish
Once all wefts are sewn in, use a tail comb to gently tease the edges of the wefts into your natural hair. This hides the track. Apply a light oil or serum to the part lines to make them look seamless.
Trim any stray hairs from the weft ends. Use a fine-tooth comb to check for bumps. If you see any, gently lift the weft and re-sew that section.
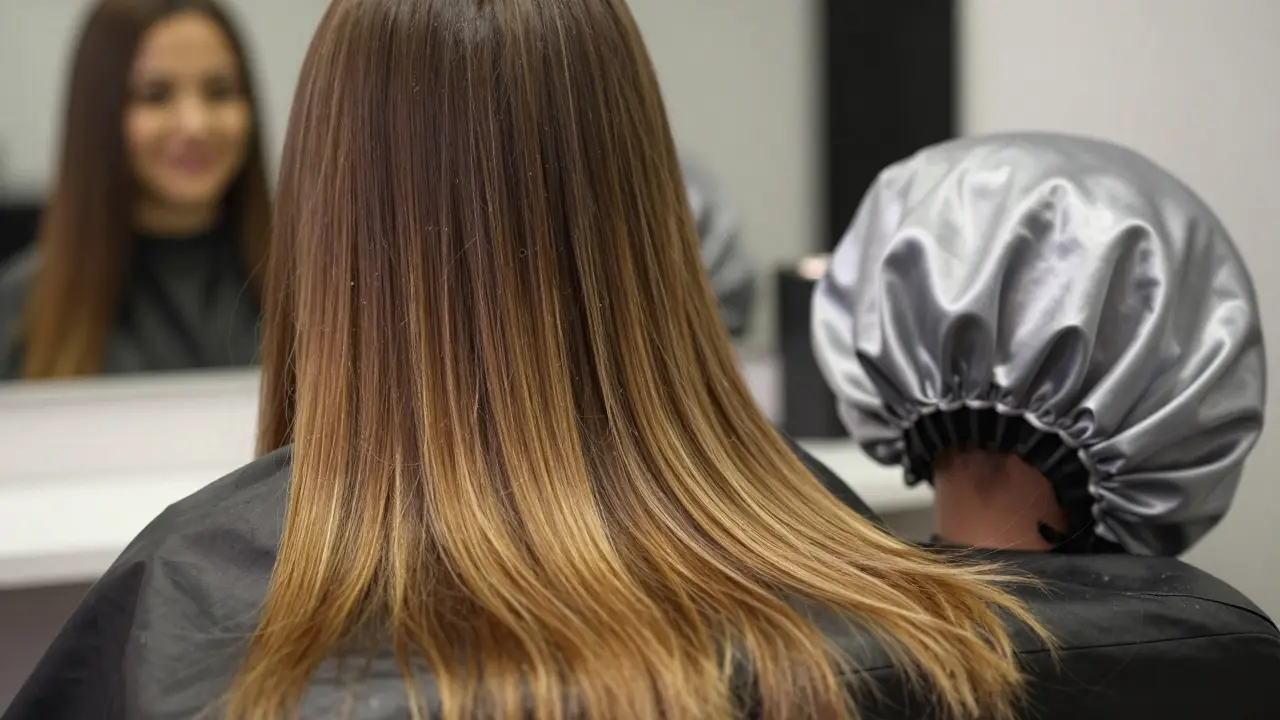
Wash your hair with a sulfate-free shampoo. Condition well. Let it air-dry. Don’t style it for at least 24 hours. This lets the thread settle and the hair adjust.
How Long Does a Sew-In Last?
A well-installed sew-in lasts 6 to 8 weeks. After that, your hair grows, the braids loosen, and the wefts start to shift. If you wait too long, you risk matting, breakage, or scalp irritation. Most people get a touch-up at 4-5 weeks-just tightening the front and sides.
Don’t sleep with wet hair. Use a satin bonnet or pillowcase. Wash every 7-10 days. Avoid heavy oils or greasy products-they clog the scalp and loosen the stitches.
Common Mistakes to Avoid
- Using cotton thread - It frays and breaks. Always use nylon or polyester.
- Braiding too tight - Causes headaches and long-term hair loss.
- Leaving wefts too long - Adds unnecessary weight and stress.
- Skipping the edge prep - Flyaways make the install look messy.
- Not washing regularly - Buildup leads to odor and scalp issues.
I’ve had clients come in with sew-ins that lasted 12 weeks because they ignored maintenance. The result? Hair thinning along the hairline. It’s not glamorous. It’s preventable.
When to Skip the Sew-In
If your hair is already thinning, damaged, or chemically processed, a sew-in might do more harm than good. Consider a glue-in, clip-in, or wig instead. Or wait until your hair recovers. No extension is worth losing your natural hair.
Also, if you’re not comfortable with needles or have shaky hands, hire a professional. It’s not a sign of weakness-it’s smart self-care. A good stylist will give you a clean, comfortable install that lasts.
But if you’re ready to try it yourself? Start with a short, lightweight weft on the back of your head. Practice on one row. Then add more. You’ll get faster and more confident with each install.